How To Watercolor Flowers With KOKOIST Bleeding Inks
Watercolor art is soft, delicate, and very forgiving, making it a perfection selection for nail stylists of all levels. Today, I will be taking you through some tips and tricks and a step-by-step, on water color nail art on Japanese Gel.
Before we get started, if you are new here, welcome!
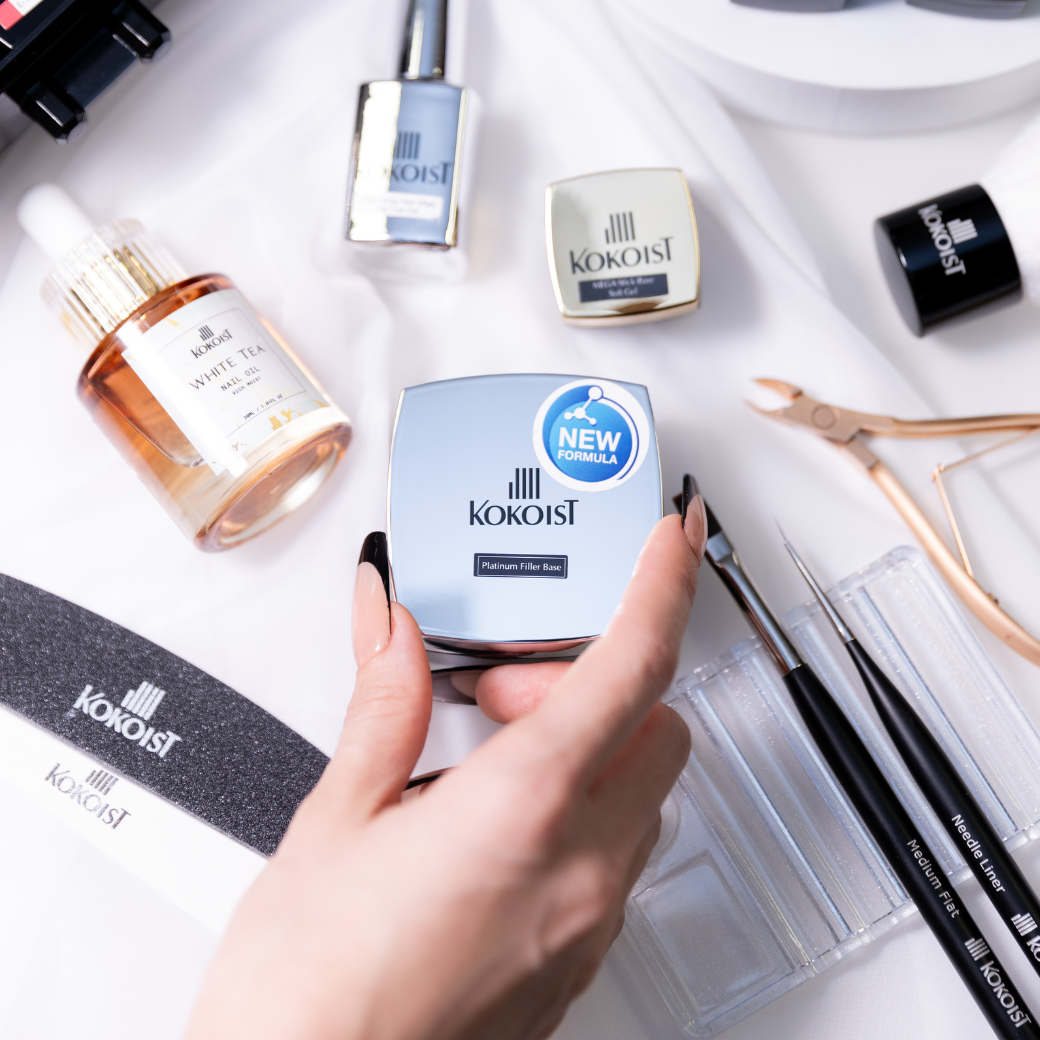
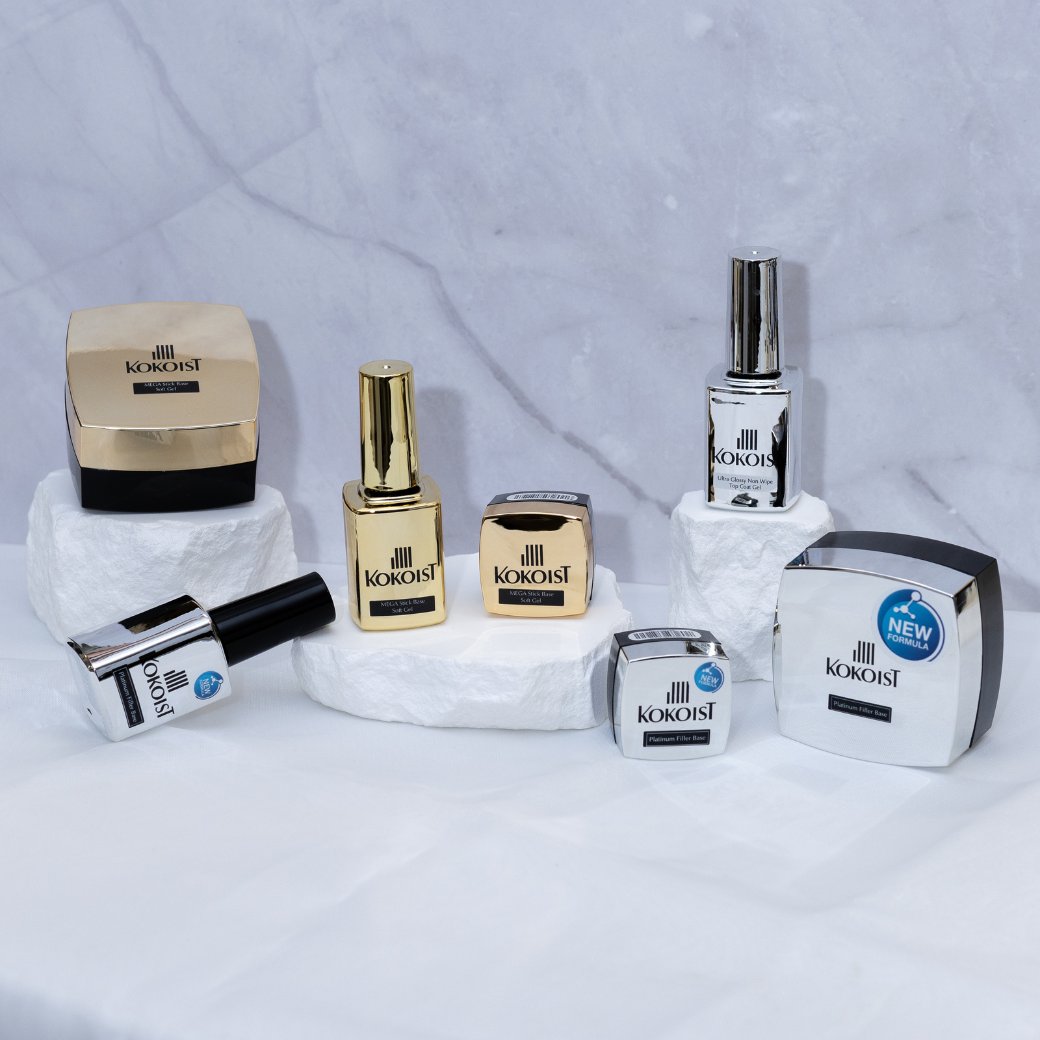
Kokoist products are soak-off and made in Japan. You can create anything with Kokoist Japanese Gel. Short nails, long extensions, structured overlay and infinite nail art designs.
Alright, the beautiful thing about watercolor nail art, as I already have mentioned, is that it is super beginner friendly, and it can look beautiful on short or long nails. It does not make a difference.
Here’s the step-by-step:
Step #1: Base Color
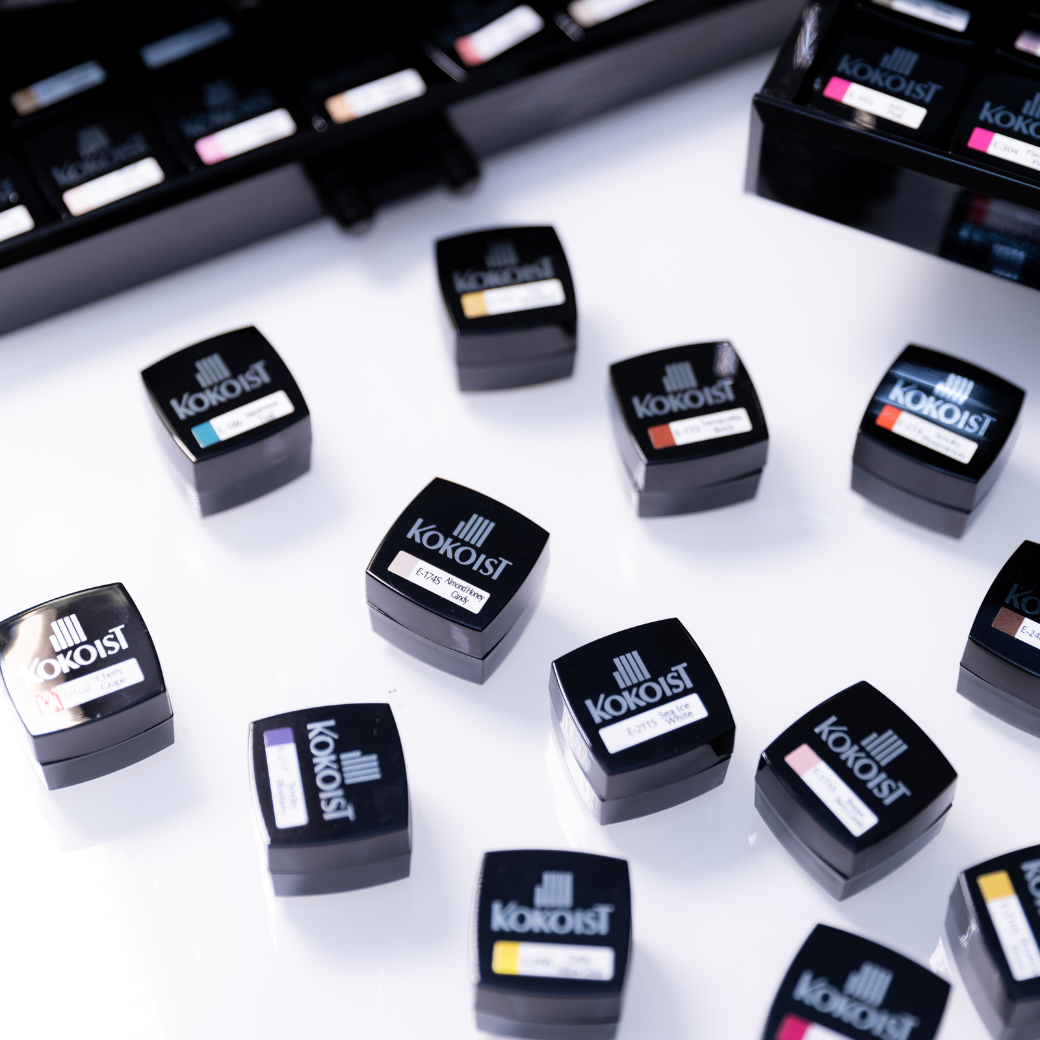
First, what I do recommend is that you start with a neutral base color, it can be an off-white a nude or creamy white-based color. I’m going with Kokoist’s E-101S Beige Pebble which is a sheer color. You’ll get a beautiful shade with 2 coats. Kokoist Japanese Gel colors cure in 20 secs in a Kokoist Curing Unit, but if you’re not using one, 30 secs will do.
Step #2: Matte Top
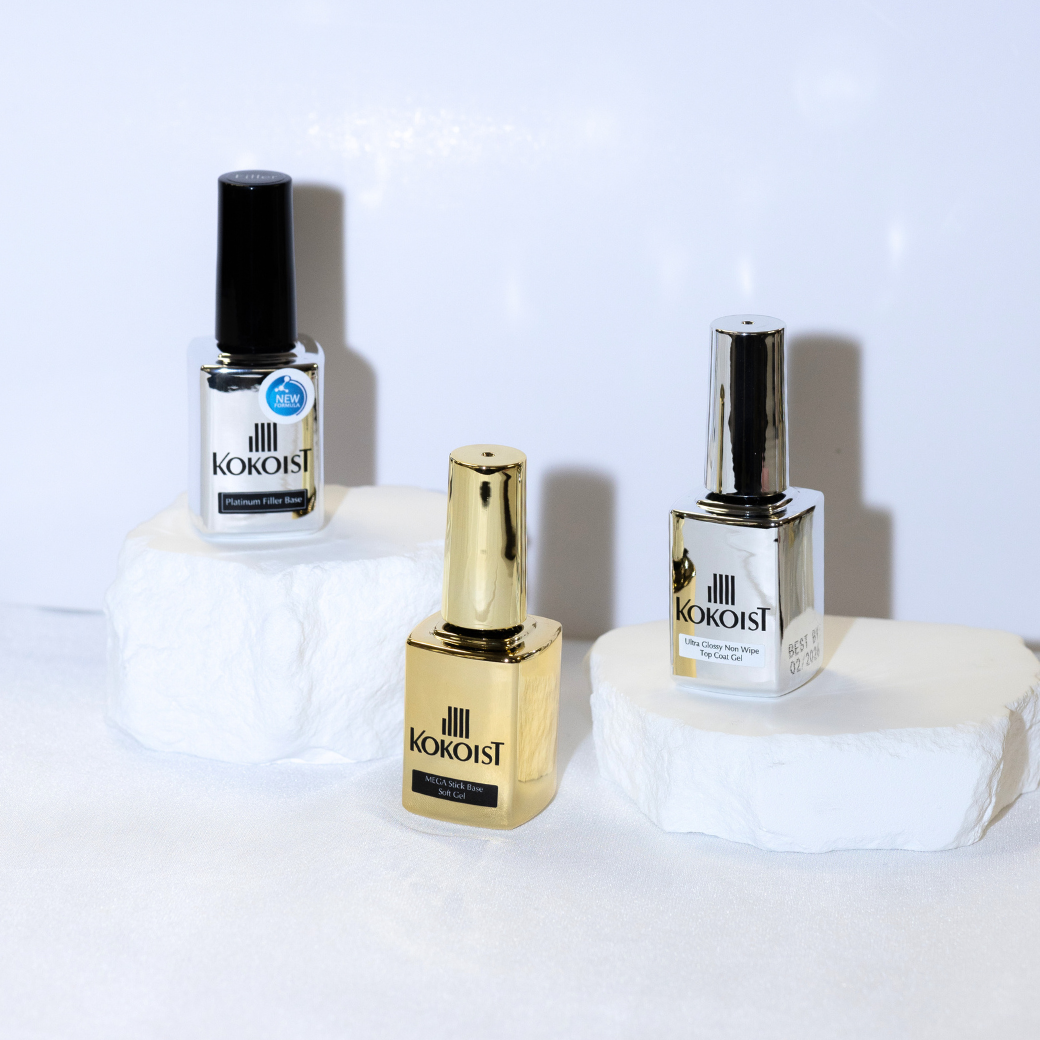
After applying 2 coats of your choice of soft colored base, go ahead and matte-top coat it. WHat is this going to do, you ask? A non-wipe matte top coat is going to create the perfect dry texture for you to drop and play with the alcohol ink. It is also going to protect your color while you work.
The disadvantage to not having a matte top gel is that you would wipe the small tacky layer left behind, wiping some gel color off. Another disadvantage is that you will have to top coat it with regular shiny top gel, and then gently buff to remove the and have the perfect matte texture to play with your alcohol inks on your Japanese Gel. Just a little more time consuming.
Step #3: Drop all of your ink players in a palette
Ok, so here is something game changing. Are you ready? Of course you are.
Take all of the color of the inks you will be using and drop a single drop on a non-porous palette. You will then grab a lint-free-towelette saturated in 90% alcohol (if you follow us, you know that’s a staple for us around here), and just place it at the end of your palette or on another non-porous surface. You will be using the alcohol on this towelette to reactivate the ink that has dried out on your palette… because the alcohol in these inks evaporates rather quickly, and we want that. This way we have ultimate control of our alcohol pigments.
Step #4 Choose your brush
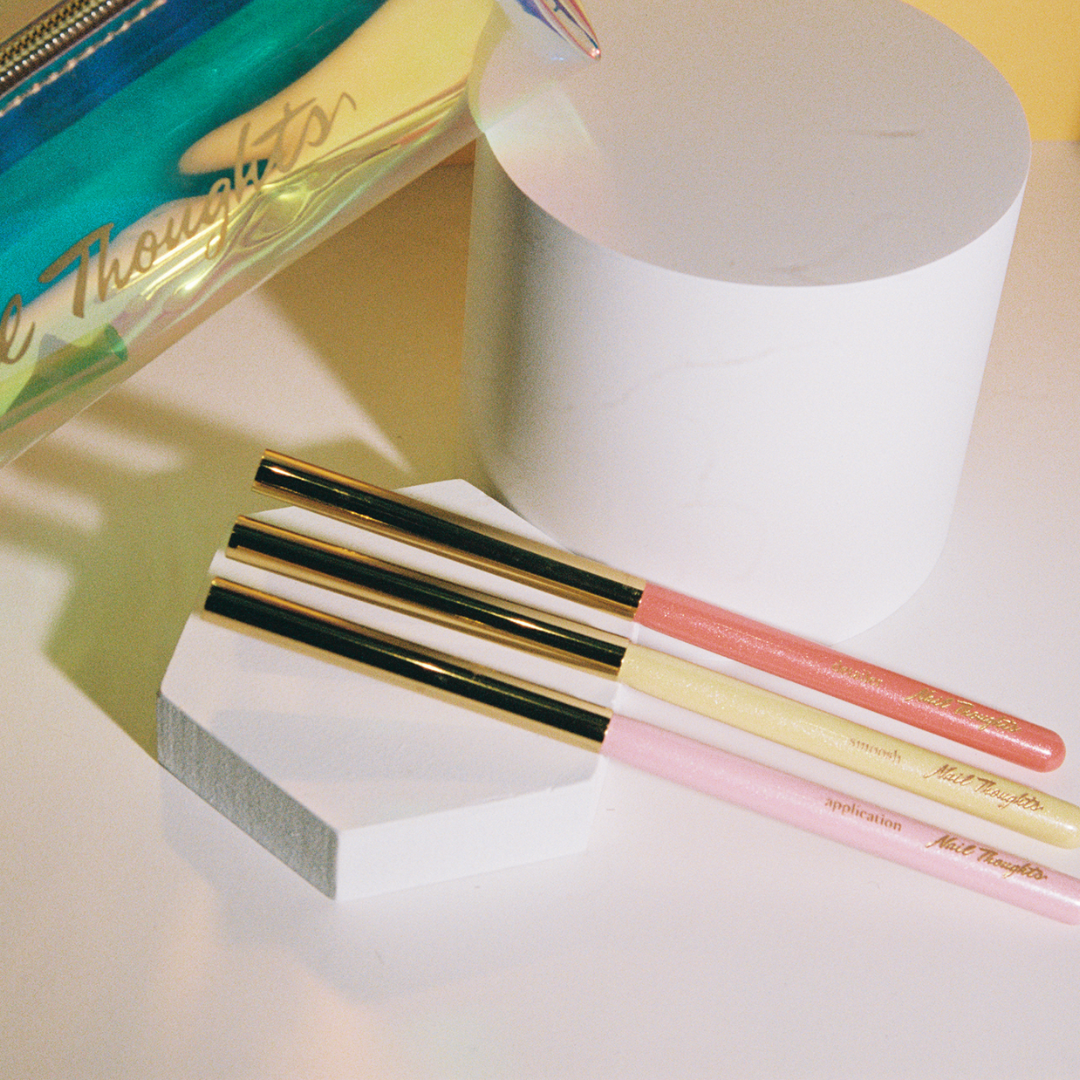
I highly recommend you use Kokoist Pointed Brush, it is designed to work well with watercolor art.
Step #5 Create
Think of your favorite flowers and draw them to the best of your ability, and believe me, you will not need to be Claude Monet here. This is where you will learn how forgiving watercolor nail art is… and say you didn’t quite love it. No worries, wipe it off with alcohol and play again. Is that easy!
Step #6 Outline
Grab your Kokoist Color #148, Blackest Black, and draw your interpretation of a flower “pistils”, that center part of flowers. You can also add a little bit of borders around your florals to create a little bit of shadowing.
Step #7 Top Coat
Yes, just like that, you are done friend! Use your Non-wipe top gel, and enjoy watching your design come to life.
I really hope you enjoyed this watercolor art with alcohol inks tutorial using your Kokoist Japanese Gel Nail Products.
Hope you can meet us again next week, and bye for now!
___

Paola Ponce is an independent nail educator helping the Japanese gel nail niche and its nail techs grow! You can follow more of her work at www.paolaponcenails.com and @paolaponcenails on Instagram. Save & support her work with affiliate code PPN10.
___
These blogs are copyrighted material and any use of this blog is not permitted without written concern first. Some of these blogs contain affiliate links that provide us with a small commission when qualifying purchases are made. Thank you for your support that helps us to continue creating valuable resources and content like this.





Leave a comment