


3 Secret Tips To Make Your Nails Last 3+ Weeks
You can have the prettiest, cleanest nail space, and even the best customer service, but if your nails don’t stick, neither will your clients.
In today’s video we’ll be talking about 3 tips to make your nails last 3+ weeks.
Hey there and welcome back, if you are new here, welcome! My name is Paola, happy to be back hosting another episode for Kokoist USA.
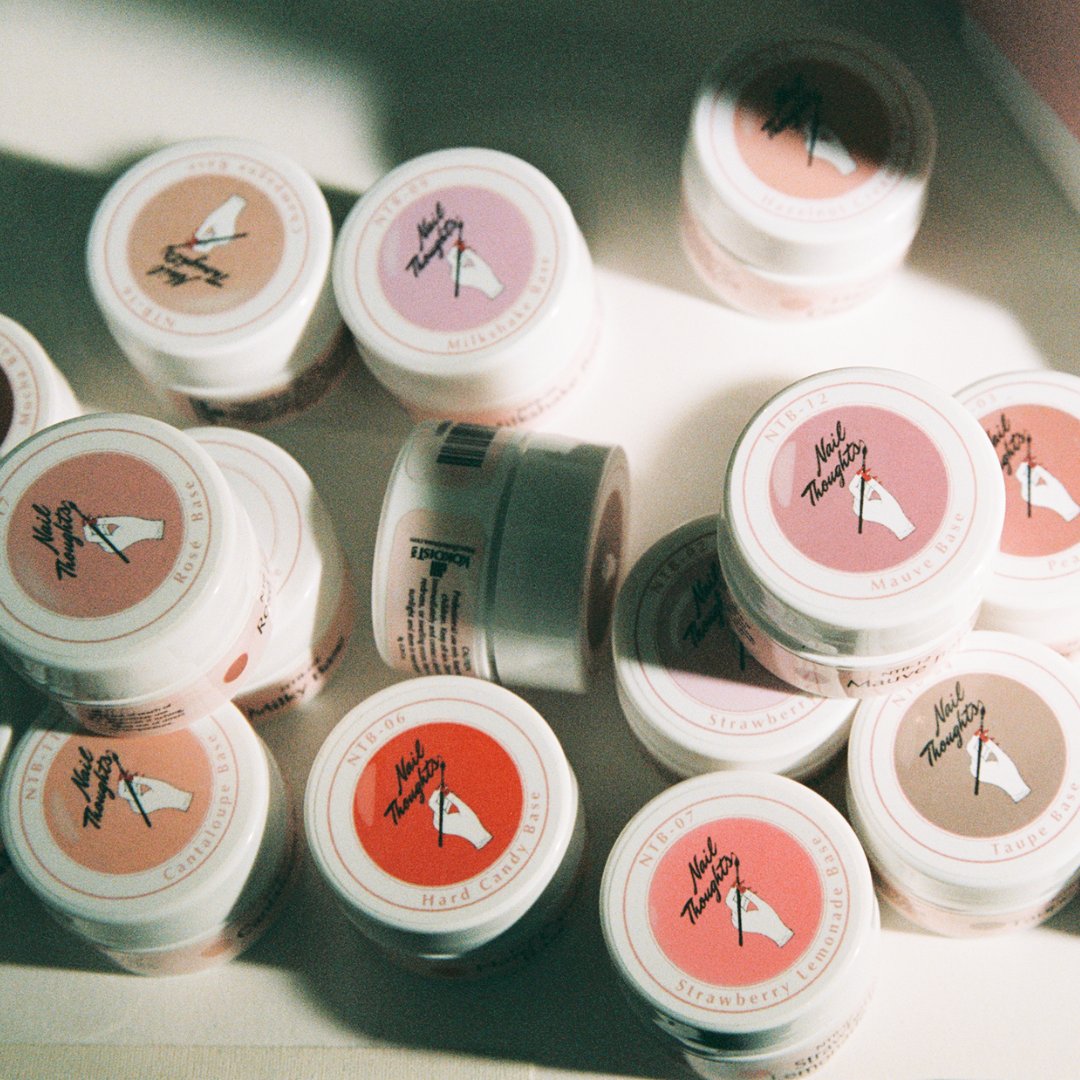
Kokoist products are soak-off and made in Japan. If you would like to continue learning with us then do consider subscribing, and hitting the notification bell icon to receive an alert next time our next video posts.
Whether you’re a newbie at nails or just new to the world of Japanese gel, you may think that in order for your gel nails to last you need to do a whole bunch of nail prep to your natural nails. After today’s video, you will be amazed at how little work is required to prepare the nails for gel nail application.
Let me first put you at ease. The days of prepping natural nails like prepping the walls of a building for paint are long gone. I’m talking harsh prep with rough gritty files, and multiple prep solutions like pH dehydrator and bonder.
No, no, no. Today I won't be telling you to use more bonder or to roughen up the nails for better adhesion. Instead we’ll be talking about less popular gel nail troubleshooting tips.
Tip #1 Analyze the natural nail’s health
That’s right, gel retention is not all about the products generating the best adhesion all by themselves. It takes two to tango here. A natural nail and a gel product. Many try to troubleshoot their products without ever even considering the natural nail.
Here are some natural nail culprits that will lead to lifting when doing gel nails.
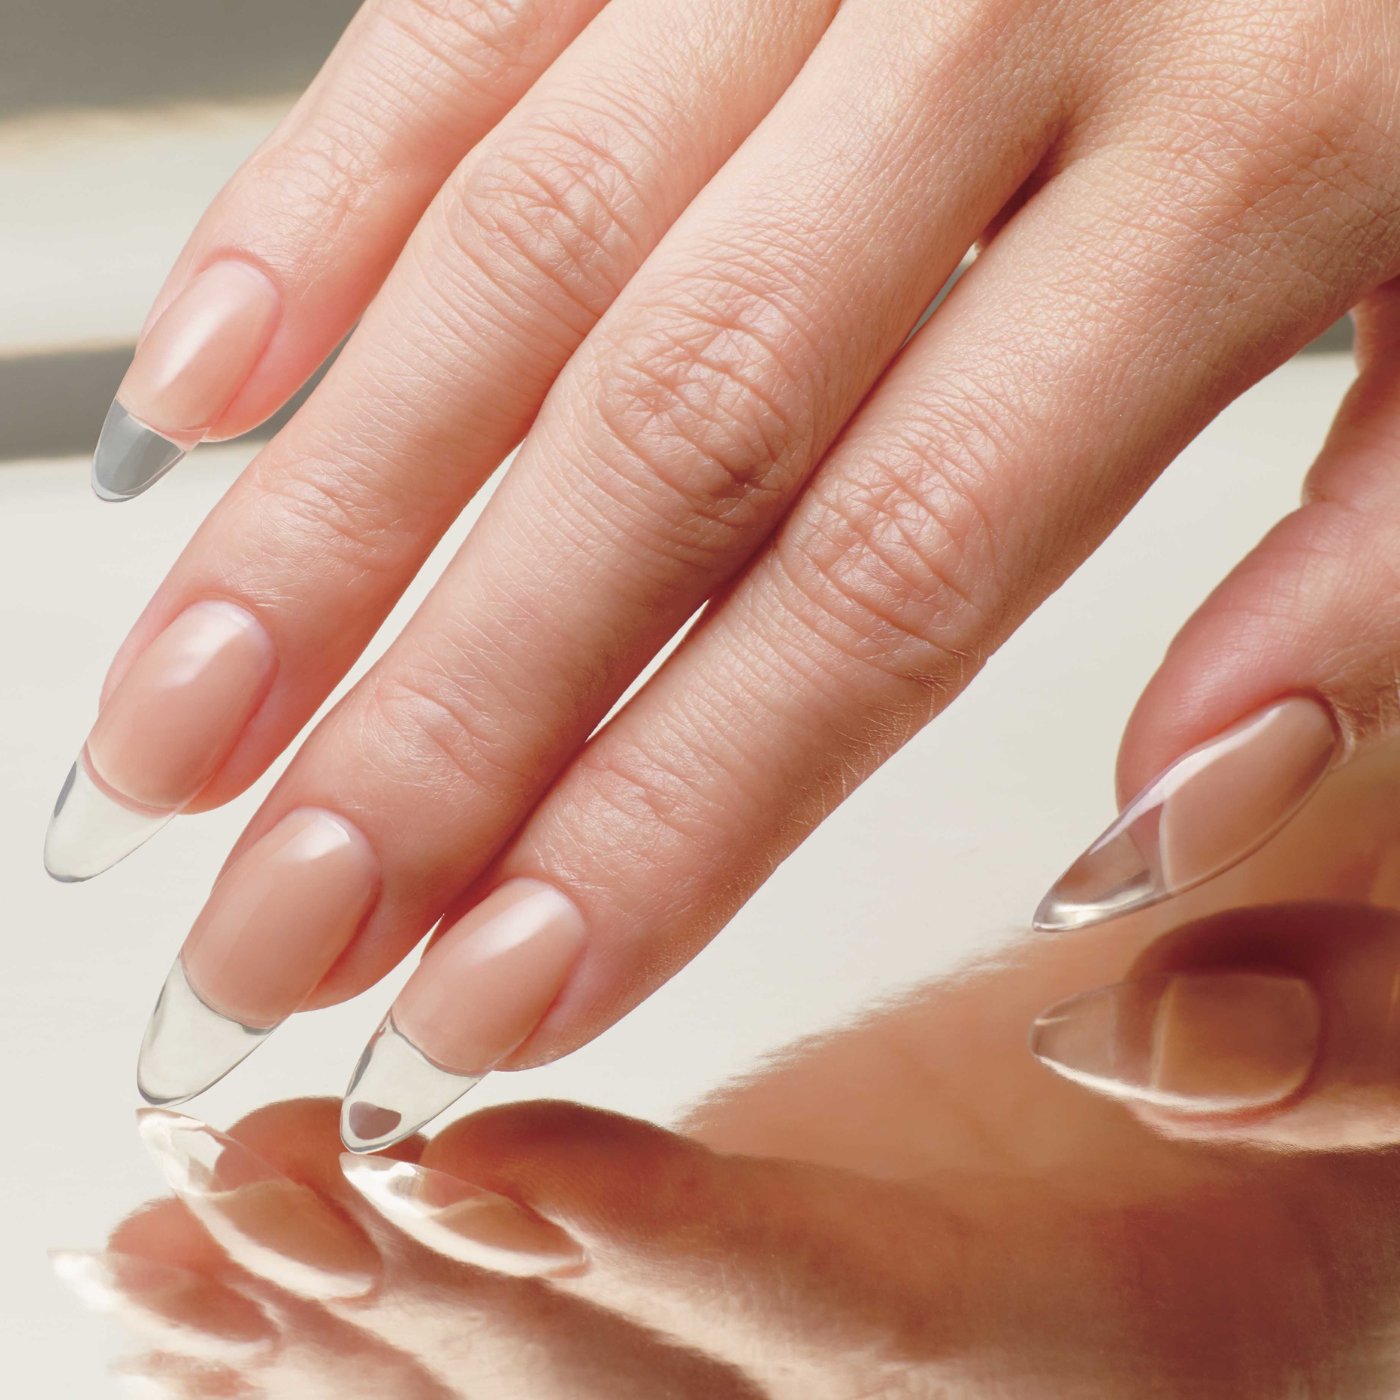
Applying gel on damaged nails. I understand that in this case the natural nails may be too brittle and so a gel coating will help alleviate the tenderness. But I want you to do two things, shorten the nail significantly and tell your client that she cannot expect long wear during this service, as the nails underneath are too thin and damaged. In their second or third service they should notice better retention.
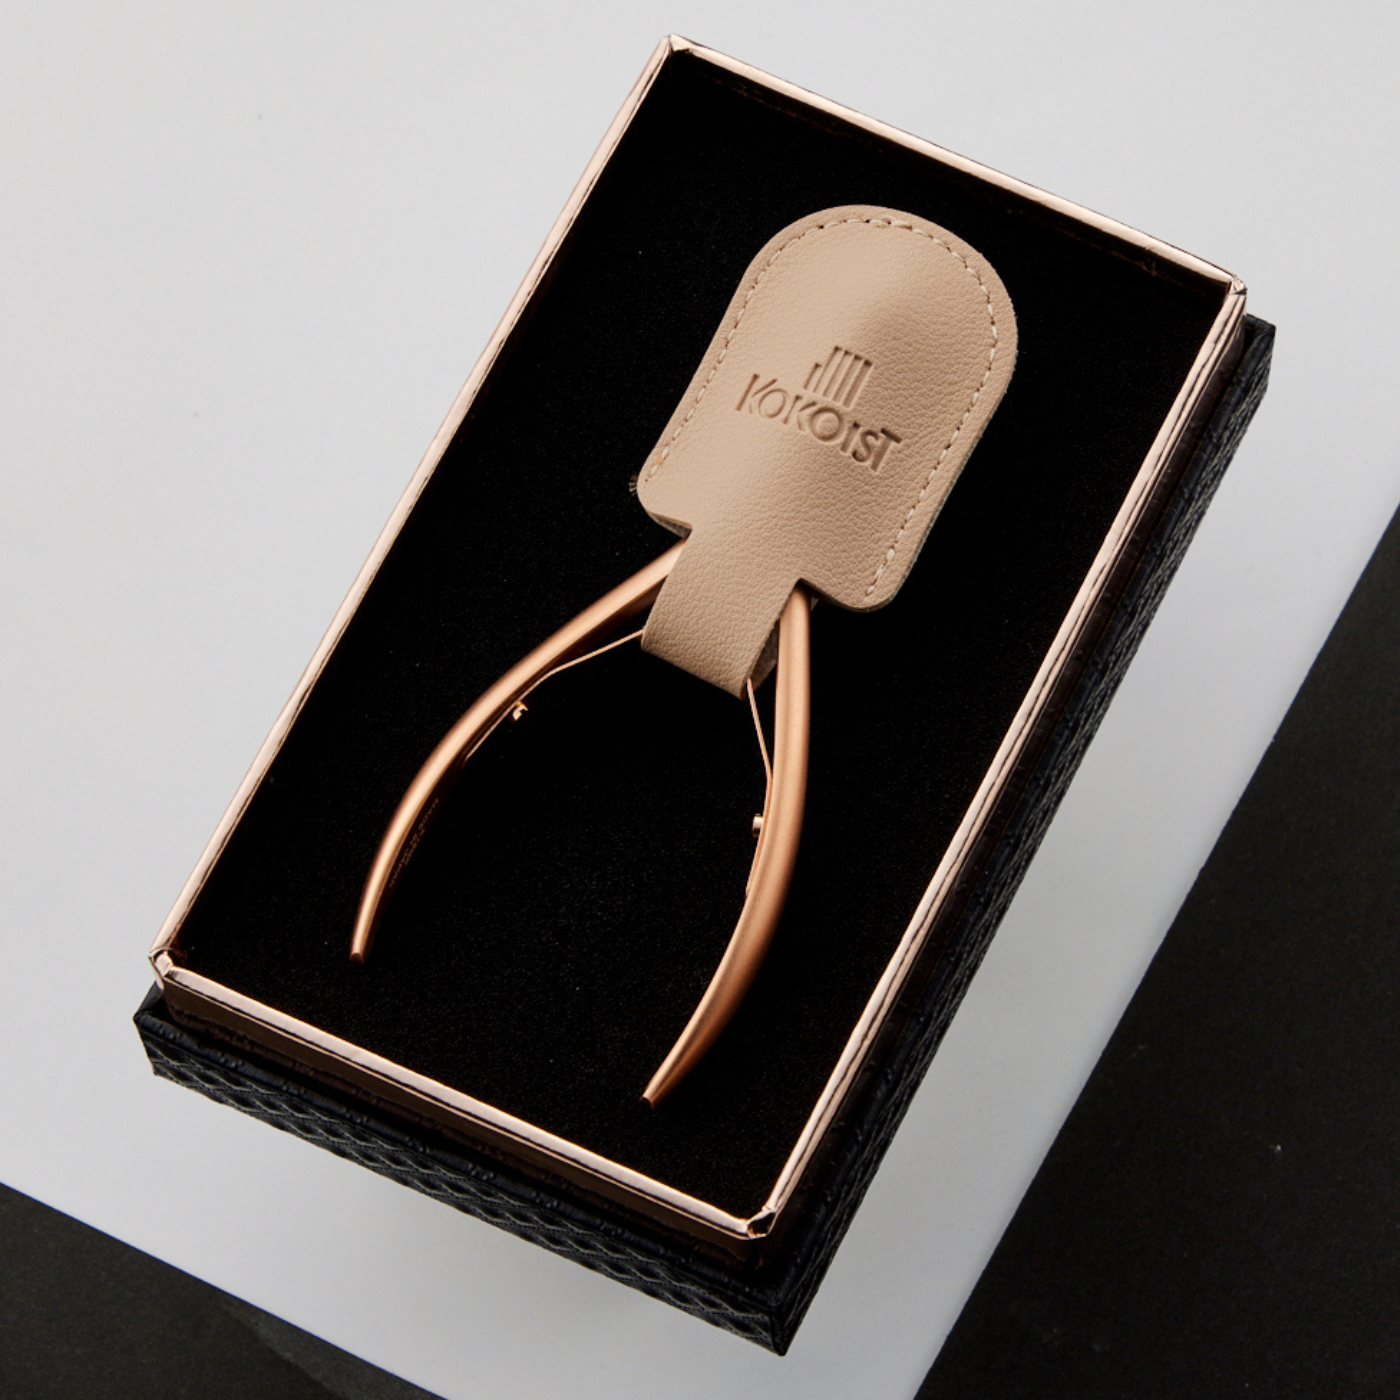
The other thing you may notice is natural nail spitting, this splitting must be removed (using a board file or ceramic bit are my recommendations). If you do not remove it, because this part of the nail plate is unstable it will displace the gel nail product leading to lifting.
Tip #2 Dehydrating the nail plate thoroughly
Nails should be manicured without the use of water. If you’re doing water manicures, you’re working backwards because your goal right before applying the gel on to the natural nail, is to have completely dehydrated that natural nail.
And so if you have used water, then throughout the whole service you are hoping and praying that all of that water that the nail soaked up evaporates before applying your gel product. And you’re probably like ok, well what if I use a pH balancer/ dehydrator, can that not do the trick? Well, the thing about using those is that they sometimes dehydrate the nail plate really fast, and that abrupt temperature change, can lead to a thin condensation layer left behind which is moisture and outs as back in square one.
Another thing to consider when using water is that when the nails absorb water, they expand, which means that shortly they will contract. And what that means for long wear is that after you have applied your gel on wet nails, once that water evaporates and the nails contract, the gel will be displaced a tiny bit, and this could lead to lifting.
Now you may one day encounter a client with tough thick cuticles, and you may say… well I have to use water right? Not necessarily. You can use a cuticle remover, but you must remove the solution thoroughly, and that by avoiding washing or soaking the nails in water.
So if it’s between a water manicure or using cuticle remover on those rare occasions, I would go with cuticle softener.
To thoroughly remove the cuticle solution, I would spray the nails with 90% alcohol, then wipe with acetone, and take a dry nail wipe to dry the nails and push back the eponychium.
Tip #3 Inspecting for a clear smooth canvas
Now when I say smooth, I do not say, shiny smooth. You can use up to a 180g sponge buffer on the natural nail.
What I want you to get here as it pertains to nail prep, is that any dust particle, any bit of hangnail hanging from the eponychium, and any oils left behind on the nail plate will lead to mysterious confidence-knocking lifting scenarios.
So! Push back the eponychium and lateral nail folds back with intention, you want to apply your gel product as close to these areas but with the restraint of the invisible ½ millimeter line. If you cross this line when applying your gel products you risk flooding the gel into the cuticle area and this will inevitably lead to lifting.
Remember the tiniest dust spec or hanging cuticle will lead to lifting.
And here’s another inconspicuous culprit, oils on the nail plate, and you’re probably like, wait a minute I cleansed the nail prior to application, and you did… but your client just gave themselves a good scratch, and guess what skin, scal, and hair has oils. So do caution your client that after that last nail wipe before the gel goes on and before your last layer of gel… she literally cannot touch anything.
Let’s recap today’s tips to improve adhesion to 3+ weeks of wear of your gel nails.
#1 Checking the integrity of the natural nail prior to gel application
#2 Dehydrating the nail plate thoroughly
#3 Inspecting for a clear smooth canvas
Remember it takes two to tango. Lifting has to do with both the condition of the natural nail, and the adhesion success between the product and the natural nail. Not just one or the other.
Thank you for joining me today, check the description box below for any active promo codes as well as any upcoming education.
We’ll see you next time, and bye for now!
___

Paola Ponce is an independent nail educator helping the Japanese gel nail niche and its nail stylists grow! You can follow more of her work at www.paolaponcenails.com and @paolaponcenails on Instagram. Save 10% on your Kokoist Products & support Paola’s work with affiliate code PPN10.
___
These blogs are copyrighted material and any use of this blog is not permitted without written concern first. Some of these blogs contain affiliate links that generate a small commission when qualifying purchases are made. Thank you for your support that helps us to continue creating valuable resources and content like this.


Leave a comment