


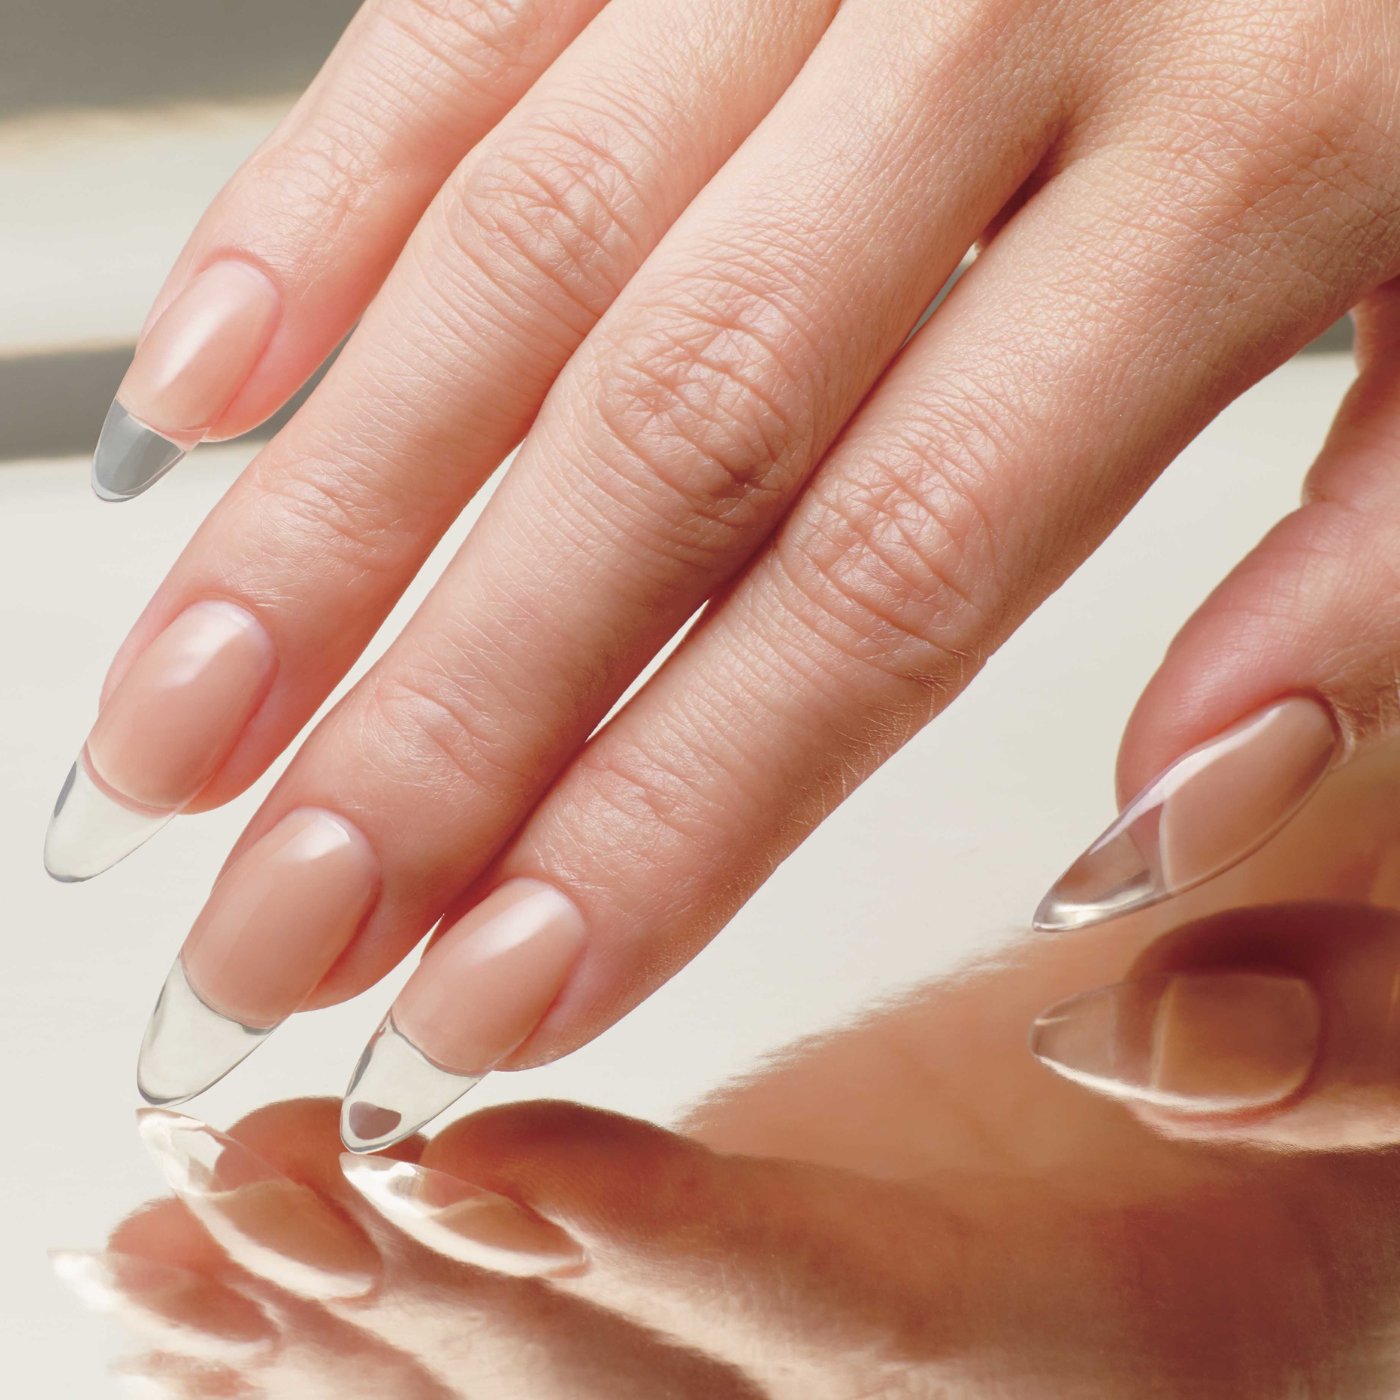

How to Remove Bling | How to Super-Secure Bling Using Japanese Gel
Nail bling or embellishments can consist of studs, crystals, charms, stones, gems, and so many other 3D little nail accessories, so for the purpose of this video I’ll be going back and forth with the words bling or embellishment.
Applying and removing bling is a technique that we all have to master as nail artists. Even if you don’t find it to be your style of art, sooner or later I think you’ll come across it.
Someone will either want you to apply something as simple as a striping tape or even remove a jewel on their nails that they got somewhere else.
In today’s video we will be learning how to affix, or super-duper-secure bling on the nails using Japanese Gel as well as how to remove them.
Alright, so!
There is an old way and a new way to adhering gems.
The old way, which still works, is a 2 step process consisting of working with two products.
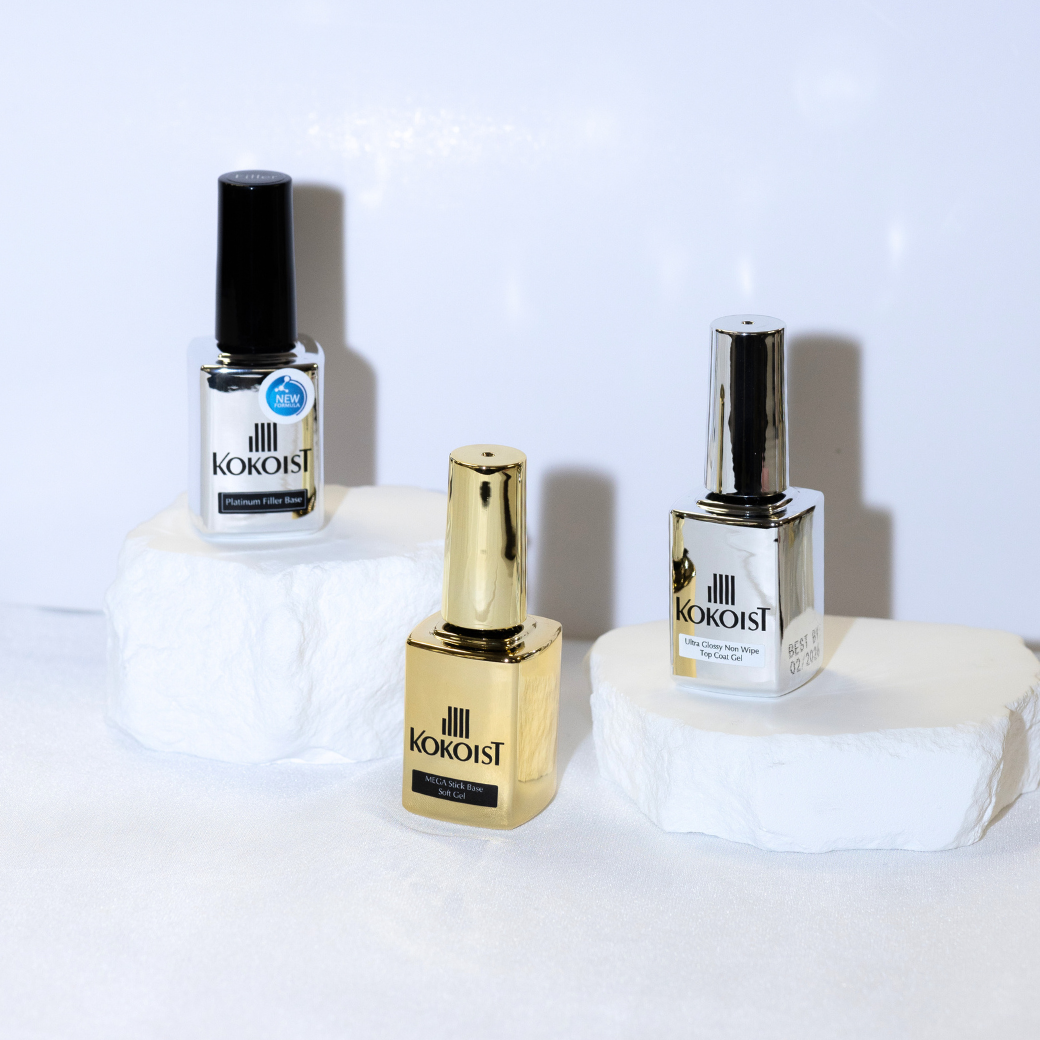
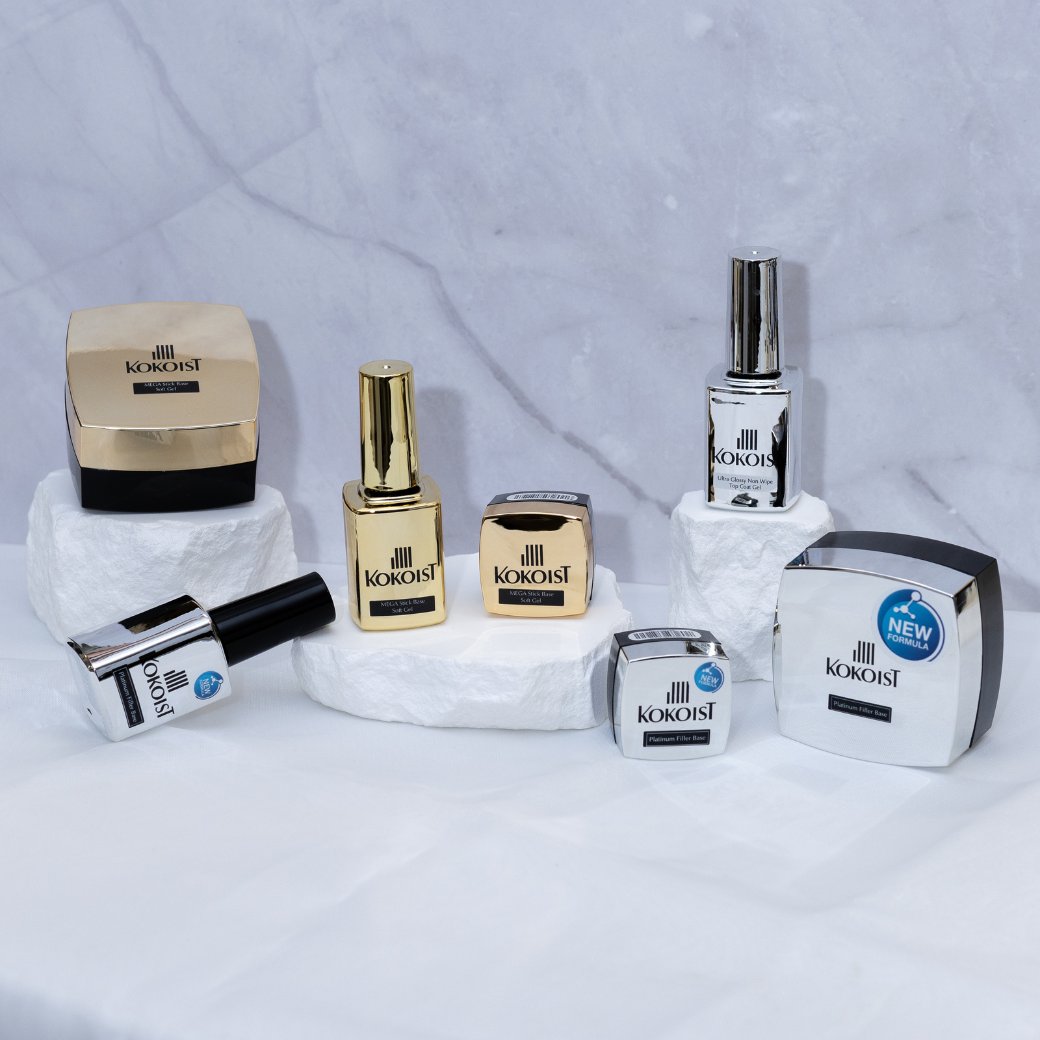
With Japanese gel, those two products would have been a soak-off builder gel followed by a top coat. Preferably non-wipe.
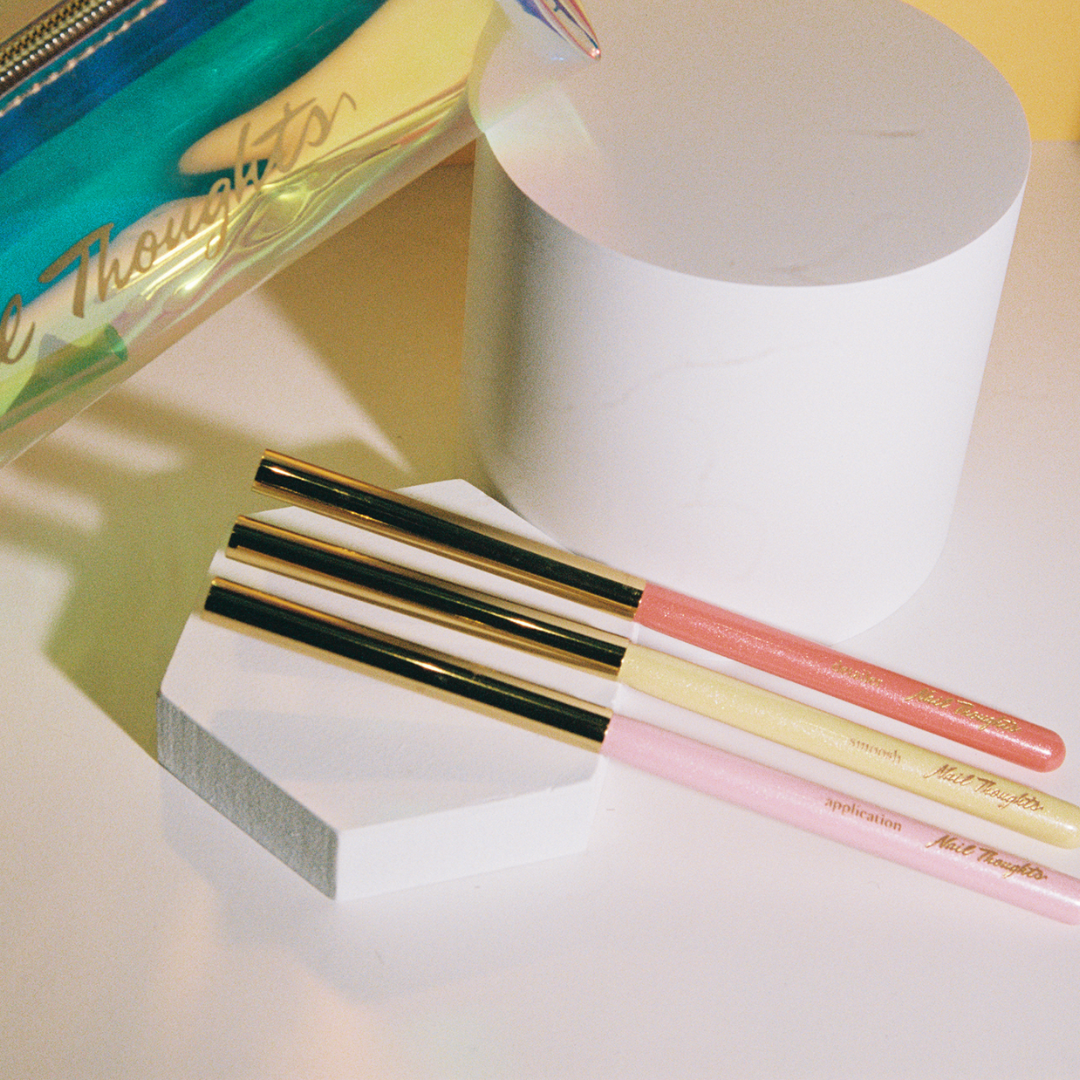
With Kokoist Japanese Gel your builder options are Platinum Bond Duo or Excel Builder. I would opt for the potted version of Platinum Bond Duo in a pot, by the way, as it is a little more viscous than the bottle version.
You lay a dollop of product, or if you are doing a bit more surface area, then you would lay a thicker amount of the soak-off builder gel.
You will then move fast to apply the gems into the gel, before the builder gel flattens out, cure AND the second step would be to outline your embellishments with Top Coat.
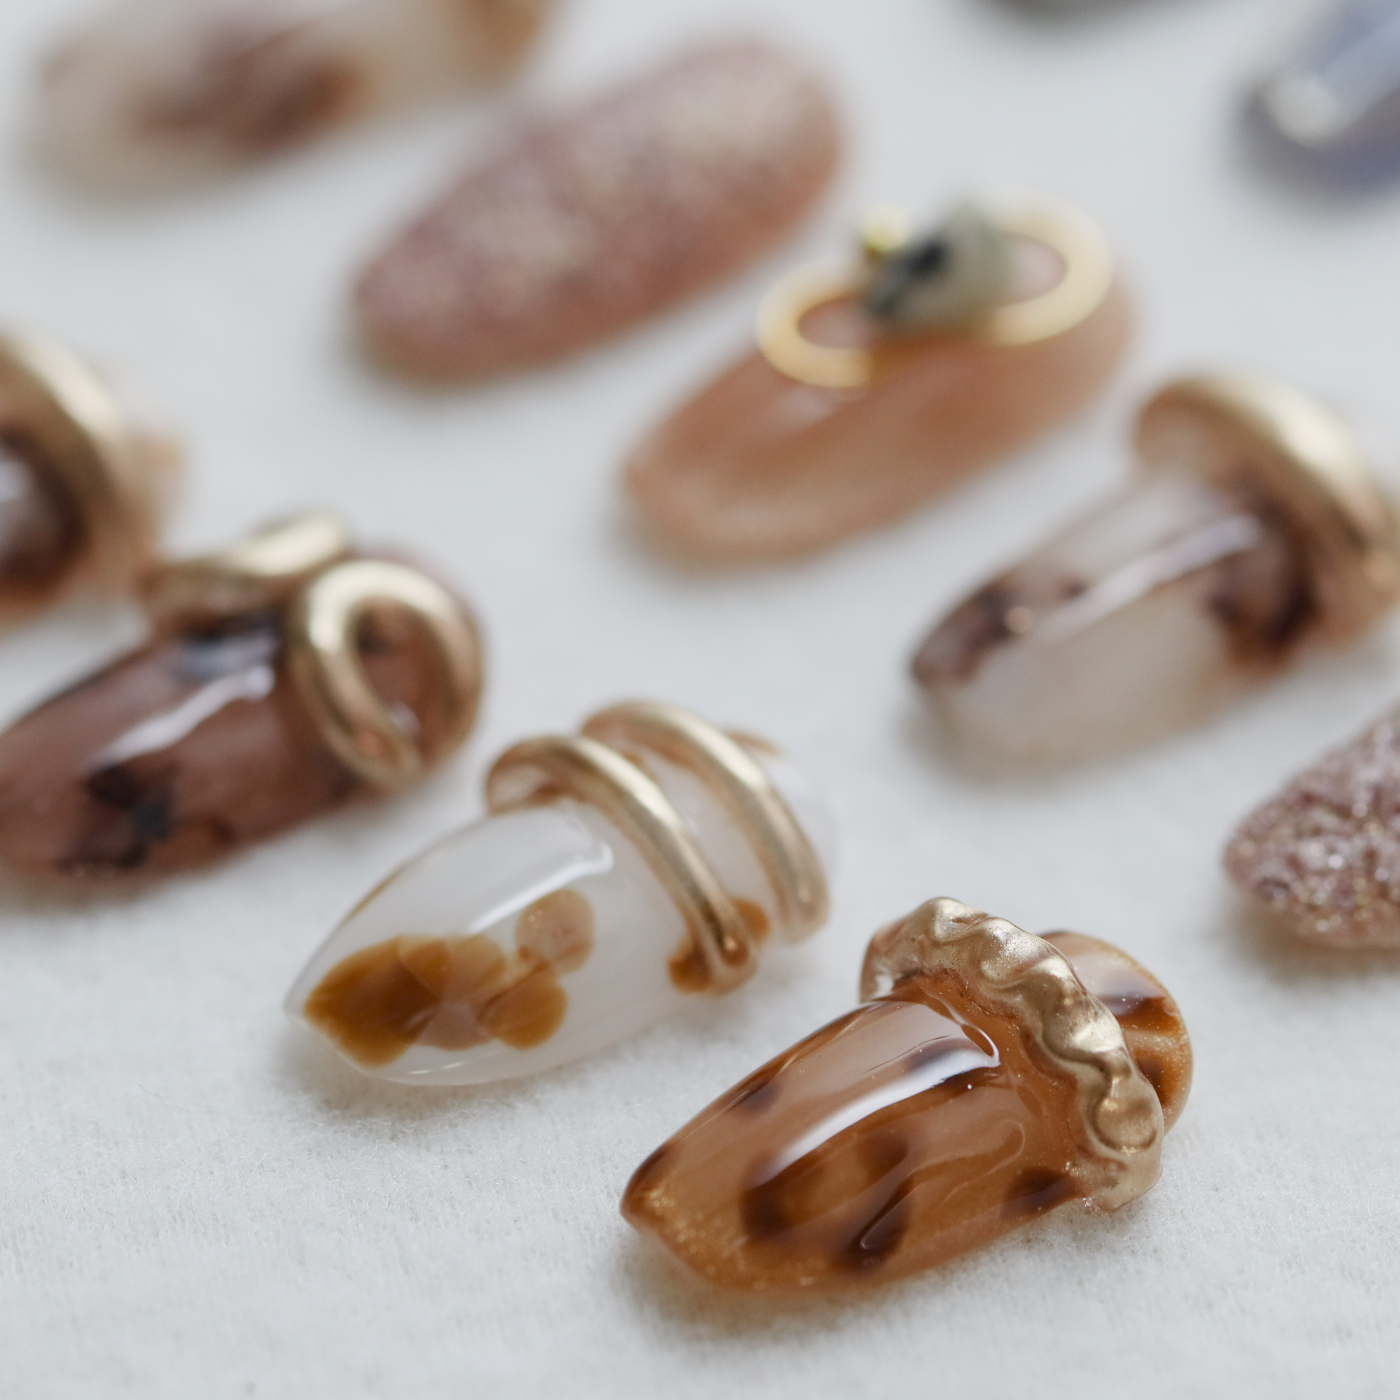
There are two BIG but subtle reasons why our crystals or gems do not last on nails after they are applied.
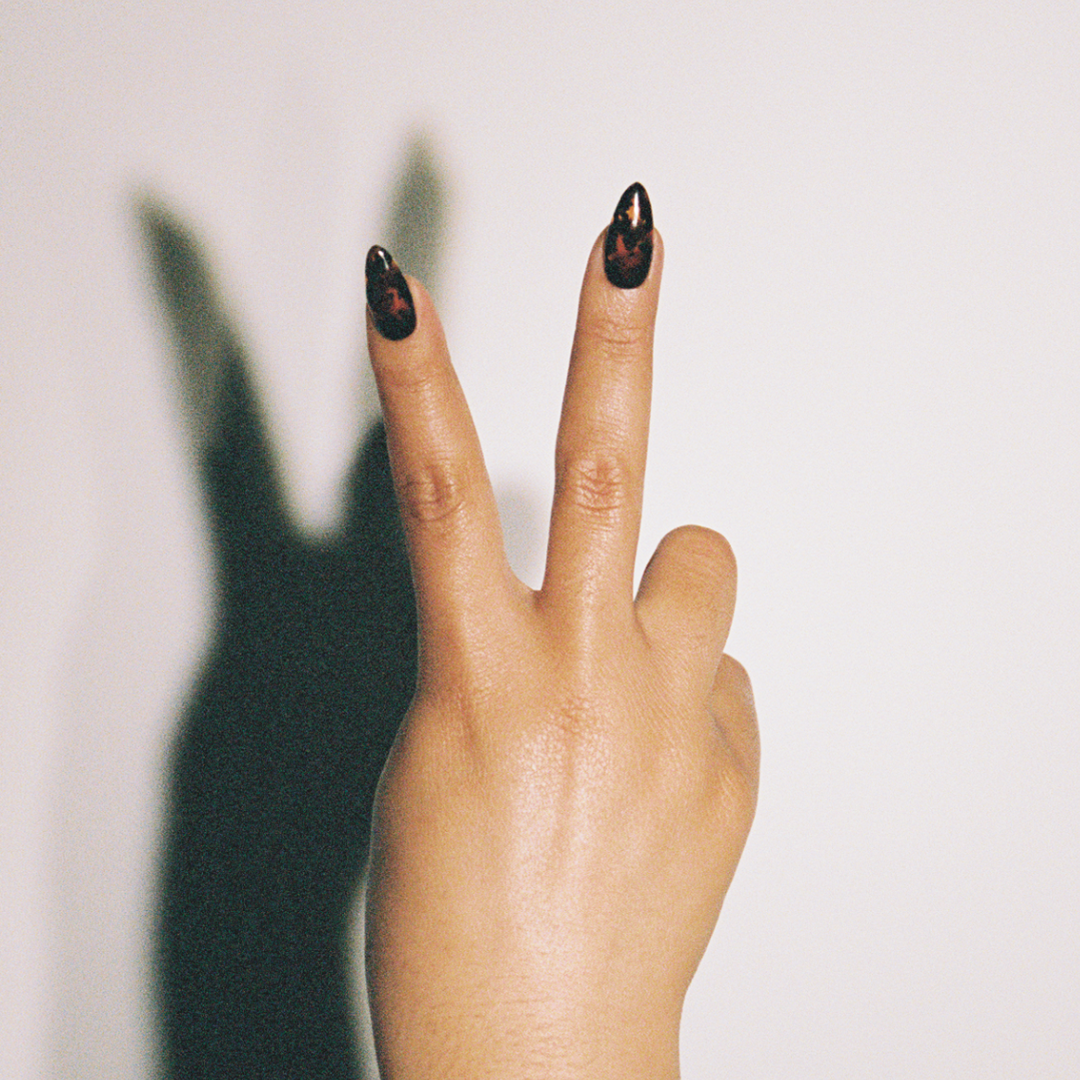
Reason #1: Bling needs to be embedded
Think about your bling item leaving a print in the product. If you make this a goal every time, you are 50% there to ensuring your jewels are super secure and do not fall off. This is much easier with a higher viscosity gel, which is why I recommend a builder gel or a gel specifically designed for affixing. I’ll tell you more about that in just a moment.
The gel is not a glue, if you’ve ever adhered studs with glue, then you may know that glue lays flatter than gel.
So remember, when adhering with gel, embedding is king.
The second reason why your bling does not last is because …
Reason #2: Improper cure
And this happens more often because the embellishment is inhibiting, or is in the way, of the light from properly curing the gel.
This was a super subtle mistake for me early on as a nail tech. I would add a whole bunch of gel thinking surely that would do the trick, but after a couple of failed attempts, I realized this was not the problem, and then learned that this is rather, easily fixed by turning the finger on each side and ensuring it cures for at least 30 secs on each side, before a final full cure with just the finger laying flat.
Alright so, so far, we have learned the old way of applying bling, and we’ve learned the two big mistakes to avoid. Now let’s move into the new way of adhering your bling and things.
Introducing Non-Wipe Accessory Bond by Kokoist.
This product allows you to adhere your bling in one step! And best of all, it stays firm on the nail. So it is perfect for the bigger bling.
Because this is a Non-Wipe formula, adding top gel is not necessary.
So here is the how-to step-by-step on applying bling with the new and improved Non-Wipe Accessory Bond by Kokoist.
Step 1: Finish your application with a top coat.
If you’re finishing with matte, finish with Matte Top Gel (Kokoist does carry an option), if you’re finishing with shiny, finish with shiny.
Now typically gel does not stick to a shiny surface, but this gel has been formulated to work on top of Kokoist’s Ultra Glossy Non-Wipe Top Coat. If you are a bit concerned that your accessory bond will not adhere because your top coat is shiny, just ensure to apply accessory bond immediately after curing non-wipe top coat, and especially not to over-cure your top coat.
Step 2: Dollop application
Apply your accessory bond in dollops or raised dots. This will help you embed your bling, because as we covered earlier, embedding is of the utmost importance.
Step 3: Cure
Now , yes the gel stays raised for the most part, but with the heat of the room or your lamp, or even the clients warm nails, the gel will want to level out a bit, so I do not recommend you work more than one finger at a time, and if you’re adding a lot crystals and things on one nail, again keep an eye out to ensure the gel does not flatten out.
Remember to cure each side of the nails, 30 secs before a final cure. I recommend 60 secs.
Step 4: Admire
Yes, just like that you are done. No top coat or wiping of the inhibition layer is needed with Kokoist’s Non-Wipe accessory Bond.
Now, this bling gel is more than just a bling gel. Non-wipe accessory gel is also a great option for raised brush strokes, if you’d like to see how to create these types of design, let us know down in the comments section.
Also think of how easy it is to adhere tiny chain embellishments on the nails, you can brush on some of this accessory gel thoroughly on the chain and then apply on the nail, and just like that, you are done!
Alright now off to the how-to of removing the bling from off of the nails.
Here are a few tips. Now while it will break down with acetone, it is better to remove with an efile but wait…
Tip #1 Do not just jump into using your efile
You can cause it to jump, which may hurt you or your client. Instead, try to use a set of nail nippers or a set of dull old nippers. Do not use your sharpened cuticle nippers or you will damage the point.
Tip #2 Do not use ceramic, at least not yet!
Ceramic can break and/or smooth out much faster than a metal bit. If you must dig in with your efile, use a metal bit like carbide or titanium
Tip #3 Wear eye protection
I have had a stud literally land in my eye, freaking both me and my client out, so think twice before shooting off studs or crystals into the airwaves with your efile.
If you do your best to apply these tips you can even leave the crystals intact and have your client keep them, for another service, then you can just charge for your re-application of these. But saving the studs is not your priority, so do what you need to do to safely remove bling w/o injury.
Well, thank you so much for joining me today, I hope that you are feeling super motivated and inspired to create after this nail knowledge regarding removing and applying bling with your Japanese Gel.
We post videos like this one weekly, so make sure to subscribe and be the first to know when our next video publishes.
Check out the description box below, for direct links to the items in this video.
Hope you can meet us again next week, and bye for now!
___

Paola Ponce is an independent nail educator helping the Japanese gel nail niche and its nail techs grow! You can follow more of her work at www.paolaponcenails.com and @paolaponcenails on Instagram. Save & support her work with affiliate code PPN10.
___
These blogs are copyrighted material and any use of this blog is not permitted without written concern first. Some of these blogs contain affiliate links that provide us with a small commission when qualifying purchases are made. Thank you for your support that helps us to continue creating valuable resources and content like this.


Leave a comment