


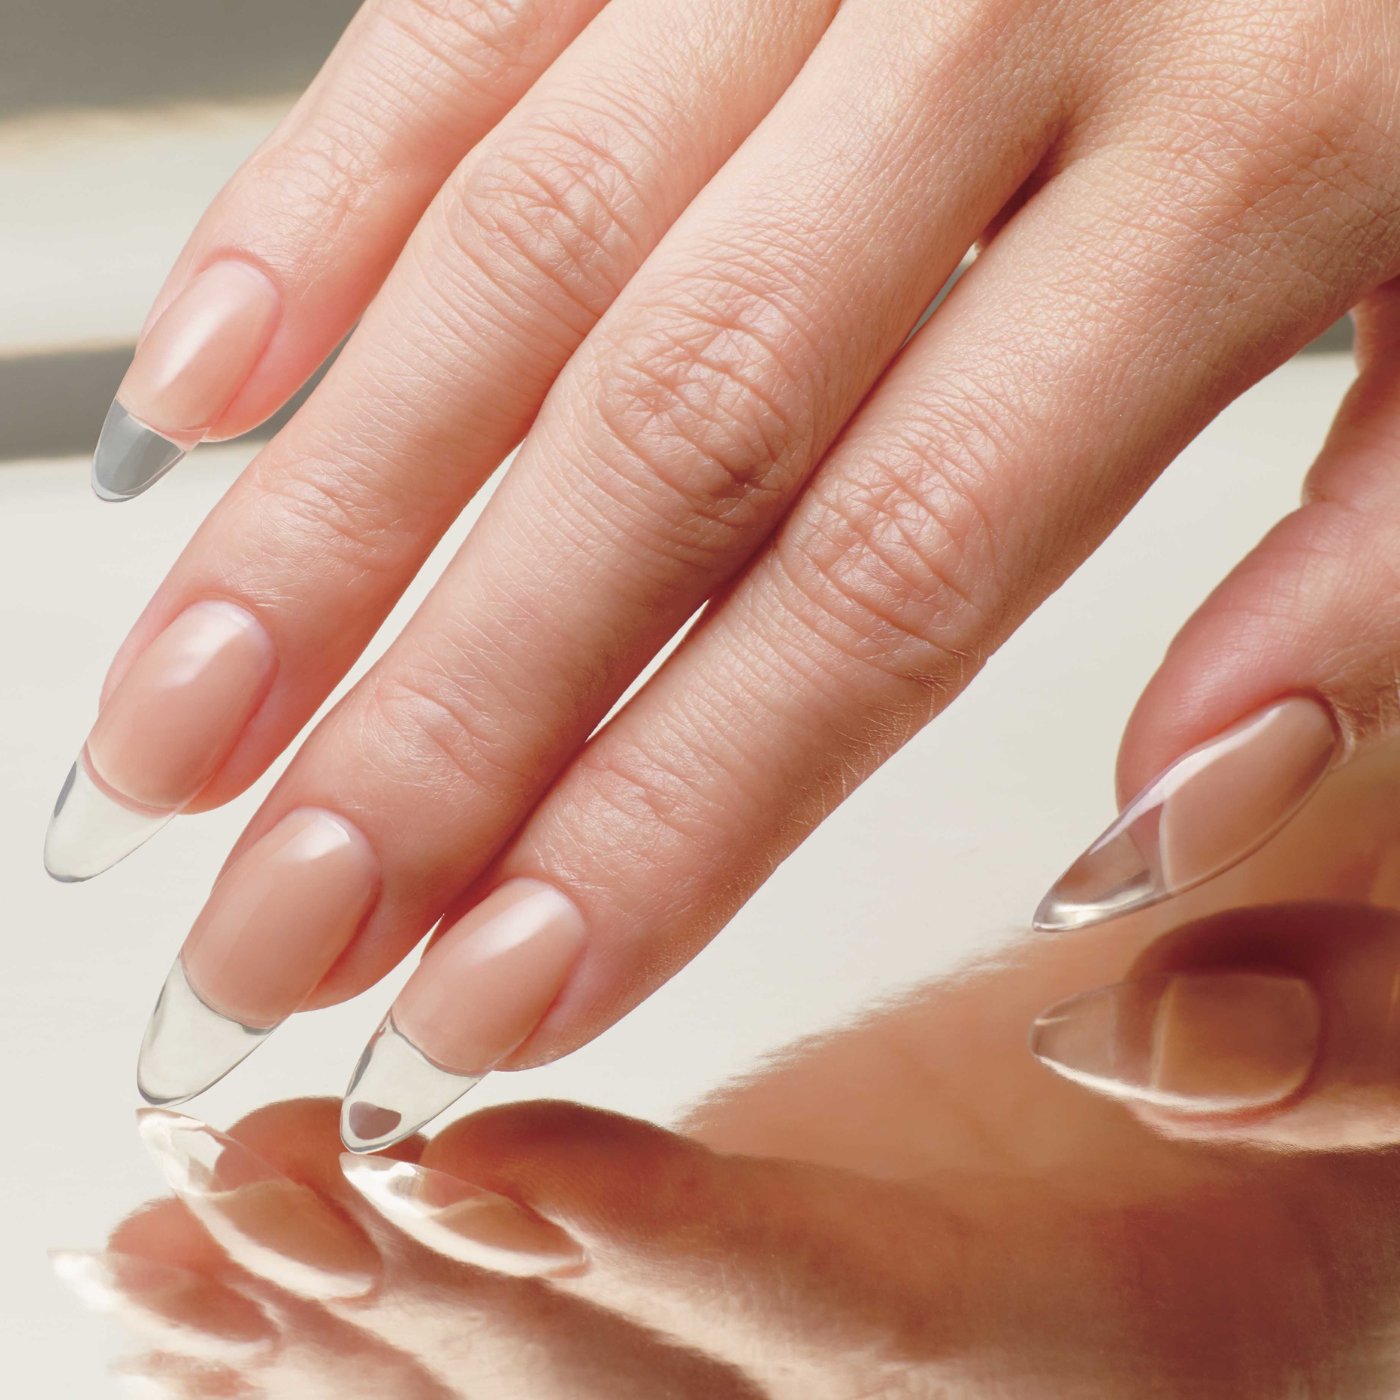

How to Remove a Japanese Gel Nail Manicure
Removing a Japanese gel nail manicure doesn’t have to be hard.
Today I’ll be showing you how to gently soak-off a Japanese Gel Nail Manicure with acetone, and I’ll also be giving you some pointers if you’re feeling brave to remove fully with an efile.
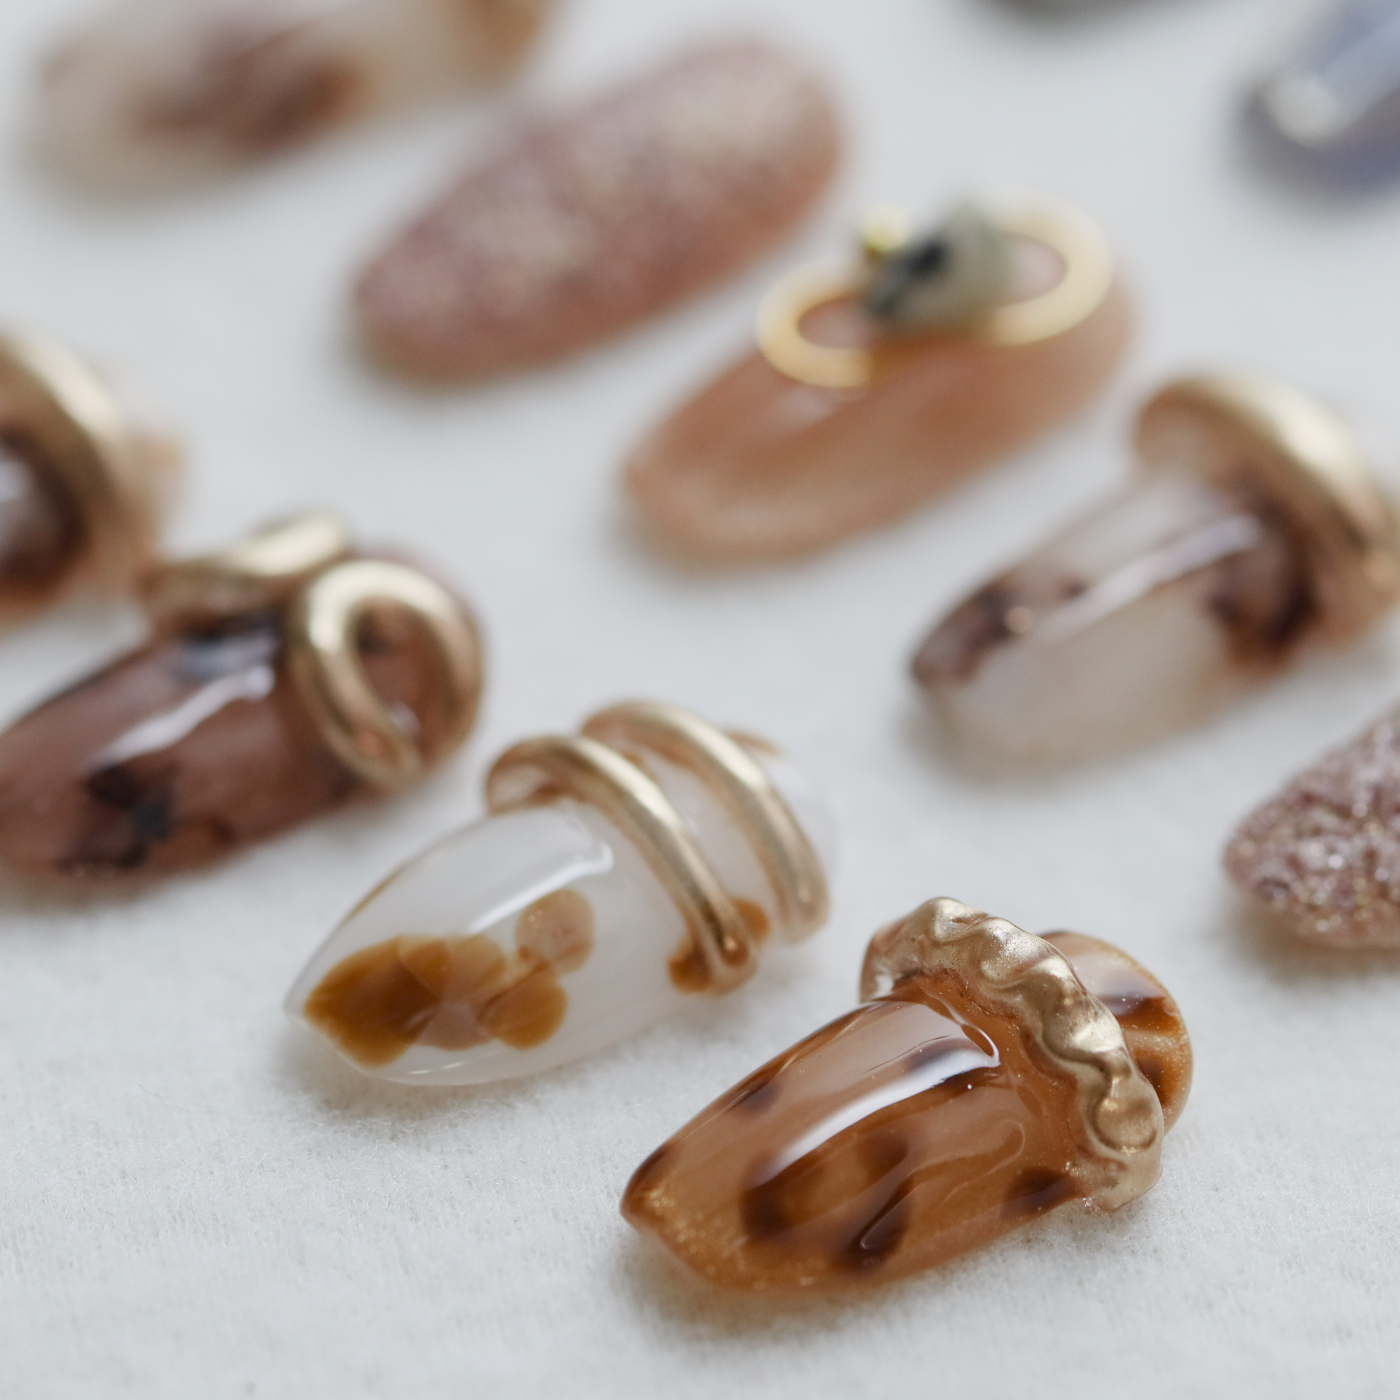
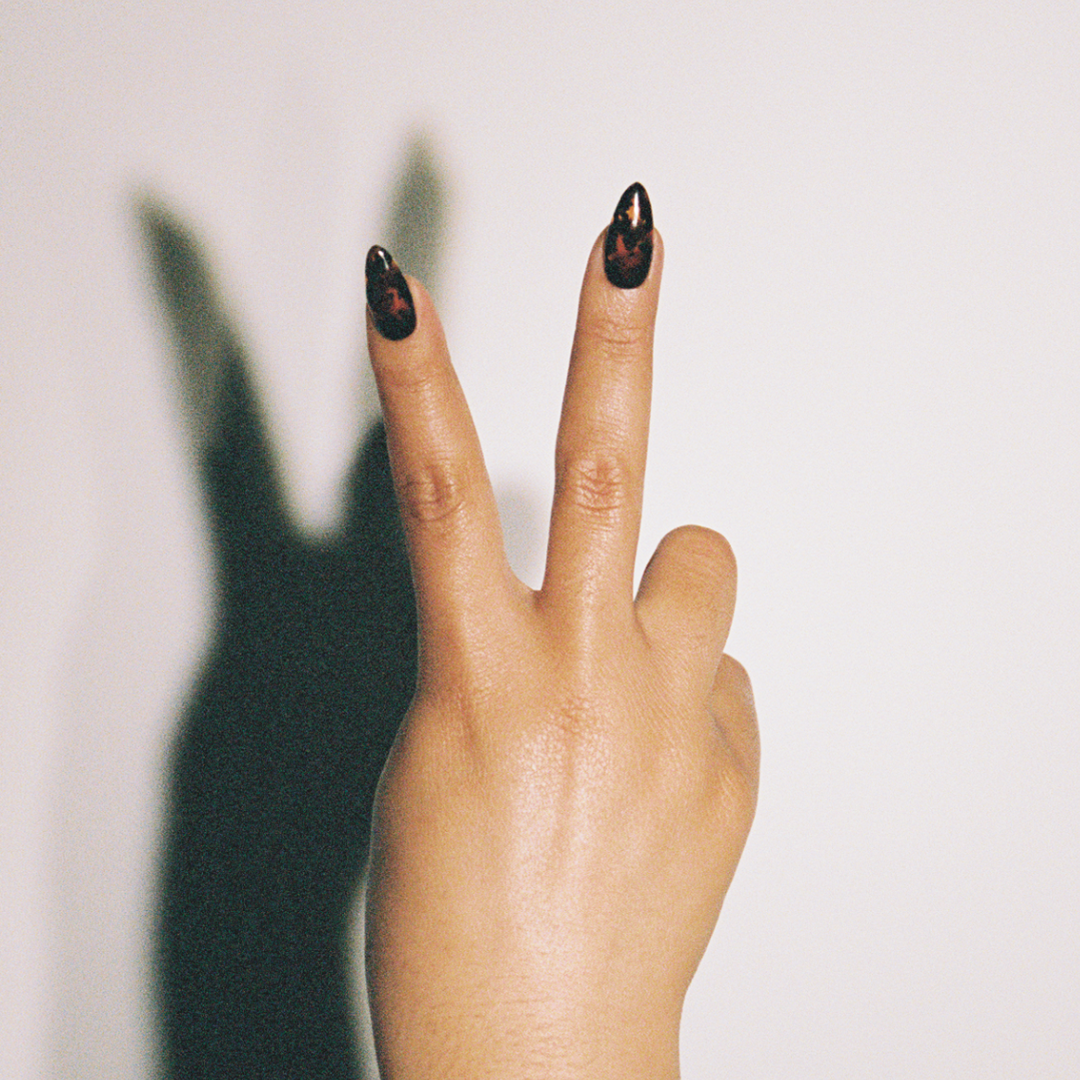
When removing a Japanese Gel Manicure, you’ll first have to remove any nail art embellishments on the gel nails. In today’s example, I am wearing two large gems.
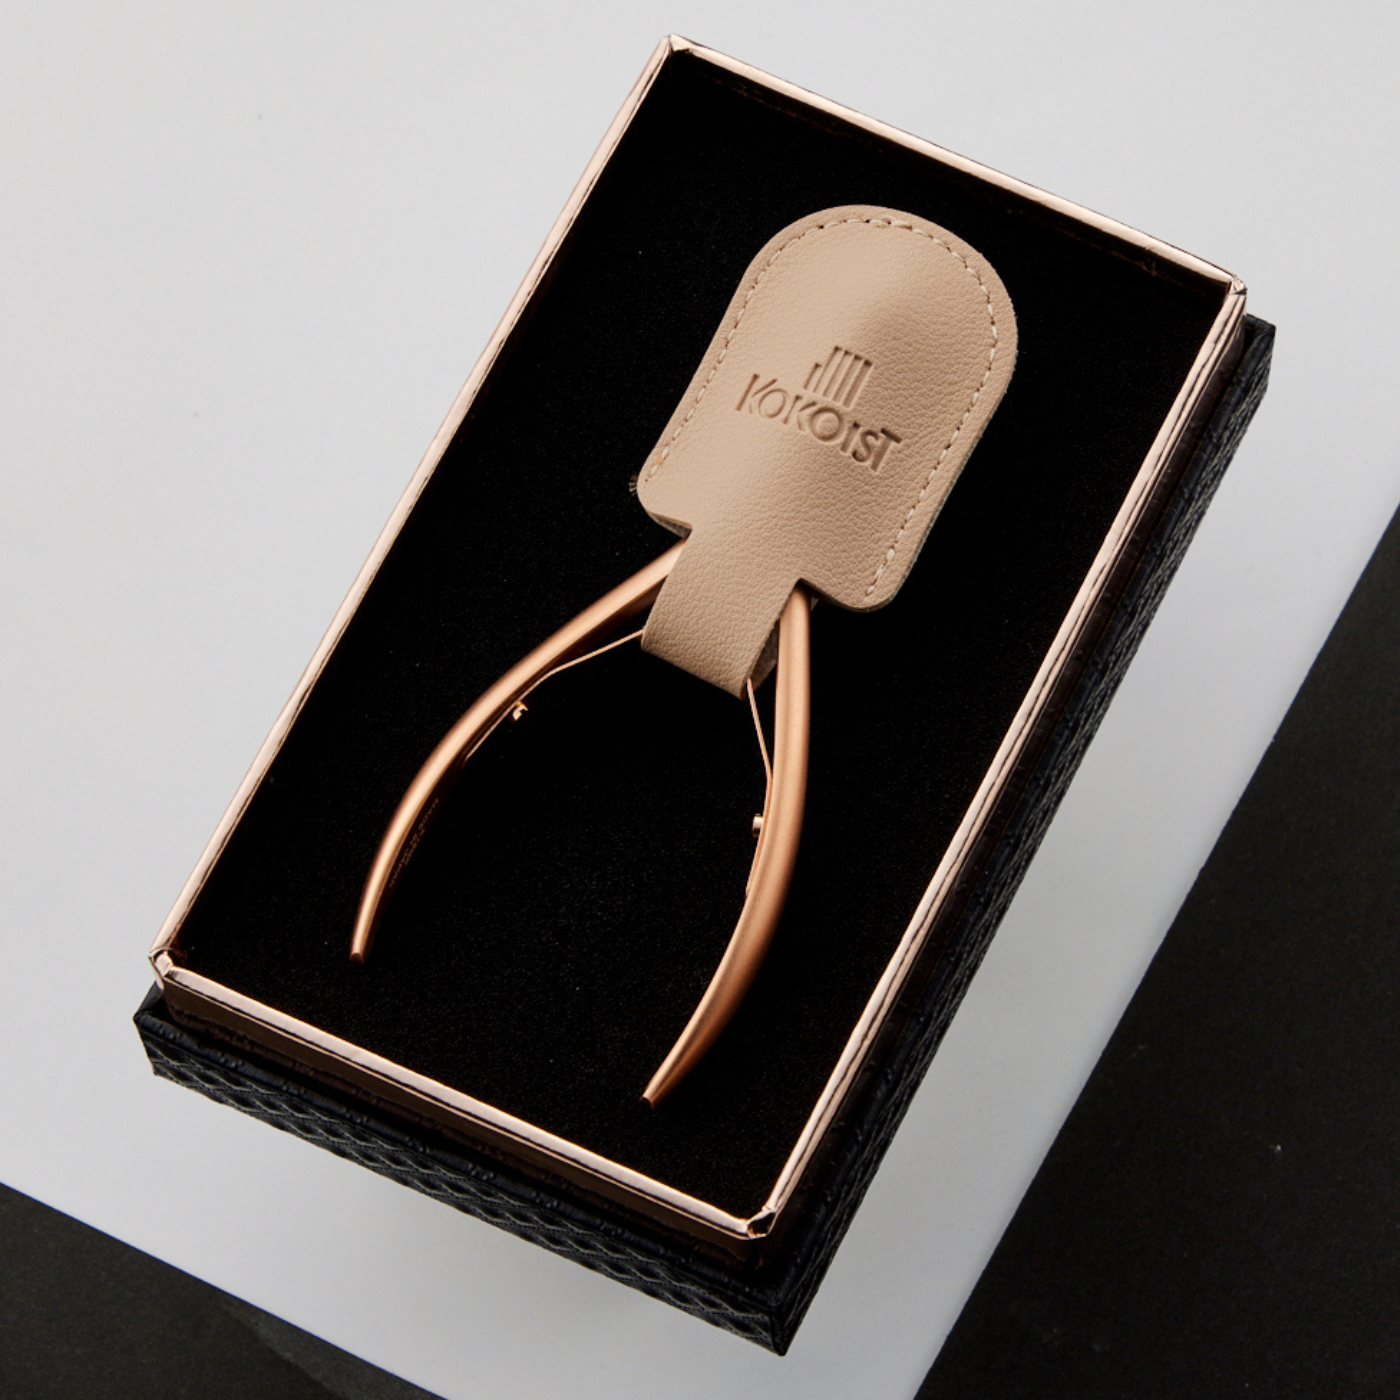
To remove these, you’ll need a pair of nail nippers (do not use cuticle nippers, or you will bend these, and they will no longer be operable for dry skin nipping.)
Be careful, you’ll want to have your hand stabilize, or you can seriously hurt yourself with the point of the nipper. Another way to remove these is to dig in a carbide or ceramic pointed bit around the perimeter of the gem. In any case, be careful!
Ok, once you’ve safely made it out of that, you would have most likely been left with residual gel from embedding the gems. It is very important that you file it down smoothly and evenly, so that you have an easy-peesy efile removal.
You can file down with a carbide bit, but actually I prefer ceramics, as these are quite gentle at removing product from the nail should they touch the natural nail.
Whether you choose to remove with a carbide or ceramic, you do not need to use anything coarser than a medium grit. I even recommend that if you’re going to be bold and remove all of the gel using an efile only you should switch to a fine or even extra-fine grit.
But let’s just say, you’re not there and you are still only hand filing. Not a problem. Take the coarsest grit you’ve got. If using a Kokoist hand file, you’ll find a 120 grit. Then use that to remove or file down at least 80% of your gel. The more you remove, and evenly, the easier your soak off removal will be.
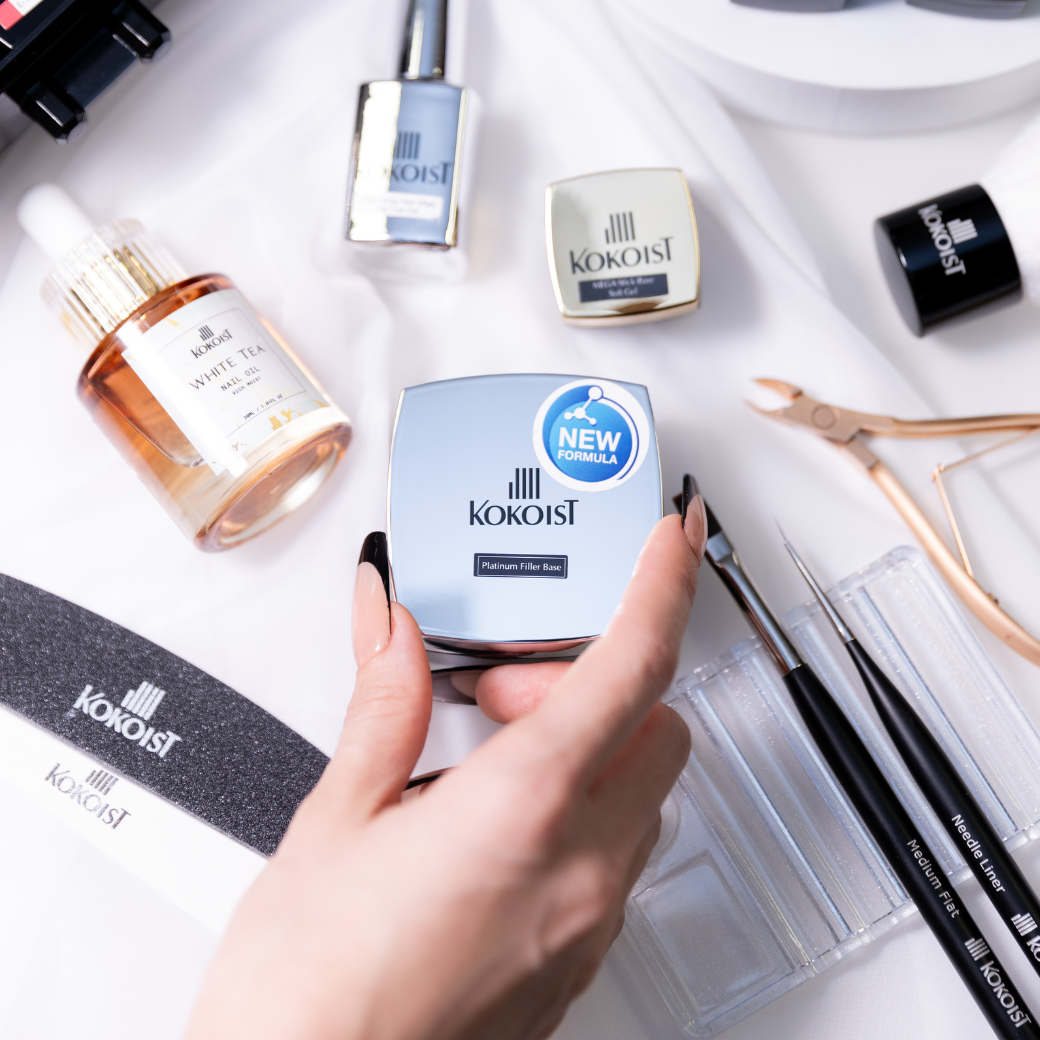
Next up, you’ll need acetone, cotton, and either clips or foils. As an added bonus, plastic deli gloves, to generate heat!
Now that you’ve evenly removed most of your gel nails, and if efiling down with a ceramic bit to the natural nail, it’s time for your soak-off removal, if efiling makes you nervous.
But actually! I want to back up just a bit. When you remove at least 80 % of the Japanese Gel Manicure product you have actually set yourself up nicely for reapplication. This means that you can proceed to your prep (as if leftover product didn’t even exist on the nail plate!) and reapply the entire service. In this case you would be treating the service as a new set. I loved doing this in the salon, efficiently!
Back to our Japanese Gel Manicure Removal…
Saturate your cotton in acetone (make sure to only grab enough to cover the nail, you want to keep your acetone soak from touching the skin and dehydrating it). Removing the moisturizing layer on the skin can allow for allergic reactions, as the moisturizing layer works as a protection.
Then simply wrap your fingers in foils or soak-off clips. Whichever you choose, just make sure there is a tight seal, as acetone evaporates super quick and loses its strength.
Wait 15 minutes, before removing your soaks… and most importantly, remove ONE BY ONE. You don’t even know, what a big mistake it is to remove all of your foils off at once… it stops the whole removal process!
So. Very important. Remove your foils one by one, and also make sure the hands stay warm at all times. Heat is a catalyst for just about any reaction. If you want to set off a reaction, give it some warmth!
After 15 minutes, the gel should be peeling off on it’s own. Help it a bit with a cuticle pusher, and if it’s not budging, re-soak. Do this until you have removed all of the gel from off of the nail. An it is important not to get hung up here. A little bit of gel left behind is better than forcefully removing it all from the natural nail.
I highly recommend you give the natural nails a thorough manicure afterwards.
Start by gently buffing the surface of the nail with a sponge buffer. Then file and shape the nails, and continue with your cuticle work.
Important to note!
If you have left some length on those nails and no gel, you’ll want to coat the nails with 2 coats of nail strengthener, but I definitely recommend you trim the nails short and let them strengthen themselves for the next few weeks if you have taken a gel nail break.
But here's something even bigger to note!
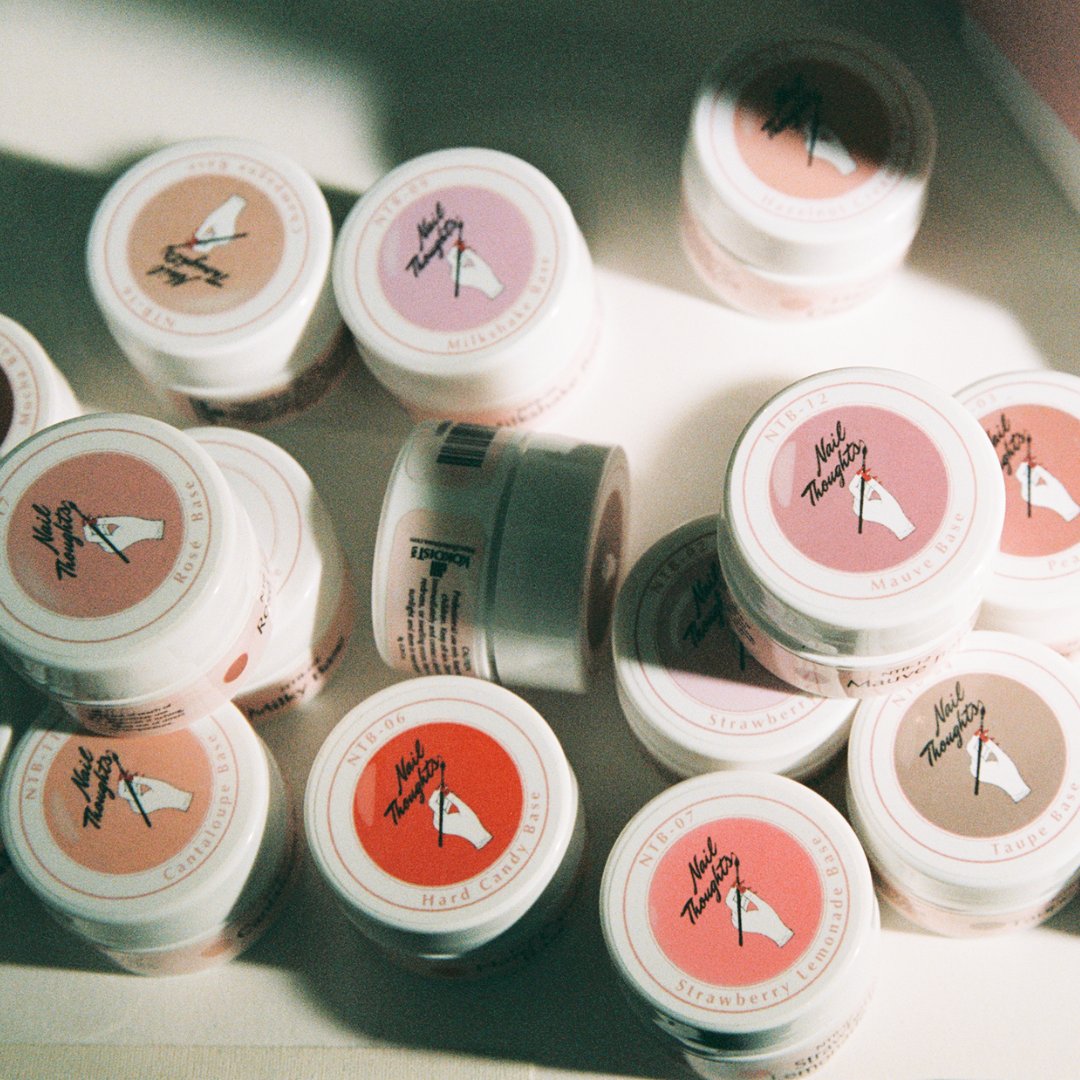
Kokoist Japanese Gel Nail Products were designed to be rebalanced at the average service tome of 3 weeks. Which means, full soak-off should only happen when you or the client are taking a gel nail break. Pretty cool right?!
Alright, I hope you learned a bunch about how-to remove a japanese gel manicure. The big thing to keep in mind here, is that generally the base layers of a japanese gel manicure are a little thicker and therefore to ensure a faster removal via soak-offs you’ll want to file the product down thin.
We’ll be back next week with another video, make sure you’re subscribed to be the first to be notified.
___

Paola Ponce is an independent nail educator helping the Japanese gel nail niche and its nail techs grow! You can follow more of her work at www.paolaponcenails.com and @paolaponcenails on Instagram. Save & support her work with affiliate code PPN10.
___
These blogs are copyrighted material and any use of this blog is not permitted without written concern first. Some of these blogs contain affiliate links that provide us with a small commission when qualifying purchases are made. Thank you for your support that helps us to continue creating valuable resources and content like this.


Leave a comment