How to Gel Manicure at Home | With Pro Tips & Tricks!
Whether you’re doing it yourself or you missed your nail appointment, learning a basic gel manicure application may come handy to you.
So why not learn to do it with top-tier gel nail products, like Kokoist Japanese Gel.
In today’s video we’ll be taking you step-by-step through a basic, no fancy-equipment method of doing your own gel nails at home.
Grab pen and paper, and pay diligent attention, as we’ll be taking you step-by-step.
Hey there and welcome back to the Kokoist USA Channel. I am Paola of paolaponcenails.com, and I am a Kokoist USA educator. Kokoist nail products are soak-off and made in Japan. If you’d like to continue learning with us, take a moment to subscribe and hit the notification bell icon to be the 1st to know when our next video drops.
Back to today’s topic!
Now, today’s video will show you gentle but thorough technique and before we dive in, I need you to make me a promise that you will not be aggressive with your removal or application after learning today’s tips and tricks for gel nail application at home. If you find yourself damaging your nails, you’ll need to leave gel manicures to the pro’s.
DIY’ing means doing it yourself, not destroying it yourself. Deal? Let’s get started.
When starting any nail service, you’ll want to start with washed hands to remove dirt and some oils from off of the fingernails. This will improve adhesion from the get-go.
Step #1 Remove any old product
As you may already know, regular nail polish just requires wiping off with acetone, while soak-off gel requires saturation in it.
To remove your gel nails you’ll need a board file, acetone, and foil. We have already done a thorough breakdown on this topic you can check it out in our archives, but in a jist…
Thin as much gel as possible with a coarse-grit file. I’ll be using Kokoist Diamond-shaped brown hand file, which is 120 grit. These Kokoist files are washable and disinfectable allowing you to use them on yourself over and over again. Do file until you see that your file is breaking into the gel, touching, or almost touching the natural nail. You do want to avoid touching the natural nail, so stop filing that specific area, if you’ve broken through.
After doing so, Soak a piece of cotton in acetone. I like to use a conditioned acetone, but if you’re just working with pure acetone feel free to drop a drop of cuticle oil on your fingernail or acetone to keep your skin and nails from being dehydrated too much. This by the way also helps the acetone evaporate slowly.
Wrap the foil tightly and most importantly, neatly, as you don’t want it to tear and leak the strength of the acetone.
Make sure your fingers especially, do not get cold and when you’re ready to remove start individually removing each gel nail after 15 mins.
If you are reapplying your gel nails, it is ok to leave a very thin gel layer behind. Do not force it off, we will blend it to the natural nail in a little bit.
Next.
Step 2: Trim the nails if desired
At this point you just want to give them a general trim to the shape you are going for, this is not the time to make them perfect, just time to get rid of excess canvas.
Step 3: Time for our cuticle work
Remember the cuticle is what is touching the nail plate. Eponychium is what is surrounding the nail in this area, and many often call this cuticles, but they are not.
As a DIY’er you want to focus more on what is touching the nail plate, as that is what will cause lifting if left behind. You want to leave eponychium-work for the pros. We will be trimming any hangnails in a bit, but daily cuticle oil will improve dry eponychium so that you can continue focusing on cuticle when doing your own nails.
Begin your cuticle work by pushing back the eponychium with a pusher, it can be metal, wood, or even your thumb wrapped in a towelette.
Then, scrape the nail with the edge or “knife” end of the cuticle pusher. This will loosen and remove some cuticle from off of the nail plate.
But to fully remove cuticle, remember, we want to do so because this is a main cause of lifting, you want to buff or file it off.
For personal use Kokoist offers a stone pusher that works as a pumice stone would to remove dead skin. Work it in circular motions on the cuticle perimeter of the nail.
Be gentle and use light pressure.
If you don’t have this tool simply use a 180g file. Let the grit of the file do the work for you. Never over-file your nail plate, as it will take months to grow out the damage.
Step 4: Trim any skin sticking up
And I do mean only that which is sticking up. Leave the eponychium or any additional skin to be trimmed to the pros as you may cause damage to yourself. Oil your eponychium daily as we talked about earlier, and you will see how little trimming you will need, every time you sit for your nails.
Step 5: Buff dry callus skin
This is easier than you think. I recommend grabbing a new 180g file so that you don’t rub any dirt or debri on the skin and use this file to smooth out the sidewalls of dry skin. Once we are done with our manicure and we oil or moisturize this skin, it will be as soft as a babies bum, promise!
Step 6: Now it is time to shape the nail
When working on natural nails, an emery board is recommended. Emery boards have gentle but effective grits, and are thinner than board files. You should know that using a gentler file on the nails keeps them from splitting.
Step 7: (Optional) If you had old product to remove, it’s time to blend
First take your 180g board file, and gently blend any residual gel to the contour of the nail. Follow that up with your 100/180g buffer starting with the rougher side, the 100 grit and finish with the softer side. The 180 grit.
Dust and cleanse.
Step 8: Apply your bse product
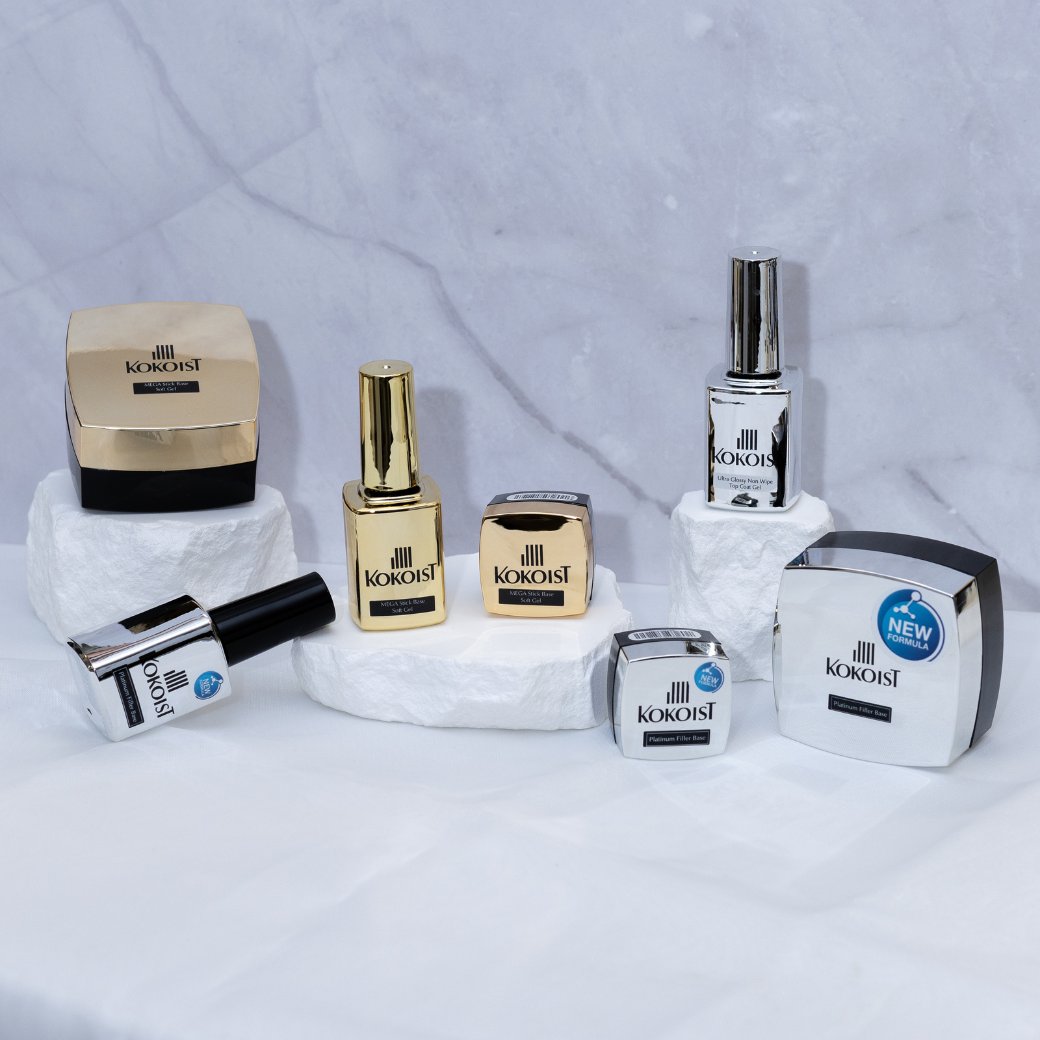
Now for a DIY application I’m going to strongly recommend bottled products over potted. Potted gel application is the more professional way of applying in Japan, but it is a tad beginner-friendlier to use bottles.
Using bottles especially, if you are just trying to whip up a super quick one color-mani at home is convenient, as you don't have to buy a separate brush for application.
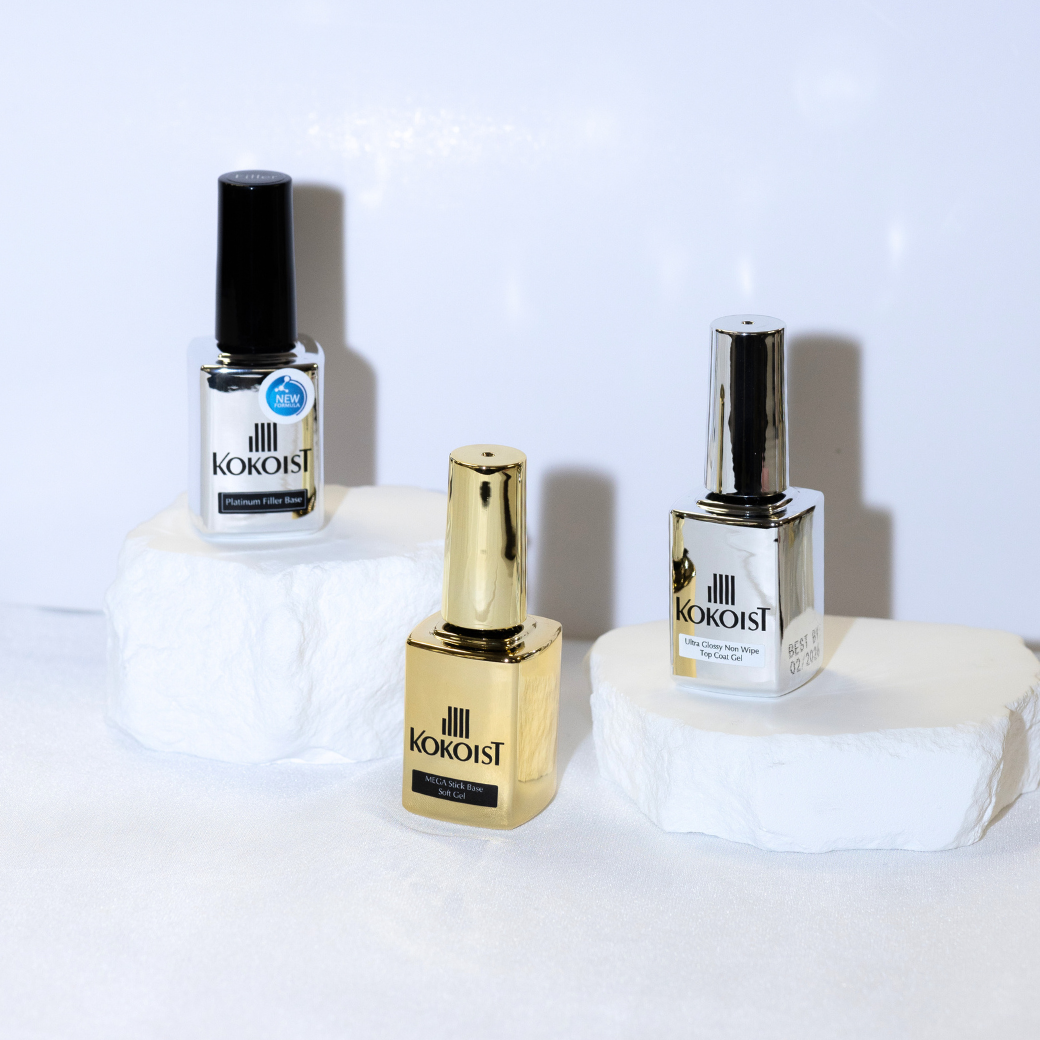
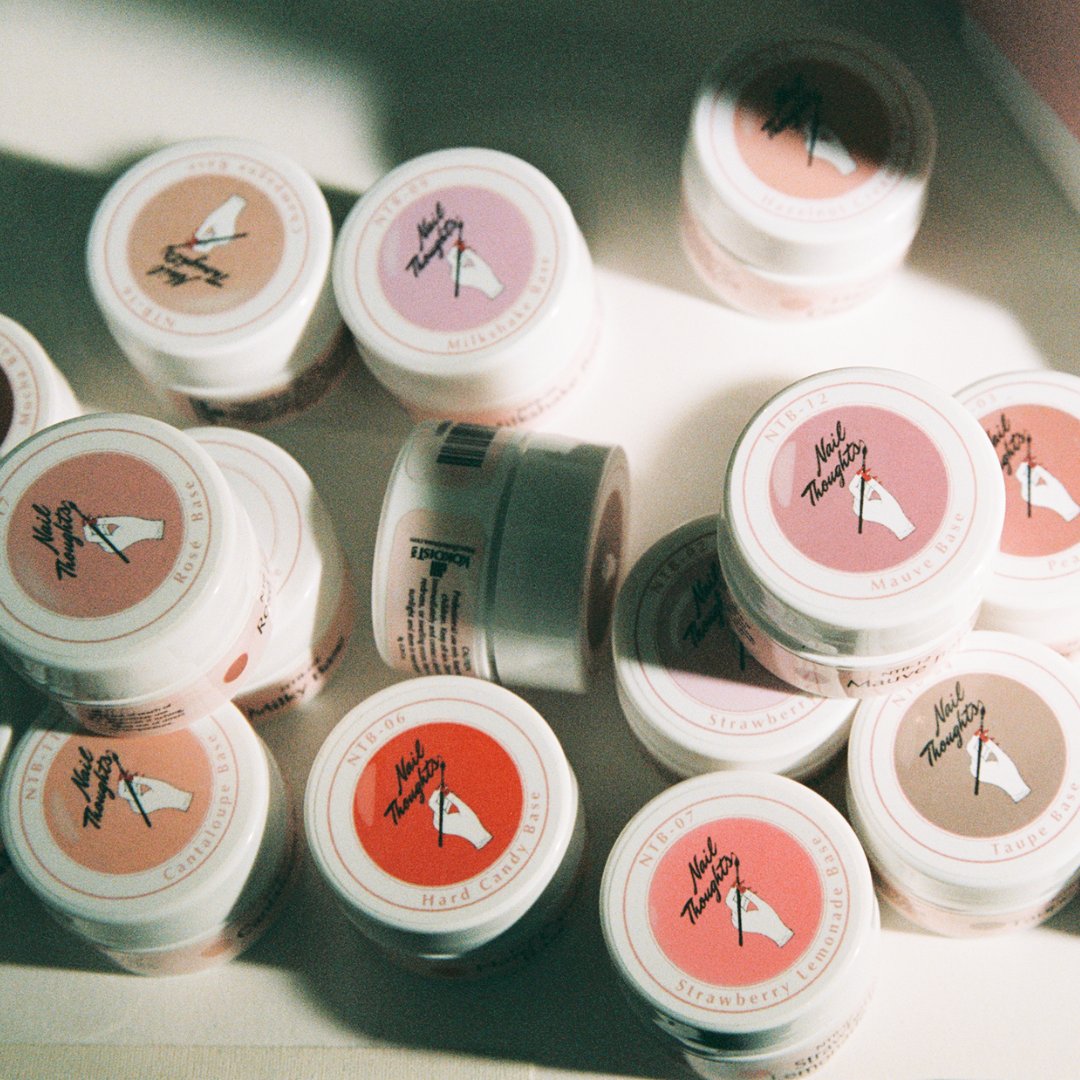
So for base I am going to recommend Bonding Duo in a Bottle or any of the Nail Thoughts Tinted Bases. They are both quick and easy to apply.
Bonding Duo is harder, less flexible than the Nail Thought’s bases, so if your nails are more bendy or on the flimsy side, the Nail Thoughts Bases may be more suitable.
For the sake of you being able to see the flow of the gel I’m going to go ahead and use a tinted base.
To apply…
First apply a wet layer on the entire nail avoiding touching any skin. If you do touch, wipe it off of the nails with acetone and re-apply. This will keep it from running into the skin again.
Once you’ve applied, self-level it a tiny bit by dropping and picking up the gel where it needs to be.
Allow gravity to self level your application to perfection. Once you are happy with how it has set, immediately cure it in a gel nail lamp for 30 secs if you are using either one of the Kokoist units or 60 seconds if you are using another.
And that is it for your gel base application, you can leave it with this color or, apply a color over it. If this is all the color you want, you simply top coat.
Or, again feel free to try your hand at potted gel application using a color pot, or simply stick to bottle if you are just a DIYer trying to whip up a quick gel manicure at home.
Step 9: Color!
If you have opted for color, apply two coats, curing in between each layer.
Step 10: Top Gel
Once these are applied, apply one coat of top gel and cure for 30 to 60 seconds.
Once it is out I like to not touch it for about 60 seconds, and then I will moisturize using a cuticle oil of choice.
And that is it, once you’ve done these 9 steps on all of your fingernails you would have completed a basic but thorough long-wearing application of your very own gel manicure at home.
Please if this video helped you make sure to give it a thumbs up.
Check out the description box below for any current promo codes or other resources available to you.
Thanks for joining us again, and we’ll see you in the next one. Bye for now!
___

Paola Ponce is an independent nail educator helping the Japanese gel nail niche and its nail stylists grow! You can follow more of her work at www.paolaponcenails.com and @paolaponcenails on Instagram. Save 10% on your Kokoist Products & support Paola’s work with affiliate code PPN10.
___
These blogs are copyrighted material and any use of this blog is not permitted without written concern first. Some of these blogs contain affiliate links that generate a small commission when qualifying purchases are made. Thank you for your support that helps us to continue creating valuable resources and content like this.




Leave a comment