


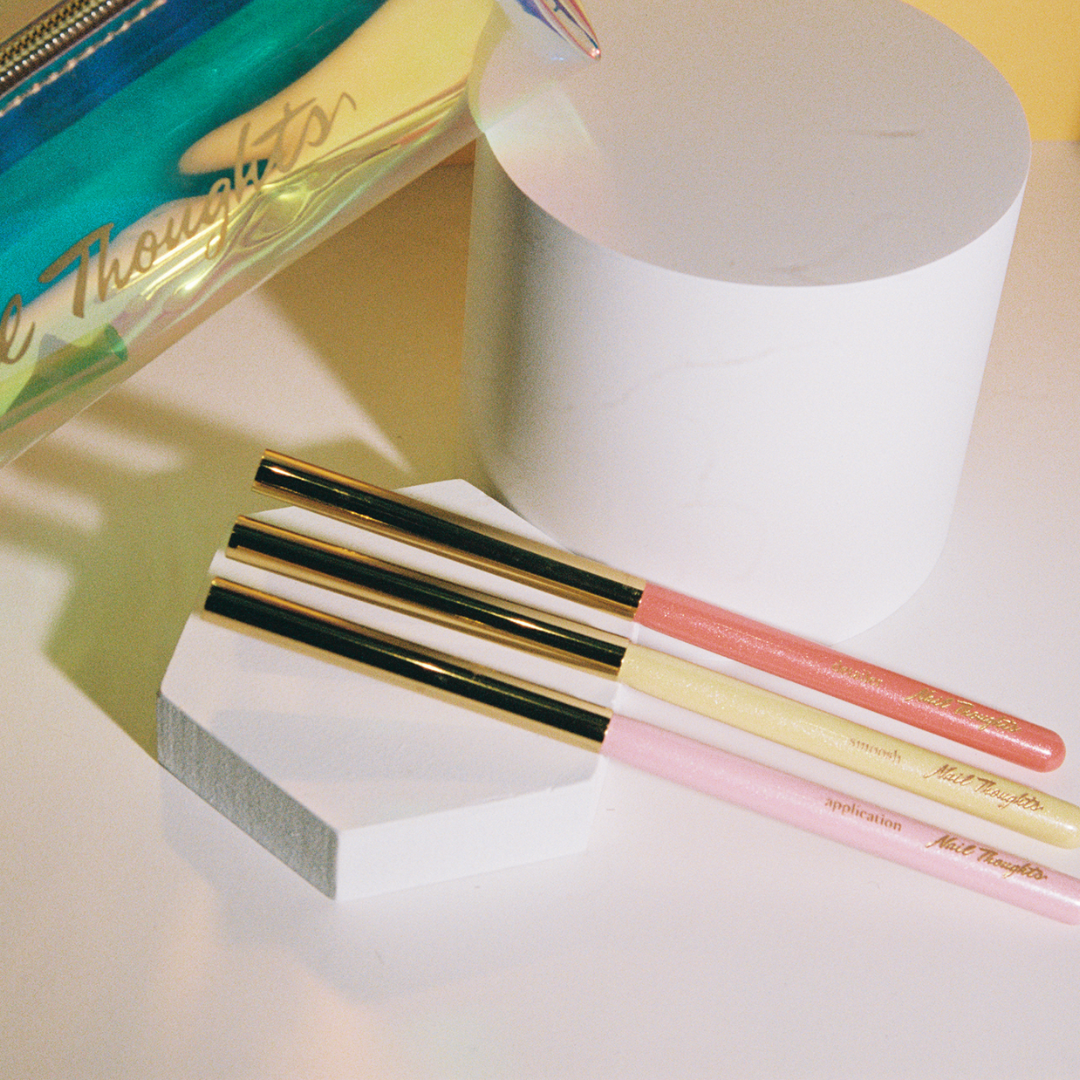
How to Encapsulate Chunky Glitter with Soak-off Gel
SO many times our glitter options come already packaged in our gel product of choice, but other times, many times in fact, we know that the fun stuff can be -sold separately-.
… And by that I mean, in a separate container. This is often the case with a chunky glitter.
Now, if we were applying these chunky glitters on with acrylic or hard gel. No problem. The bulk of that product is used to encapsulate such chunky glitters or holograms.
Today, however, we will be using thinner viscosity products like Kokoist’s semi-hard soak-off gel to overlay the natural nails.
You will learn 3 different ways to encapsulate chunky glitter.
Let’s get into this, step-by-step.
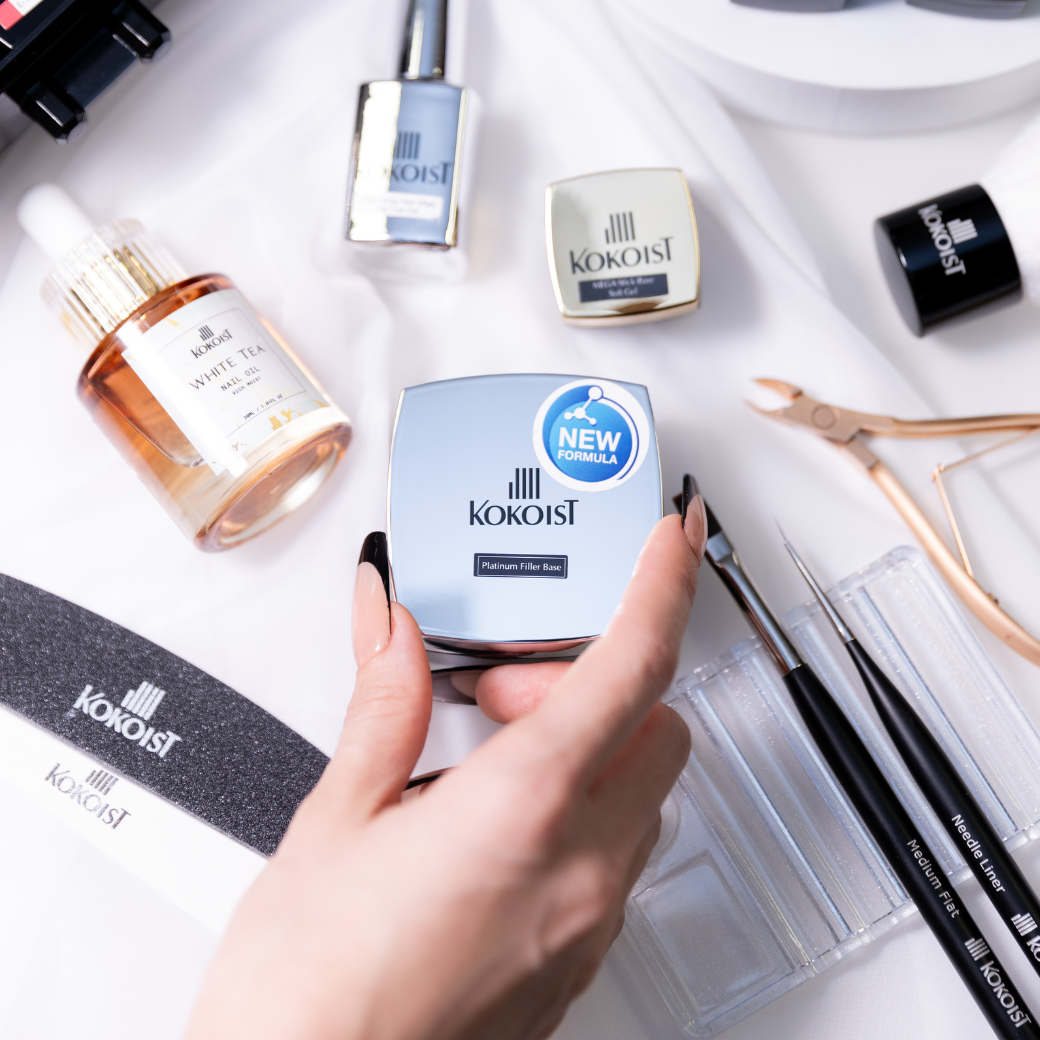
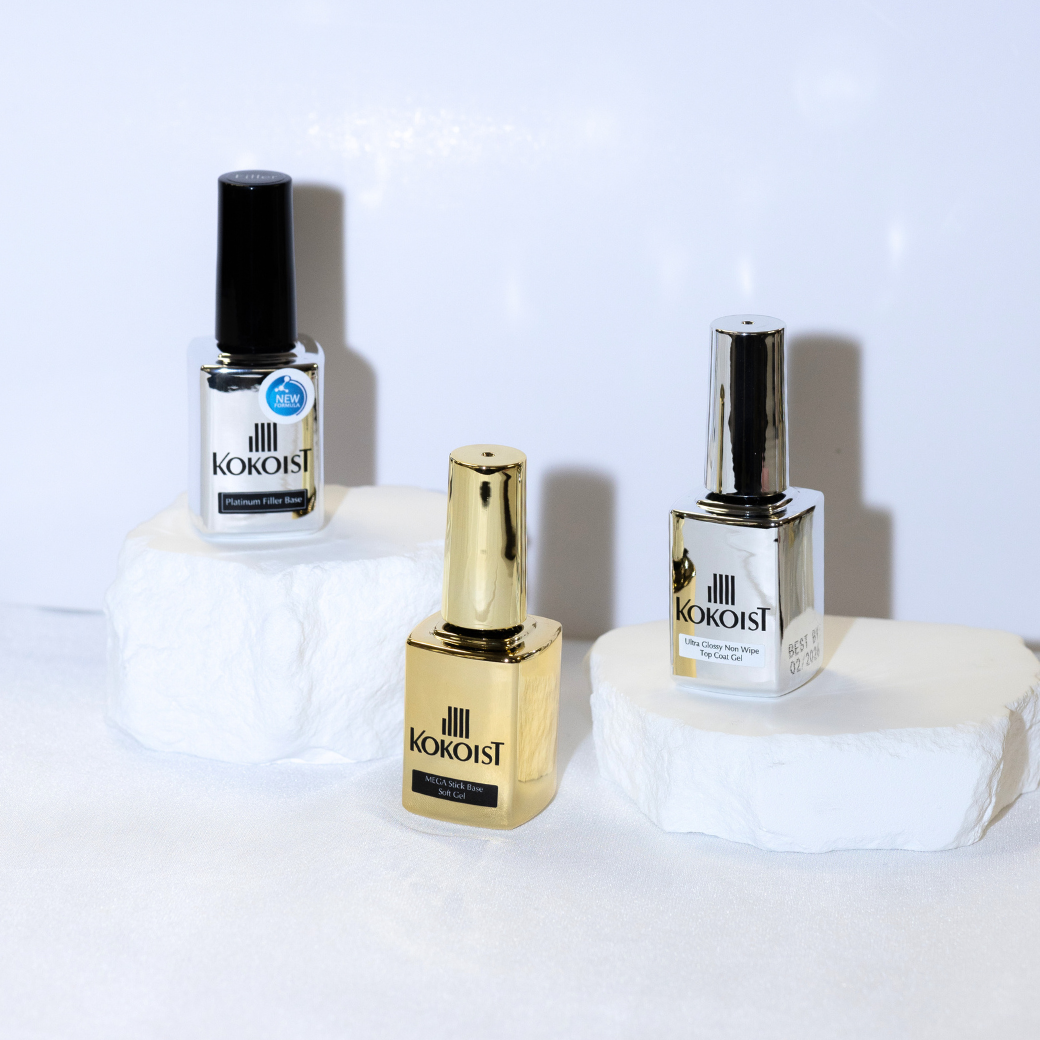
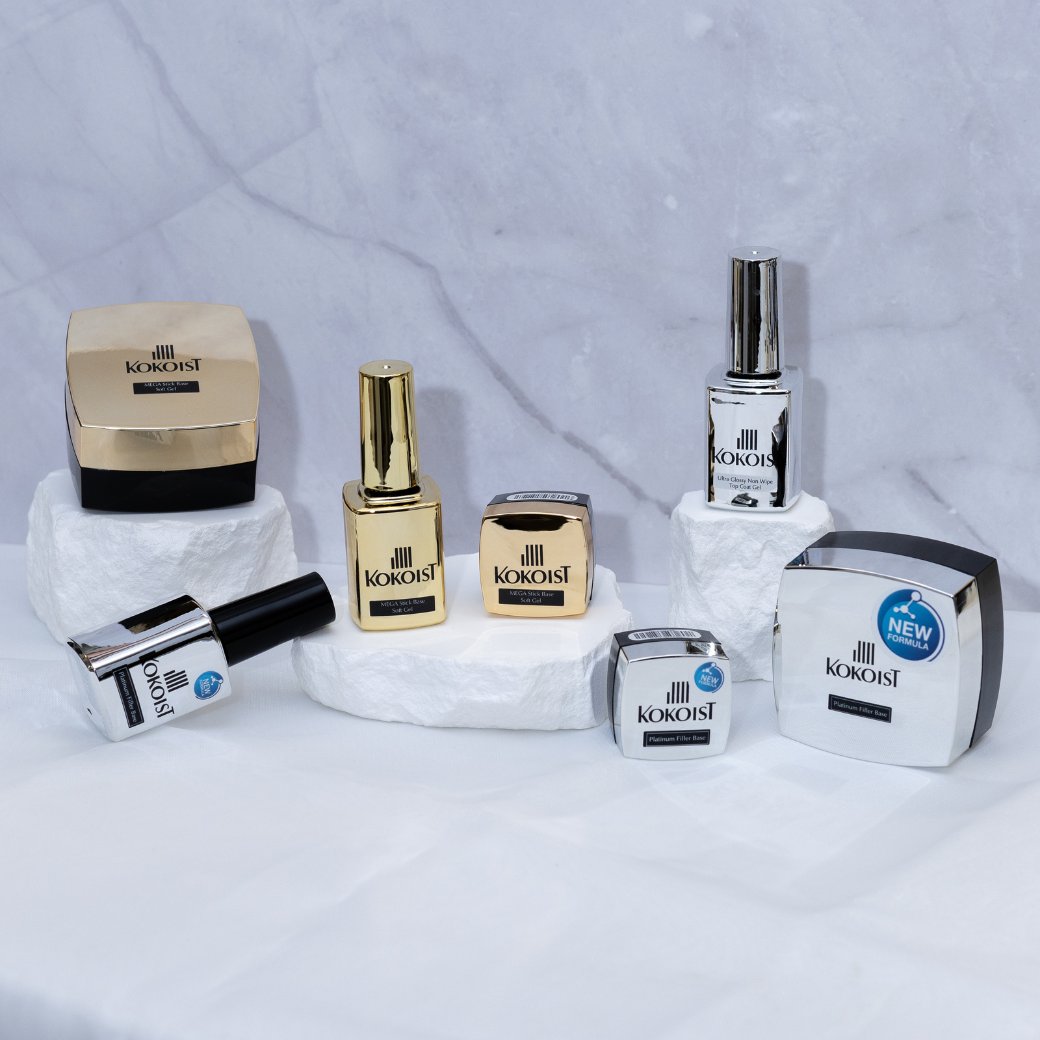
Let’s start by choosing a color to paint the nails with, and this step is totally optional. If you find that your glitter has all the color you need, then just apply your clear gel base (I’m using Kokoist Mega Stick Base) and move on.
Chunky Glitter Application Method #1
For the sake of today’s lesson, I DID apply a color (a milky white base, such as E-91 Gradation White).
Now, because Kokoist Colors actually cure with little to no tacky layer, the next thing I want to grab is my Mega Stick Base again, and apply a super thin layer on, and cure. Keep it thin, because remember, this glitter is “chunky” (can anyone here Bruno Mars singing this word by the way? If you know, you know!)
Now use any chunky glitter you would like… I’ll be making my own with the use of Kokoist’s Fairy Dust & Mica Flakes!
Now how do you apply the loose glittery mess you just made?
No! Not your gel brush! (At least not yet. We’re saving it for method #2.)
You want a small puffy brush… literally an eyeshadow brush. It has been my go-to for years for applying glitters and pigments!
(BTW! Be really careful with the Mica Flakes because they do get everywhere. They do sort of go airborne! You literally cannot breathe on them as you will blow them away!)
Ok. Grab your eyeshadow brush and tap it into your chunky glitter. Very gently, tap it into the tacky layer you created by applying and curing that layer of Mega Stick Base (MSB)
What I want to do now is give this a flash cure, 5-10 seconds. Okay, here we are.
Onced cure (make sure that all of your gel product is closed to avoid contamination) grab your clean Camellia Brush, or just another soft bristle clean make-up brush.
These super soft bristle brushes are not disinfectable, so only use them for nail art on disinfected hands.
Dust off the nail and finger of any glitter.
Now, all you need to do to this application is actually just take another coat of megastic base and let that self level into place over the glitter.
Clean your MSB brush off from any glitter before sticking back into the bottle or you will contaminate it with glitter! All you need to do, to clean it, is to grab a dry towelette and squeeze the brush.
Now that you have allowed the nail to self-level and tidied-up, it is time to fully cure your application.
Seal your design with Ultra Glossy Top Coat, and cure!
Done with method #1 of applying a chunky glitter using soak off gel. High five!
Chunky Glitter Application Method #2
Now what if you had a glitter that was even more chunky! So much so, that the tacky layer was not enough!
Enter Excel Builder.
Grab a nail art palette, and a nail art spatula.
This method requires that you mix your chunky glitter and your gel together on to a mixing palette,
How much gel you grab will obviously depend on how many nails you’ll be-dazzling.
Because we're doing just one, just grab as large as a gel dollop as your gel brush will hold.
Because we’re pre-mixing w/ clear gel basically, it's just going to allow all this chunky glitter to self level nicely on the nail. You could have also added Art Clear Zero, but for a little more strength, do use Excel Builder. And In fact, I can even grab just a little dollop of Mega stick base to make if I find my mix a bit too stiff and want this to be more runny and want it to self-level.
If you're familiar with Mega Stick Base, it's quite runny.
Now Excel Builder has a lot of strength, so you will not have to overlay after this. If anything, you would just file a tiny bit if there's any imperfections on the surface, to make the chunky glitter application smooth.
Ok… for the last technique, we really avoided getting glitter on our gel brush by grabbing the eyeshadow brush, but for this method, we’re going to have to use your gel brush.
Don’t worry though, we won't be digging into loose glitter with it, so it should still escape unscathed.
Grab a dollop of your new glitter gel mix, it has become almost like a hard gel consistency.
Very gently, by hovering or floating your brush over the nail, apply the glitter.
Getting rid of any excess preventing you from working smoothly. We don’t want this to be a super thick chunky glitter encapsulation.
Comb your brush through the surface, allow it to self level and allow it to cure.
The next step is to apply a thin coat of Bonding Duo in a Bottle. Why this one? Because it is a thin hard gel texture gel. It will feel glassy and file like butter!
Apply a thin layer allowing it to go through any nooks and crannies, before giving it a full cure.
Your next step is to refine the application. If you’re qualified with an efile, go ahead and refine this glitter encapsulation. If you’re not, no worries! Grab a 150g or 180g board file, and start whipping your encapsulation into shape!
Smooth it out with the Kokoist 100g/180g sponge buffer, top coat and cure.
And you’re done with chunky glitter encapsulation #2. Hip-hip-hooray!
Chunky Glitter Application Method #3
So, so far... we did an easy and an advanced method of glitter encapsulation.Now I'm going to show you a medium way.
I'm going to grab my Excel builder. I'm going to grab a dollop not too big because I'm relying on the viscosity of this gel to help me encapsulate… But I’m getting ahead of myself! I'm not encapsulating anything right now.
I’m just grabbing a generously thin layer of this Excel Builder gel, and relying on its viscosity.
Just brushing it down without using too much pressure.
If you’ve applied it correctly, it should not have an apex. Do not cure.
Next, grab that one eyeshadow brush we started with, and tap glitter on to this wet layer of gel. tap. tap. tap. until there is glitter embedded on all the surface of this wet layer of gel.
Now… let me be really, really honest. I only recommend that you use thick glitters if you like them because working with them can definitely be a little bit of a hassle. So when I work with glitter, I actually like them to be no “chunkier” than the one we used for the first method.
Ok, back to our nail… while we were chatting it up, I was letting gravity pull in more of the glitter into that wet layer. If you want to help embed it a little bit smoother, tap it in ever so gently with your fingers, but only if you’re wearing gloves! As touching uncured gel nail products can lead to allergic reactions. Now it’s time to give this nail a full cure.
Now that this cake has baked, wipe off the tacky layer with a towelette and alcohol.
Wip into shape using files and a buffer, or use a carbide bit and an efile.
There is no need to overlay this application or create a high arch, as these steps are taken to strengthen the application, and if you worked with Excel Builder, all of your strength is already there. Do not make the nails unnecessarily thick.
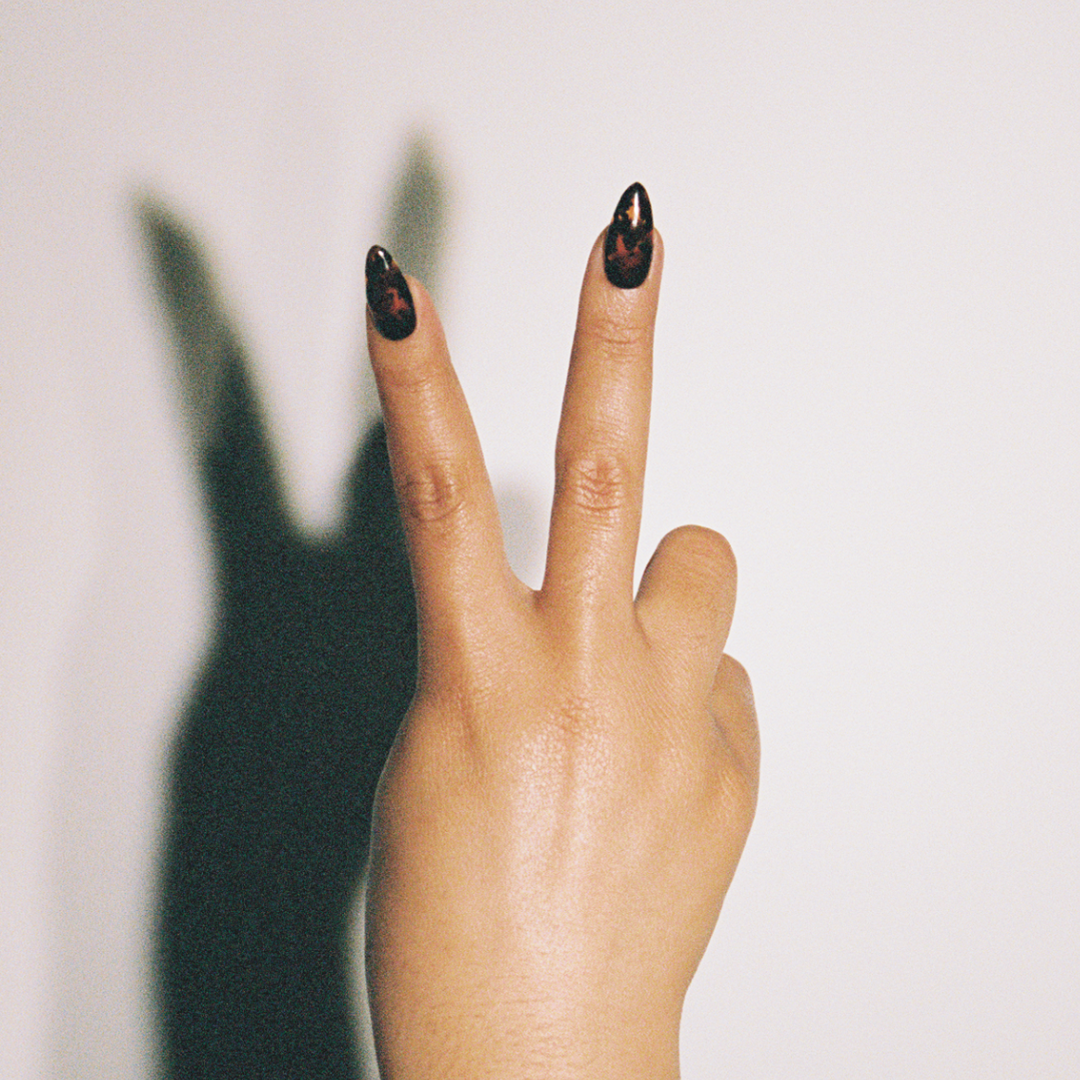
Woo! We got so much done today!!
This concludes our ‘how-to encapsulate a chunky glitter using soak-off gel” lesson!
Thank you for joining me today, let me know what you thought about this lesson. And if you know of a friend that can benefit from it, do pass it along. Caring is sharing, it means a lot to us. Make sure to check the description for the products used today.
I’ll see you next time.
Paola Ponce
@paolaponcenails
An independent nail educator helping the Japanese gel nail niche and its nail techs grow!
___
These blogs are copyrighted material and any use of this blog is not permitted without written concern first. Some of these blogs contain affiliate links that provide us with a small commission when qualifying purchases are made. Thank you for your support that helps us to continue creating valuable resources and content like this.


Leave a comment