

How to Aurora Nails | Easy Technique!
Are aurora nails back? It doesn't matter whether they are or not! They're in with us, and frankly they will always be an evergreen favorite.
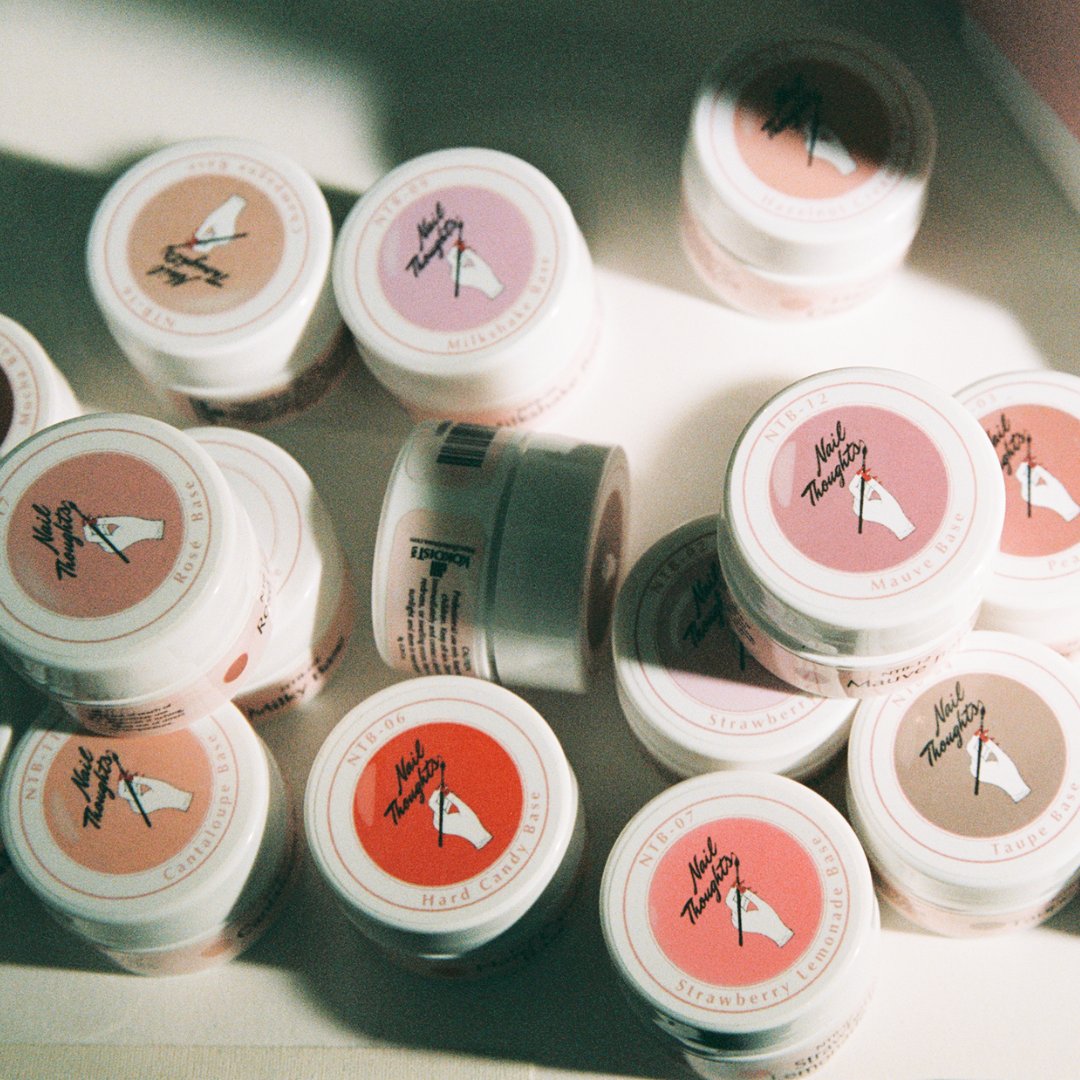
One of Kokoist latest releases is the Aurora Pre-cut papers, and they come in 11 different shades.
Yes 11! So that you don’t have to torture yourself in selecting jus one, and even when you select one, you only THINK you’re getting a certain color, as the color in Aurora Paper changes in light, and depending on the colors underneath them.
Today we will be going into a detailed step by step on Aurora Nails, headache-free!
There will be no bubbles and also no shaping needed. You’ll want to save this post, and take notes (and definitely watch the video above).
The new Kokoist Aurora Pre-Cut Design Film is the ‘it’ product for the super popular nail trend of Aurora Nails. In case you’re like… uh huh what is that? Well let me break it down…
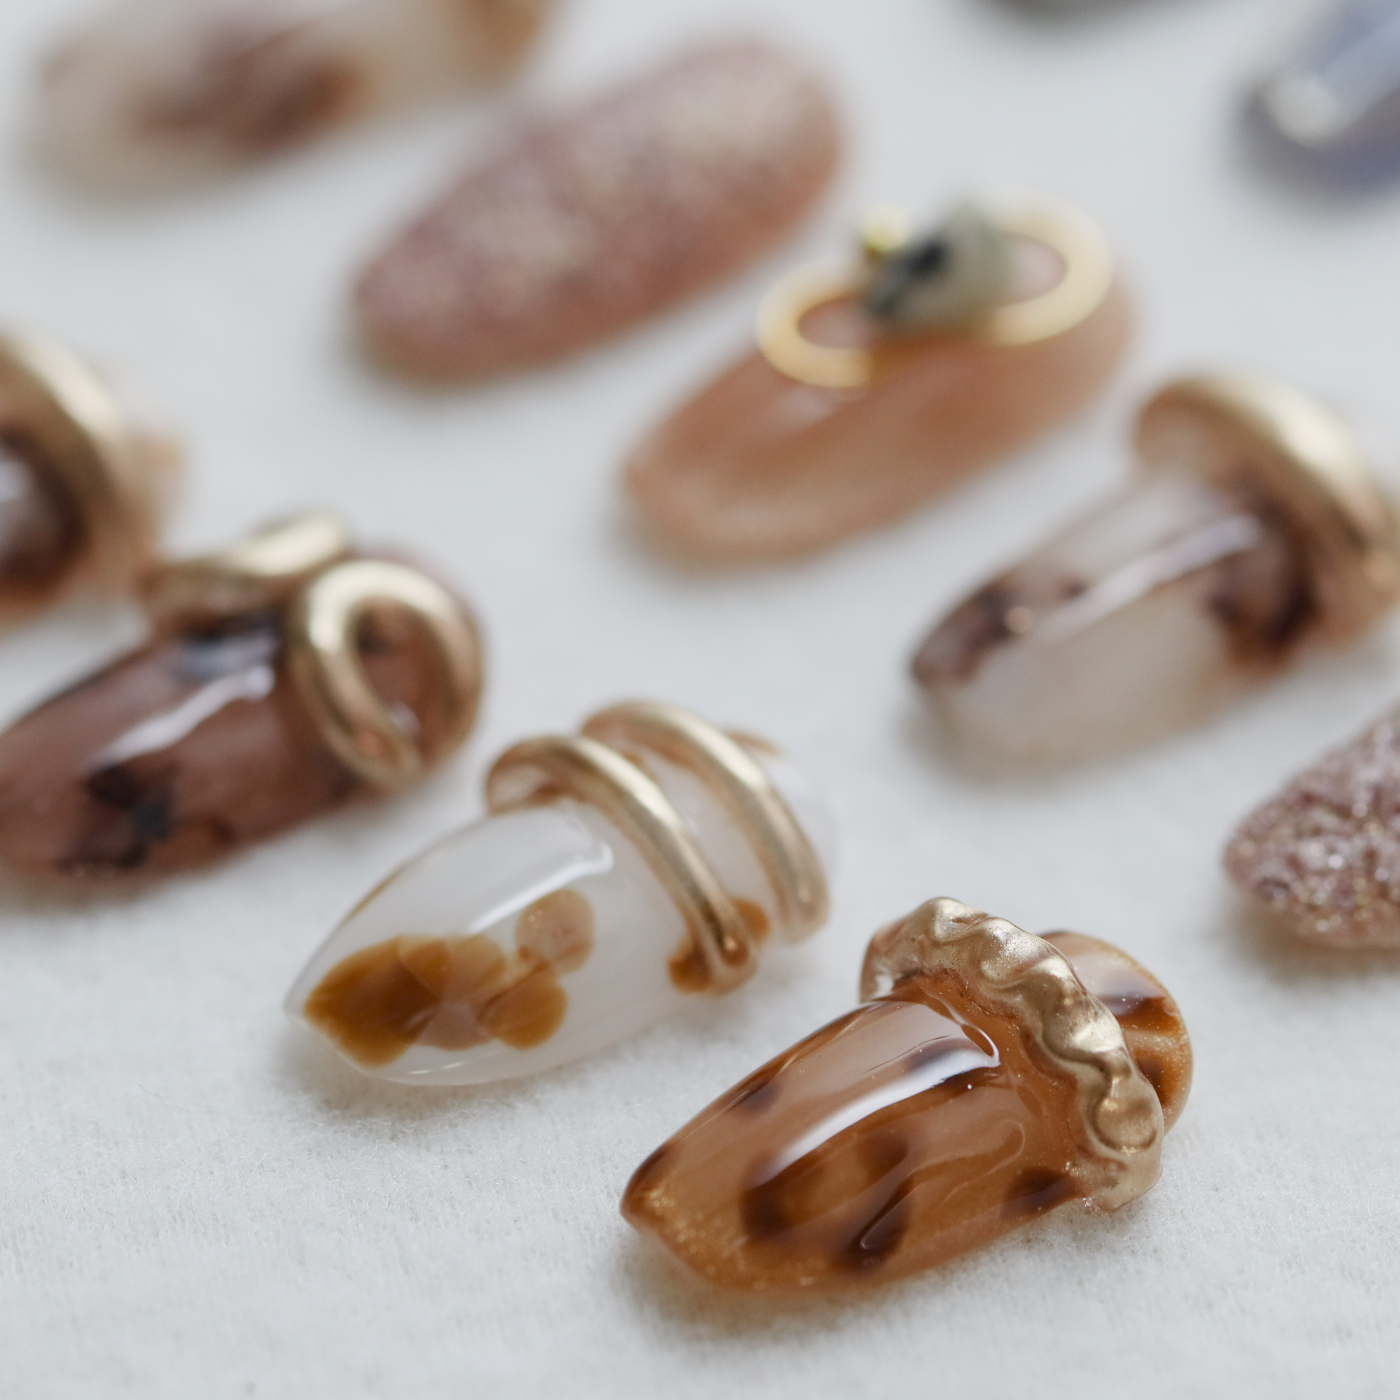
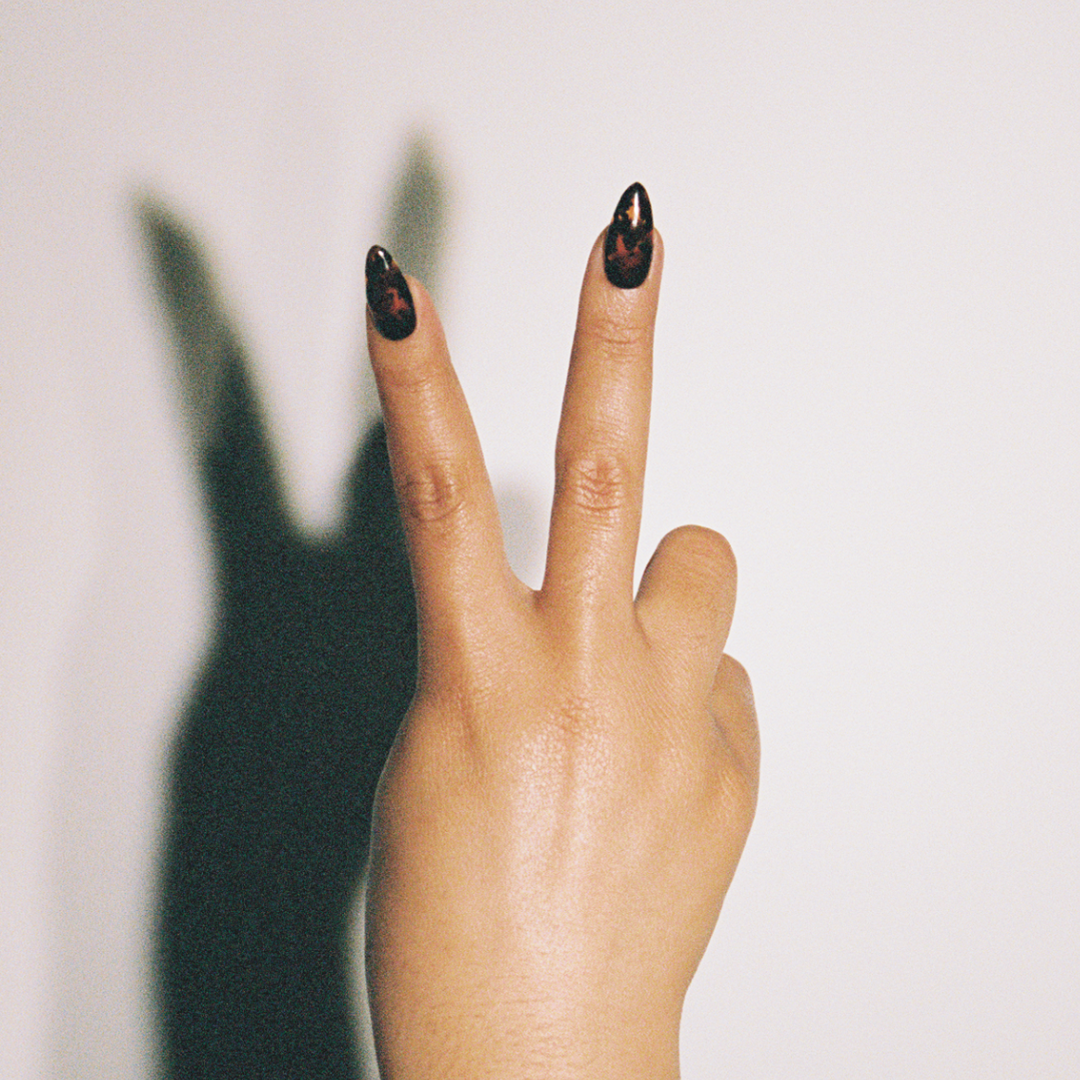
Aurora nails are a nail design statement piece, and that is because of its dimensional (as in big!) gem stone look. The aurora paper makes this design even more dramatic by changing colors depending on the angle that you look at it from, the light it is in (the best tones are from when you’re out in the sun!), and also the color you put underneath the Aurora paper.
But unless you’re committed to a big, almost bulky design, then aurora nails may not be for you. (... although we think you would be missing out!)
First, what materials do you need for Aurora Nails?
You will need:
Kokoist Aurora Design Film
Kokoist Aurora Pink Chrome Pen
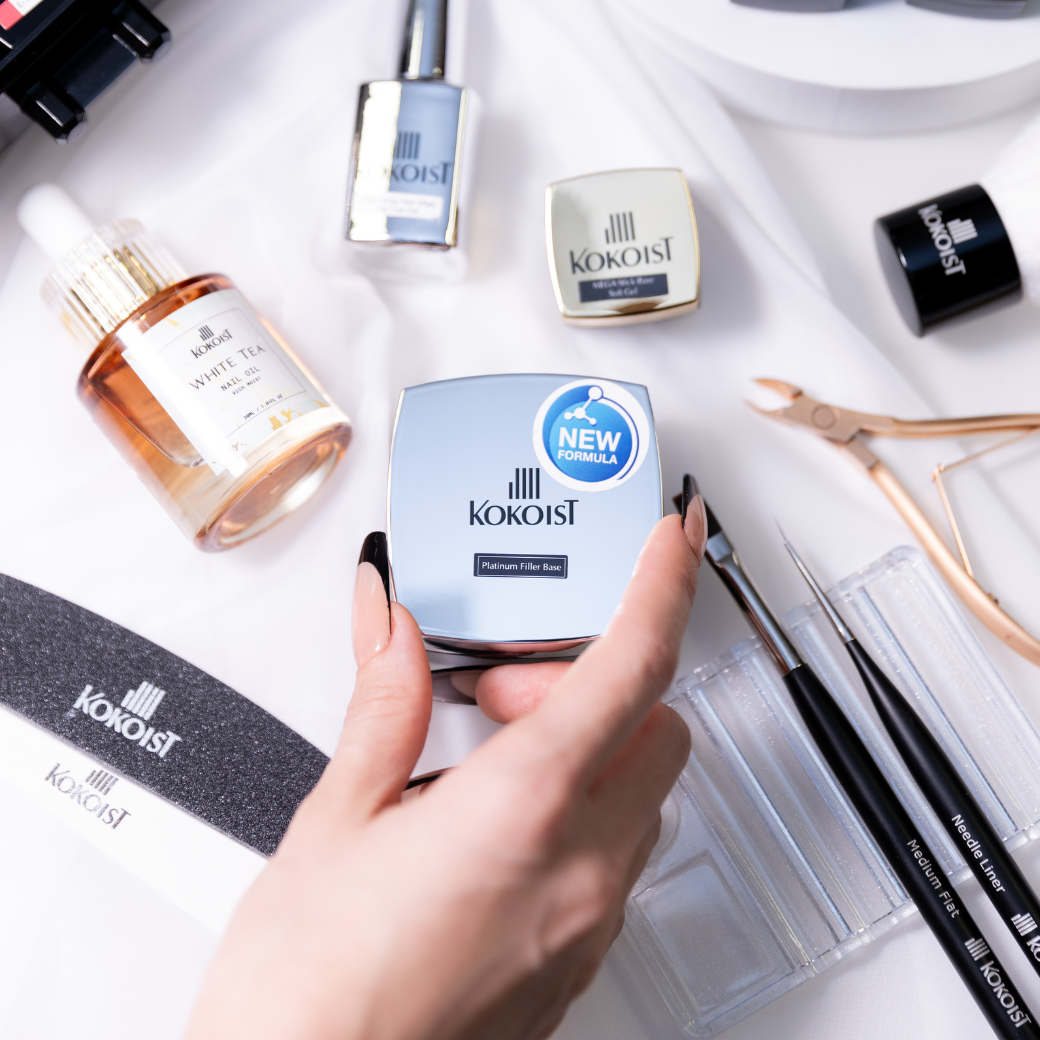
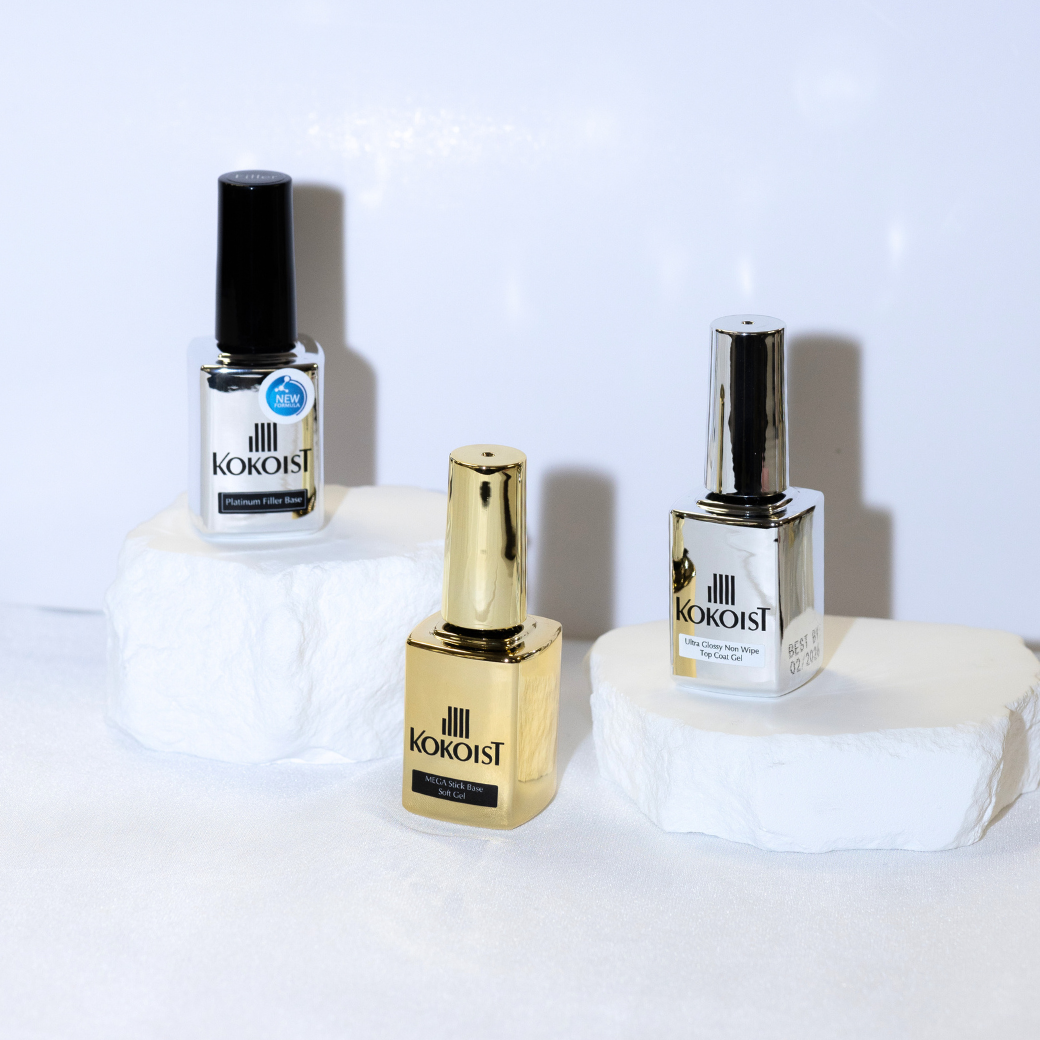
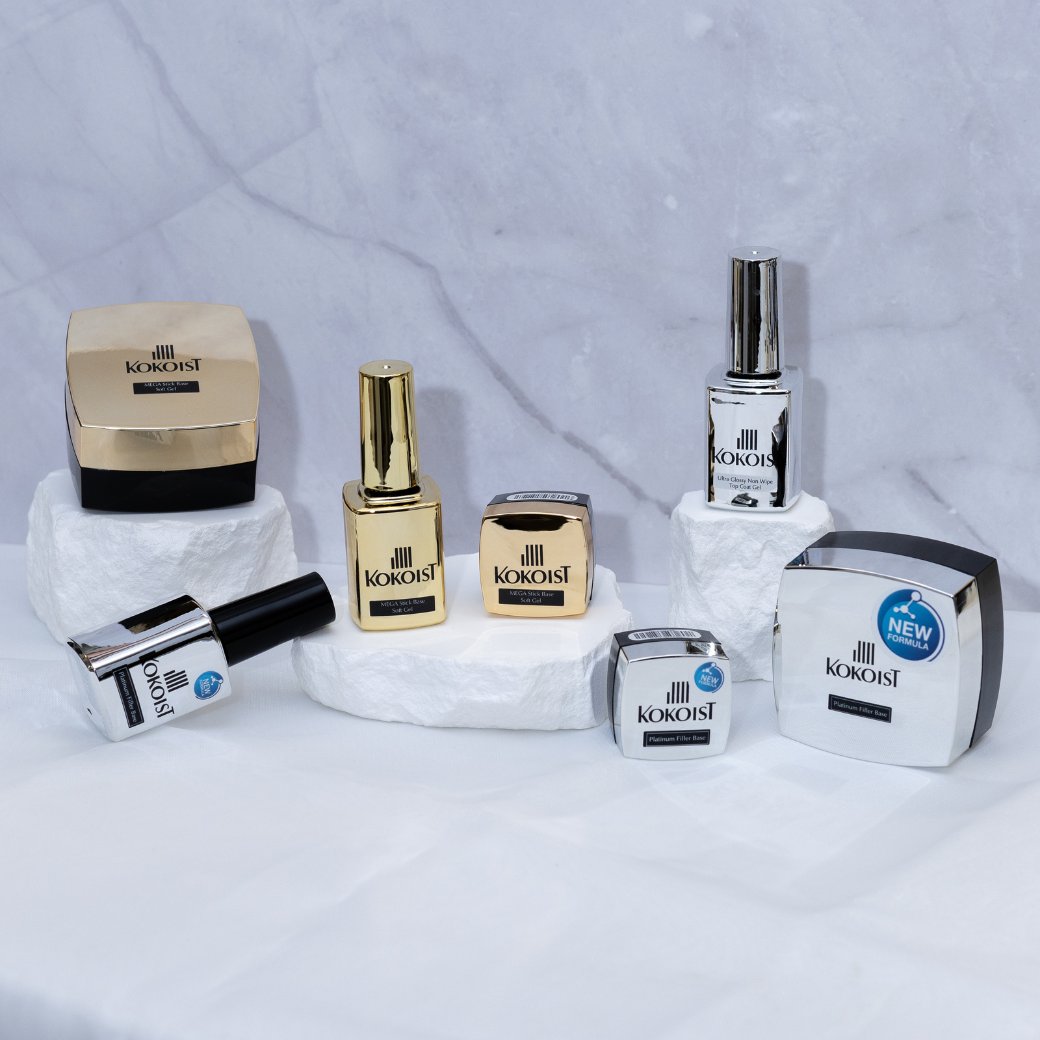
Kokoist Mega Stick Base Gel
Sheer color gel
Kokoist Platinum Bond Duo
Bonding Duo in Bottle (optional)
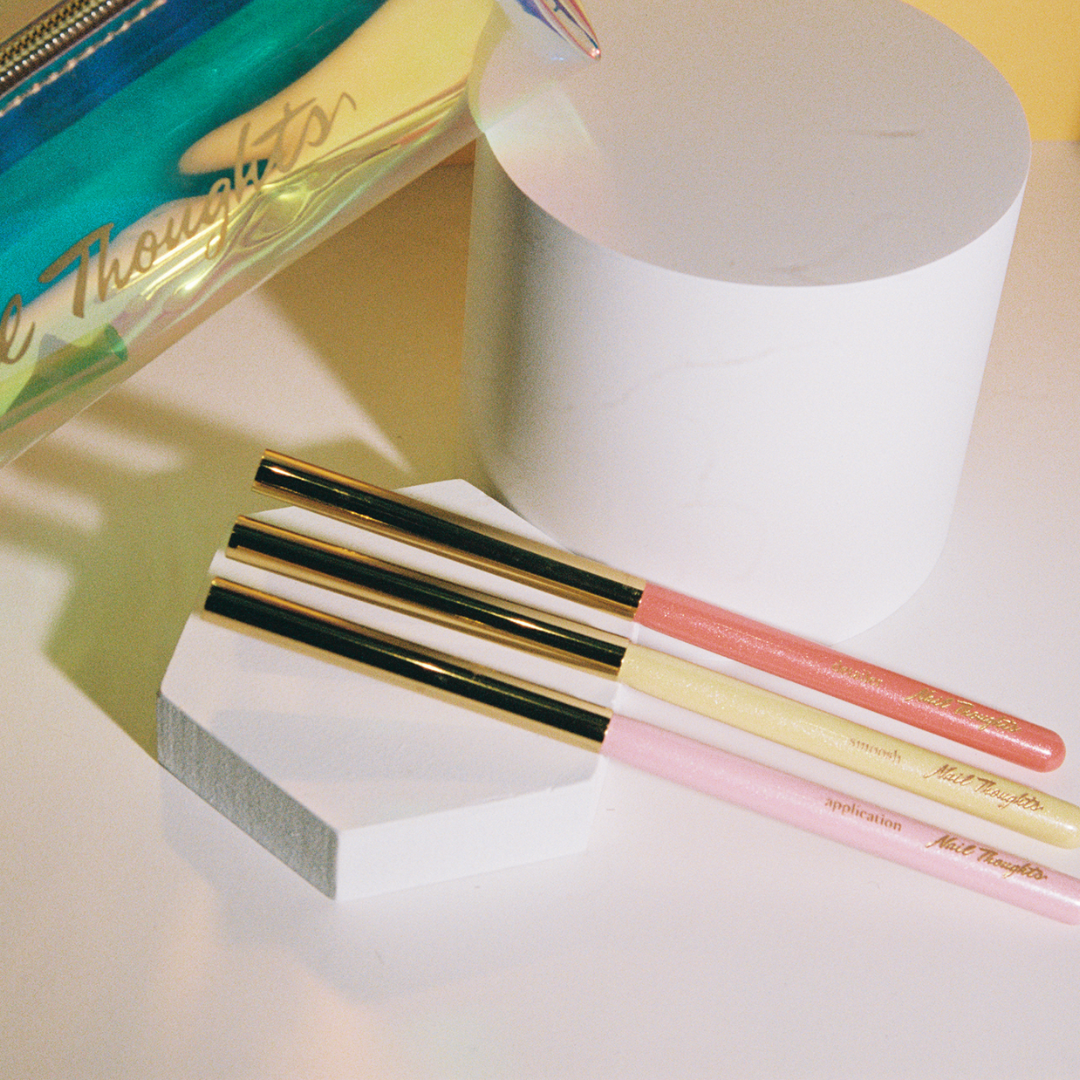
Your gel application brushes
Ultra Glossy Top Gel
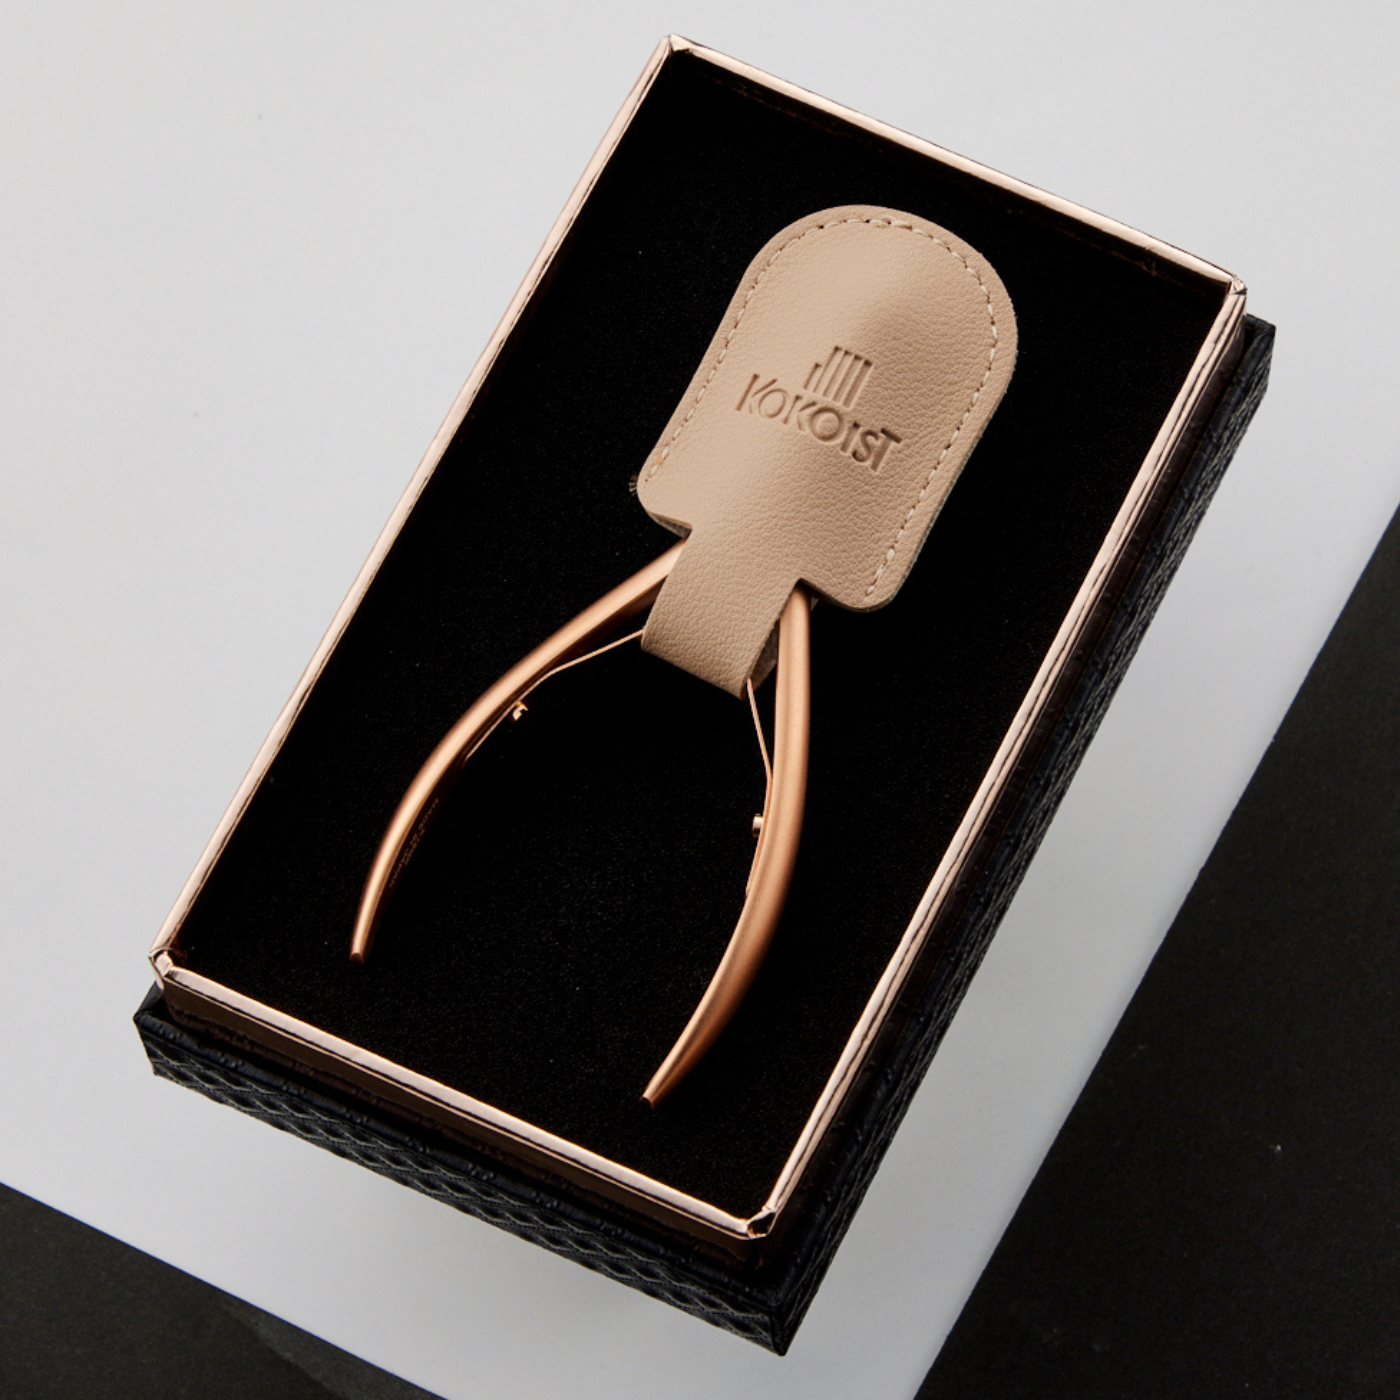
Tweezers
Palette
Alcohol
Lint-free wipes
Curing Unit
Gloves
You can purchase all of the Kokoist materials here, and save 10% w/ code PPN10
Alright, enough persuasion,
Let’s get into this Aurora Nails step-by-step.
Step 1: Perform a regular gel mani…
But! stop after your color application (and in fact, depending on the color one coat is enough).
Step 2: Apply Platinum Bond Duo (or Bonding Duo in a Bottle)
Apply this Kokoist 2 in 1 Builder as a square (or whatever nail shape you decided on) in a generously thin manner. So not TOO thin. Do not cure!
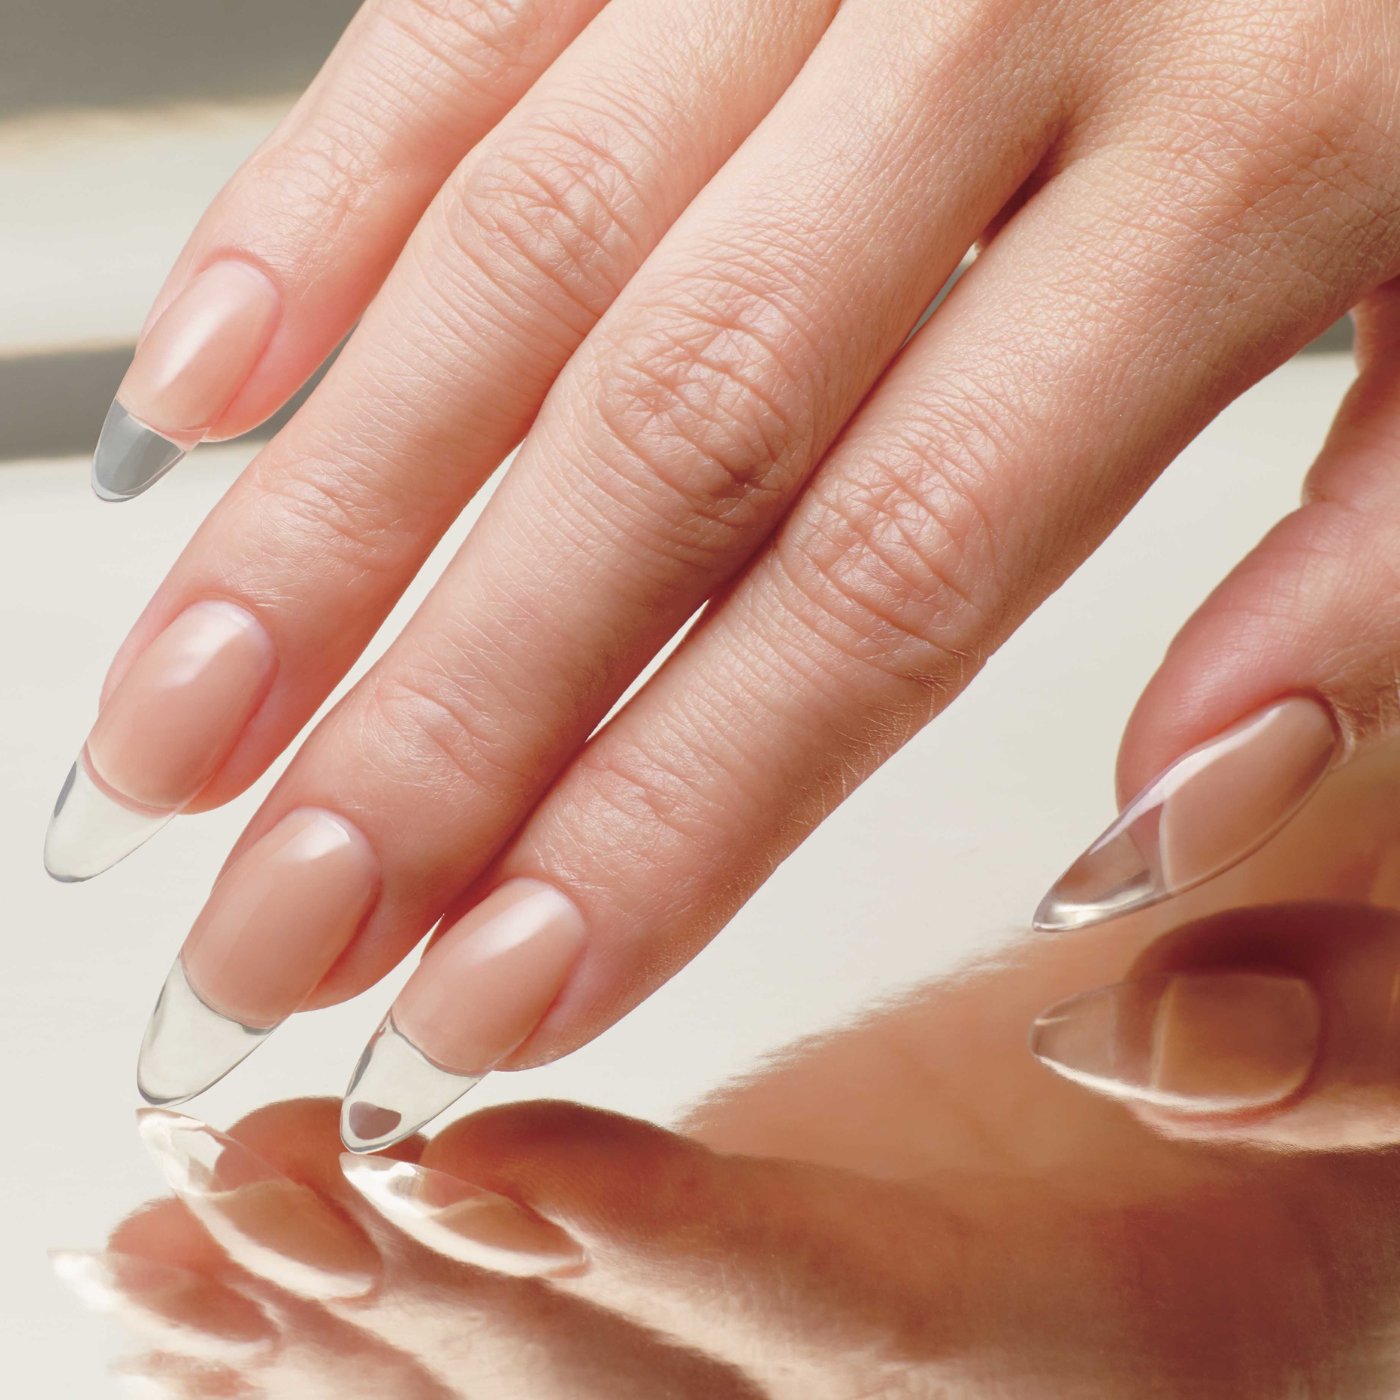
Step 3: Select the aurora paper of choice
Your aurora nails should not be too long. The nails should only be slightly longer than the aurora paper you will be using. Remember, you’ll want the entire nail, after the aurora film is applied, to appear as one glass gem.
Step 4: Roll to fold
Grab the aurora piece you selected, and roll in between your fingers, almost enough to fold (but don’t! As you’ll leave a major indent!). This will allow the film to fit slightly more flushed to the nail.
Step 5: Submerge your aurora film paper of choice into Platinum Bond Duo
Grab a clean pair of tweezers, make sure that your aurora film is also debris free, and go ahead and submerge it in your Platinum Bond Duo. (Yes! Like the whole thing!) Make sure it is well coated, and wipe the excess off of the side that is going to touch the nail.
Step 6: Set it
Lay the aurora piece over the nail and allow it to self-level before curing it.
Use your tweezers to maneuver it into place.
When you cure, make sure to start with a 2 second cure, followed by a cure of at least 30 secs.
Step 7: Fill with Platinum Bond Duo
Use Platinum Bond Duo (or Bonding Duo in a Bottle) to fil in the perimeter of the aurora paper and cure.
It’s ok to go over the aurora film also! But focus thickening up the sides more than the center (the center should need no more thickening).
Then cure.
Step 8: Apply Ultra Glossy Top Coat
The top coat at this point is to glaze-on the aurora pigment.
It is super important that you only cure Ultra Glossy Top Gel for 10 secs in order for your pigment to adhere.
Make sure to use minimal product and give it a second rub with your gloves.
Step 9: Seal the pigment
Pigments are prone to chipping because they are glazed on to a cured gel layer. This si why it is crucial to thinly overlay them with Mega Stick Base Gel.
Cure.
Step 10: Top coat!
All you have to do is top coat your design. We recommend using Stain Barrier Top for a thinner top gel application.
And that’s it…
Welcome home! You’ve done it! You have created the trendy nail design of Aurora Nails!
If you enjoyed this blog, Make sure you’re subscribed to get more content like this in your inbox.
Thanks for reading, and we’ll chat soon!
___

Paola Ponce is an independent nail educator helping the Japanese gel nail niche and its nail stylists grow! You can follow more of her work at www.paolaponcenails.com and @paolaponcenails on Instagram. Save 10% on your Kokoist Products & support Paola’s work with affiliate code PPN10.


Leave a comment