


How To Apply A True No-Lift, No-Chip Application Using Kokoist Platinum Bond Duo
Hey there, today I’m bringing you a super special lesson. We are going to learn how to apply a true no-lift, no-chip application using Kokoist Platinum Bond Duo.
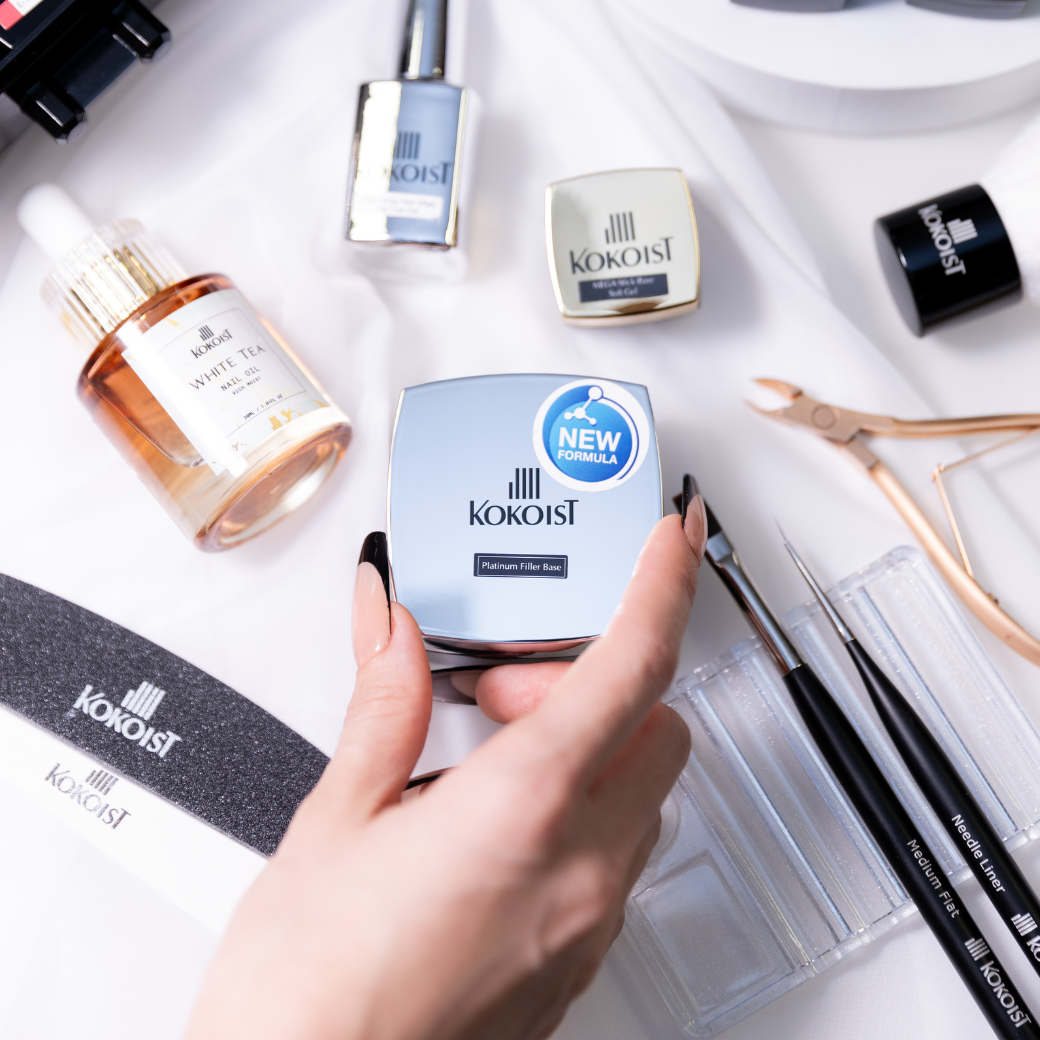
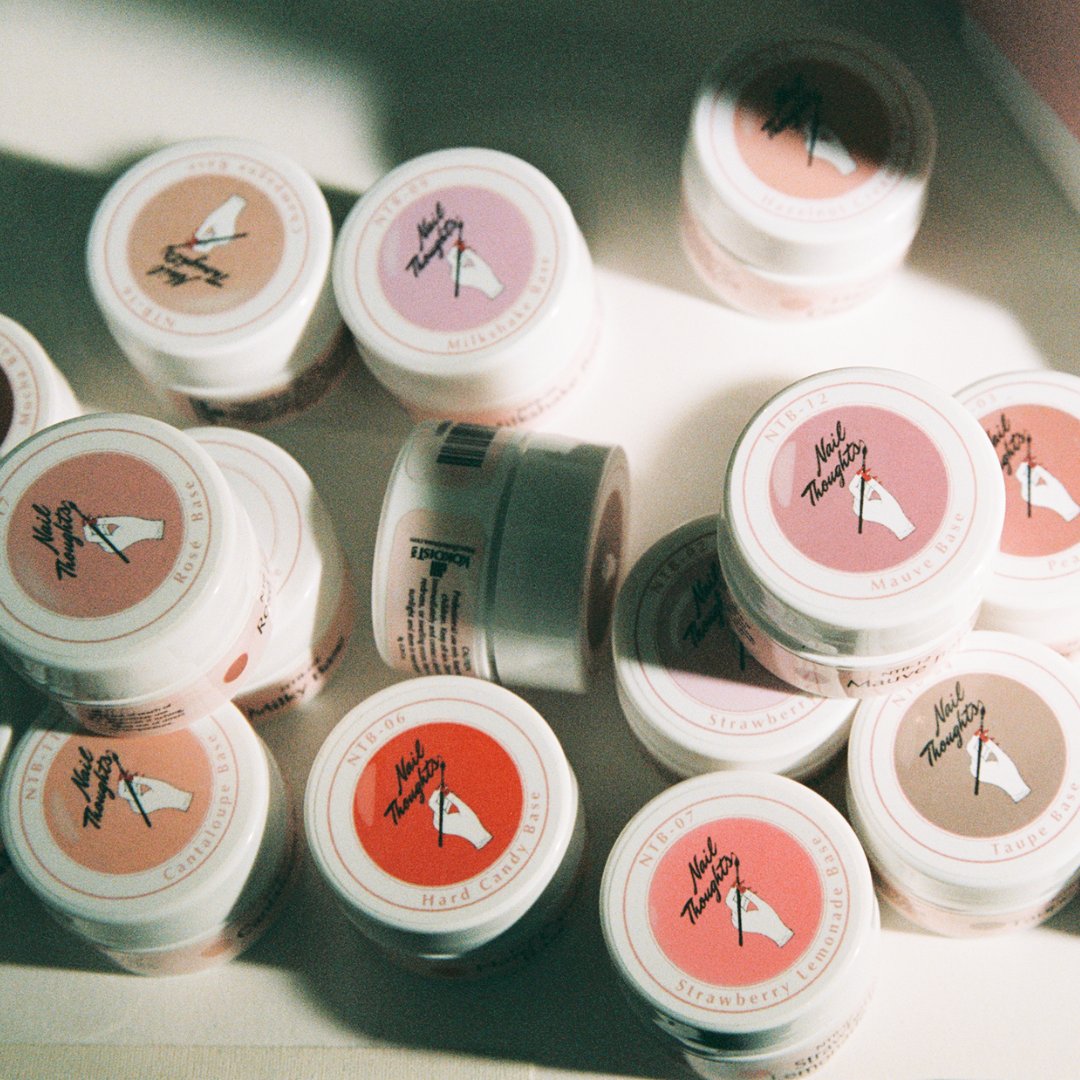
Platinum Bond Duo is one of those special products from the Kokoist collection; not any Japanese gel company carries something like this, as in a two-in-one product with base and builder. Even though it's a base and builder, I recommend this gel more on clients with strong natural nails, than those with thin bendy nails.
For the best wear, the firmness of nails and gels should match each other. Because PBD is a semi-hard gel, if a nail is super thin and flexible, it's going to flex away from this hard product.
Before applying PBD, make sure to do a thorough prep, leaving a little bit of texture on the nail with a 100g sponge buffer.
One of my biggest tips when using Platinum Bond Duo is to leave the shaping of the free-edge, for the end. Apply Platinum Bond duo, then file and then apply color. This process is going to give you the longest wear so that you ensure, when you file back your nail, it leaves Platinum Bond Duo thicker.
Otherwise, if you file now and bring Platinum Bond Duo all the way to the edge, it might repel a little bit or get really thin here. This product when applied very thinly does not do well, it will crack or lift.
I also think that Platinum Bond Duo is a great product for beginners because:
1) The base and builder component, and
2) It allows you to do a structured application.
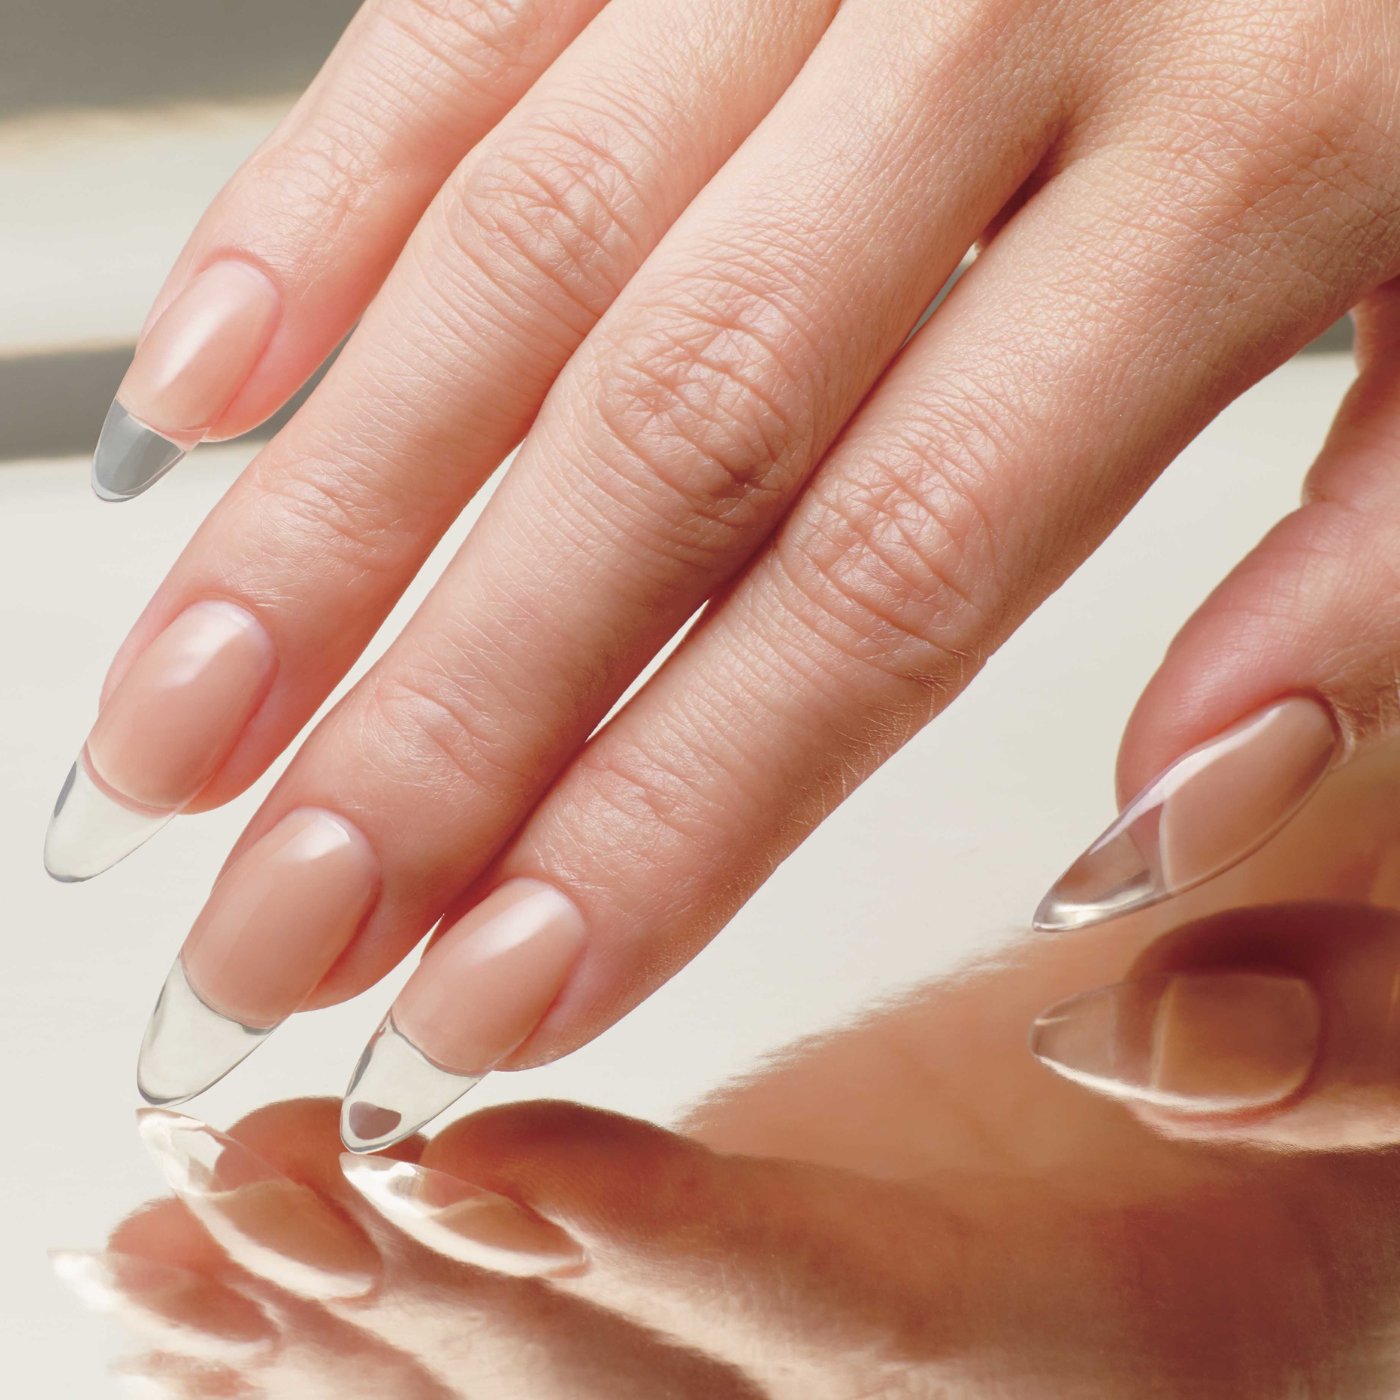
If you're not familiar with a structured application, just take a look at my nail. It's relatively flat, but it does have a small kind of high point apex here. If I magnify or amplify this little apex, then I will have a structured application. A product like Platinum Bond Duo allows me to do that in one step because remember this gel is a base and builder.

Okay, let's get into the application.
I've already pushed back my cuticle, removed any cuticle off the nail plate, and trimmed any excess eponychium. Now, I want to buff the nail with a 100 to 180 grit sponge buffer to add a little bit of texture.
I want to make sure that the gel really attaches to my nail, really grasping and bonding with the textured layers of the nail rather than just laying over it. If the gel just lays over it, like soft texture gels usually do, then it might just lift off. This 180 grit sponge buffer is going to provide the ideal texture for this gel to really bond onto the natural nail.
This is still a natural nail, so you want to be really gentle and you don't want to sand back and forth too fast because you will thin the nail down. Push back the skin, and get in under the eponychium with the rounded edge of the buffer.
You want to make sure everything is nice, even and smooth, because if it's not, then it's going to show in your application’s smoothness. Your gel is going to be bumpy or it's going to dip wherever the natural nail dips. Also, you want to be very thorough when you are buffing, pushing back the cuticle area and really clearing up any dead skin that may still be there from the nail plate.
Again, really push back the skin and get in there, this will ensure you have no lifting in the cuticle area.
Now, I'm going to take the smoother side of my sponge buffer, the 180 grit front end; the back end is 100 grit which is the coarser side. Remember: The lower the grid number, the more coarse the file is. Gentle but thorough.
Really flush any remaining product onto the natural nail. Next I want to do a dry brush and take my 90% alcohol to scrub this nail and scrub underneath also.
All right, last but not least, take your Kokoist lint-free wipes and push back the eponychium. Give the nail a good scrub and don't forget the underneath. Let the alcohol evaporate for 2 seconds and you're ready for application.
I'm going to grab a flat brush. I'm going to take a small amount and I want to be really intentional about scrubbing this on the free edge with pressure, to ensure that the gel gets into every groove of the nail. This is where lifting is going to happen more so rather than at the cuticle area. You want to be thorough here.
I want to grab a little bit more gel, if you've run out from your brush, and grab a little bit on your cuticle area; using the corner of your brush, draw a perimeter around the cuticle area and make sure you don't touch the skin, If you do, the product will run to the skin.
Okay, now I want to take a bead sufficient enough to cover the entire nail. I want to apply in a structured, thick manner. Once I have sufficient gel, this is a little bit runnier so I want to tilt the finger downward.
I am applying on a long nail so I want to grab more product without moving on that wet, uncured layer of gel that we started with, then, just guide it here on the top quickly. Bring it up, turn the finger over, allow it to self level. See what it's doing, and then just help it get in the areas where it has not made contact yet; again, it's really runny and we want to use that to our advantage, allowing the gel to touch wherever it needs to touch.
Working one finger at a time, letting gravity do the pulling for you so that you can create an apex and just allowing it to structure beautifully before curing.
Make sure you give this nail a flash cure followed by a full cure. You do want to flash cure for 3 seconds because things, as far as heat, can get a little intense with products that wear more like a hard gel.
All right, Platinum Bond Duo is a product that, seriously, you don't have to touch it once it goes on the nail, especially with that slip layer. Let me show you.. It will do all of the self leveling for you if you just let it. You do have to work a little bit fast, there is no denying that and that might be a little bit intimidating, but if you work one at a time you will get it.
Notice how my application is nice and thin, straight and structured. You can tell by the reflection of the light, it's not broken.
Working one finger at a time is of utmost importance. Again, not touching it because it's just going to move, all you have to do is turn your finger and guide it where you want it to go.
Now, if you're ready to cure, but you're like: “oh, no! I may lose my apex”, because you feel things are moving a little too fast for you, especially if you're in a warm room, grab your Kokoist milk cake lamp, turn it on and go ahead and cure it.
If you found the perfect apex, set it in place and cure it for 3 to 5 seconds. This is a flash cure.
Turn the lamp off and either: 1) keep working and at the end give your hand a full cure or 2) you can do one by one full cure.
I would just say flash cure up to 5 seconds, you'll feel the gel solidify and it won't be an intense heat and then, after you're done with one hand, you go ahead and give it a full cure.
All right, time to file this nail into shape. Now, my final, biggest tip for no breakage, and of course, long wearing using Platinum Bond Duo is to leave the final shaping for the very end. This will ensure that you maintain a balanced, flattering thickness around the free edge that will not crack or lift. Make sure to finish off your shaping specifically with the 180 grit Emery board.
Thank you so much for joining me today. I look forward to delivering content like this again to you. Let me know in the comments section what else you would like to see?
Paola Ponce
@paolaponcenails
An independent nail educator helping the Japanese gel nail niche and its nail techs grow!
These blogs are copyrighted material and any use of this blog is not permitted without written concern first. Some of these blogs contain affiliate links that provide the author with a small commission when qualifying purchases are made. Thank you for your support that helps us to continue creating valuable resources and content like this.


Leave a comment