


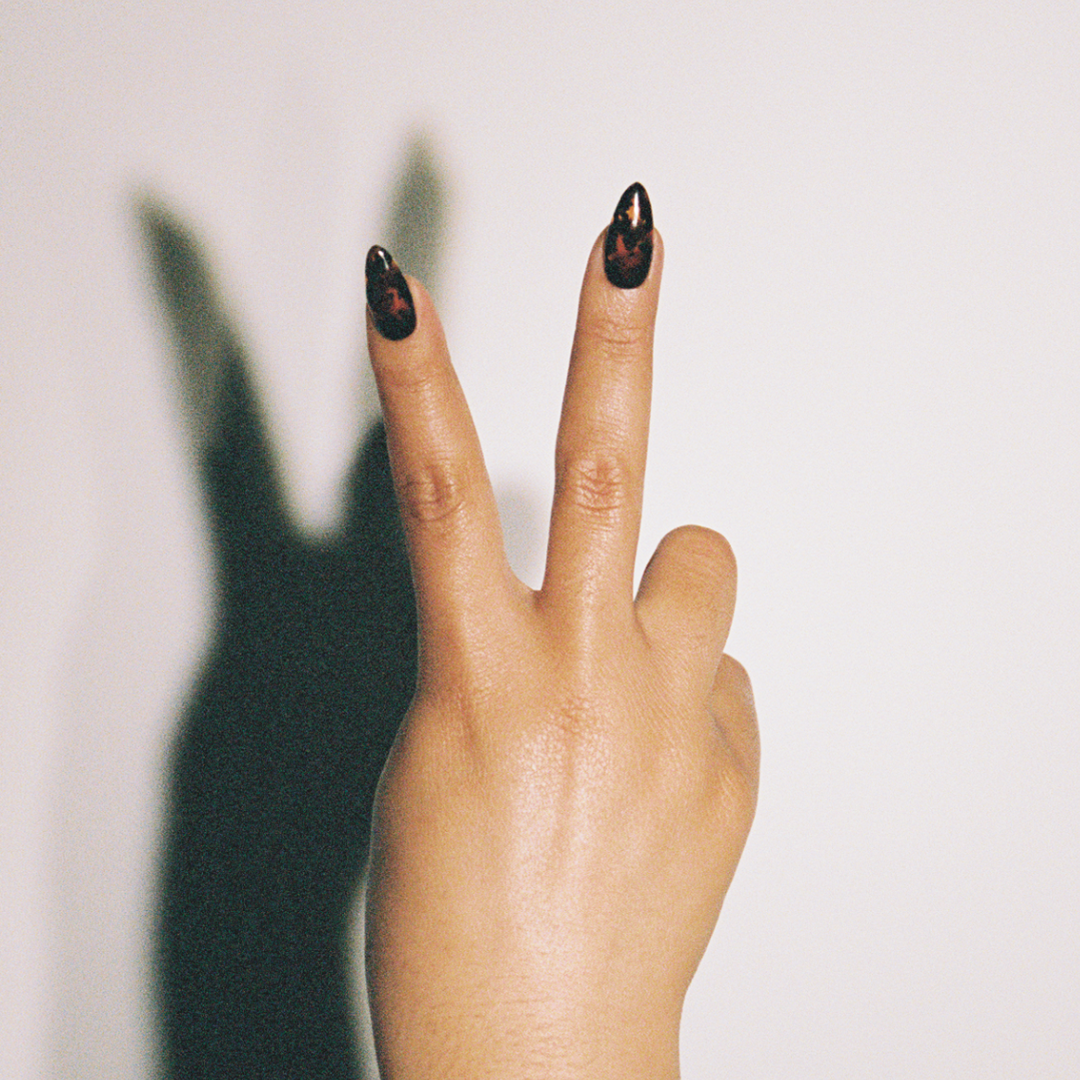
Gilded Ruffles Using Boba Gel 3D Nail Art Sculpting Gel
I don’t know about you, but when I think of a ruffled piece of clothing or jewelry I almost instantly get the feel of elegance.
And so I thought let me give that Boba Gel from Kokoist a try, with a beautiful ruffle accent on the nails. Now I’ve been a little intimidated by this gel, and now that I have tried it to successfully create a beautiful accent on the nail. I regret having waited so long to use it!
And let me tell you, as soon as I was done with the first one… I thought this is it! This is exactly what I envisioned as far as a bold and elegant statement on the nails… using of course nail gel from Kokoist!
What is Kokoist Boba Gel?
No it’s not edible. Boba gel is Kokoist’s 3D gel, and it comes in high and low viscosity. Now both options are pretty viscous, but one is definitely thicker helping you get more elevated 3d nail art looks faster.
And Boba Gel is also pretty solid. It will not run. Once you set it on the nail, it does not move, allowing you to keep working, until you’re ready to cure.
High Viscosity Boba gel is offered in 10g, while Low Viscosity Boba Gel is sold in 15g.
The amount cured depends on the amount applied, but a UV cure of 2-3 minutes is recommended. Once cured you must top coat it.
But is 3D Nail Art even ‘in’ anymore?
Stop it. Of course it is. Now, not so much in the sense of acrylic 3D flowers (’member those!) but Yes! In the sense of elegant and shiny objects is concerned. In fact, I would say that big 3D enhancements are among one of the most popular designs in Japanese Nail Art Culture. The bigger the stone, or the shinier it is. The more elegant.
Consider it a statement piece. Imagine that big hat on a runway, or that extravagant scarf… it’s fashion.
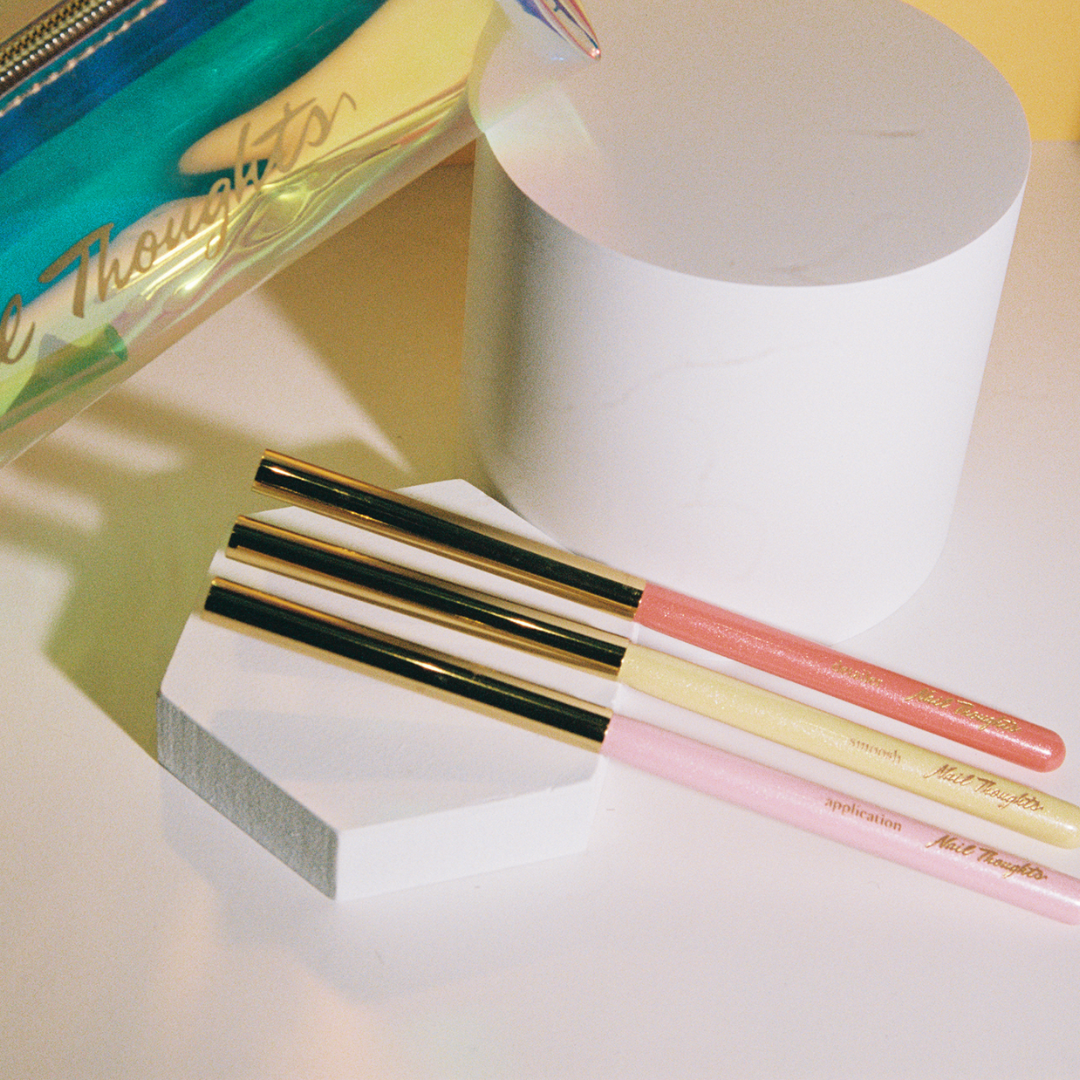
What nail products do I need for this Ruffled Gel Nail Art?
That’s right! No recipe can begin without it’s ingredients list. Here’s what you will need:
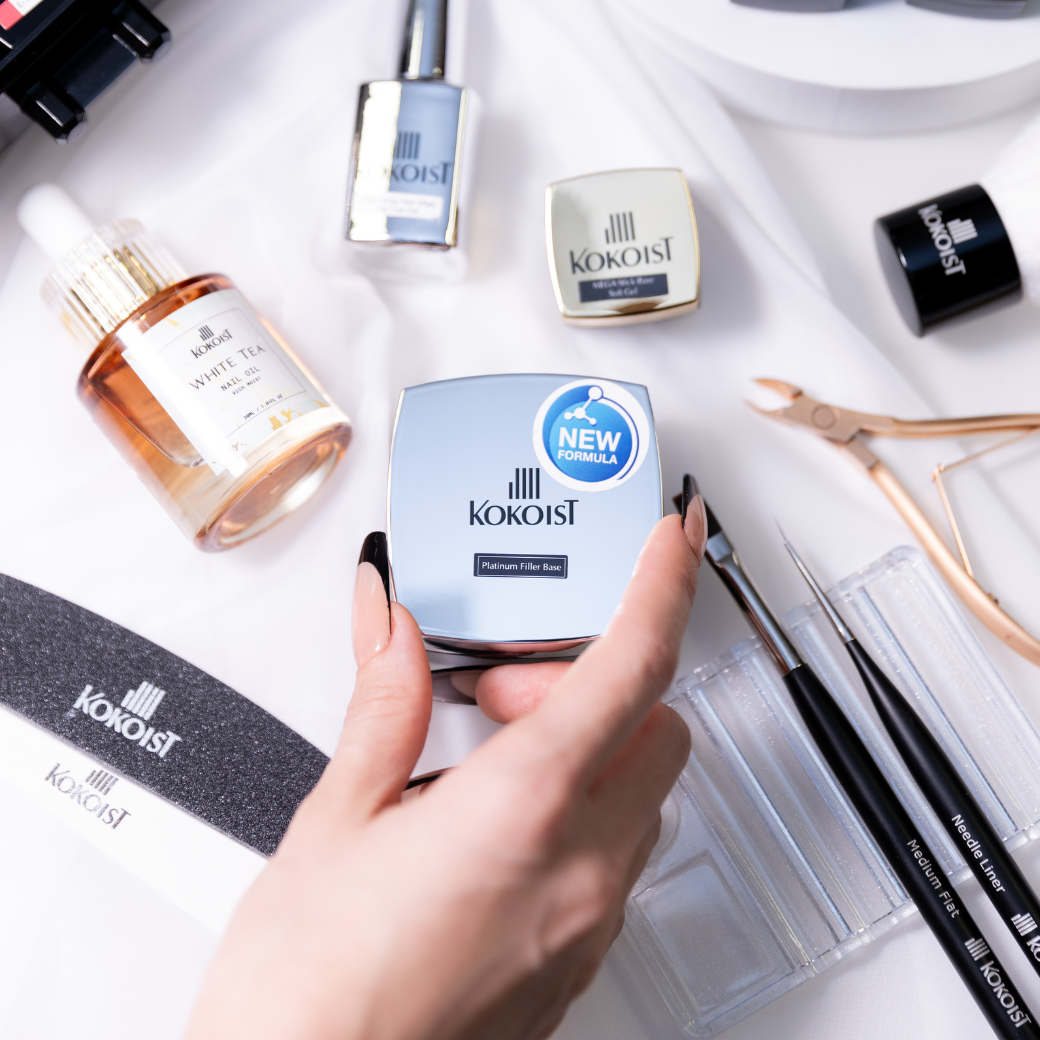
- Kokoist Boba Gel (high or low viscosity)
- Silicone tool (or other to imprint the ruffles)
- Lint-free surface to roll the Boba Gel on (your kokoist nail art palette is perf for this!)
- Gold chrome pen
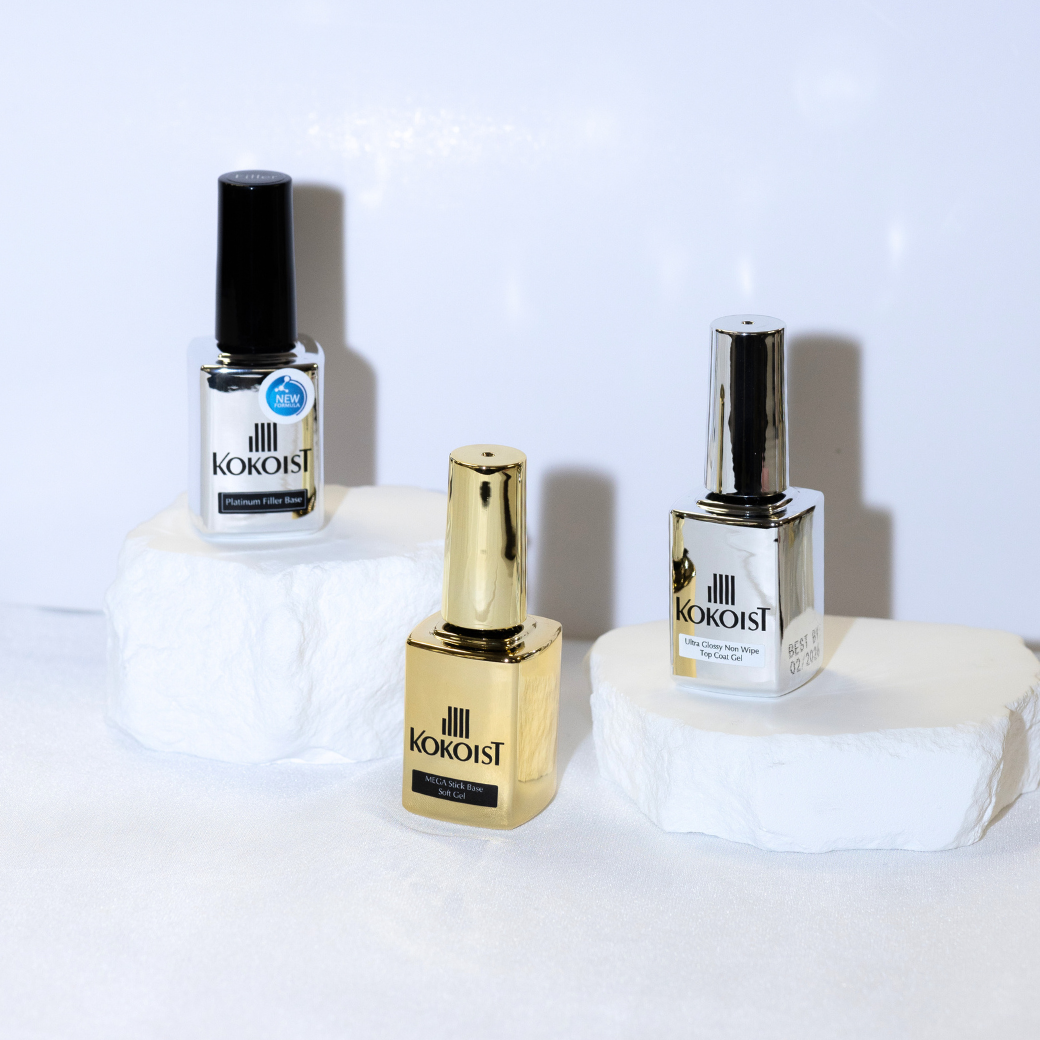
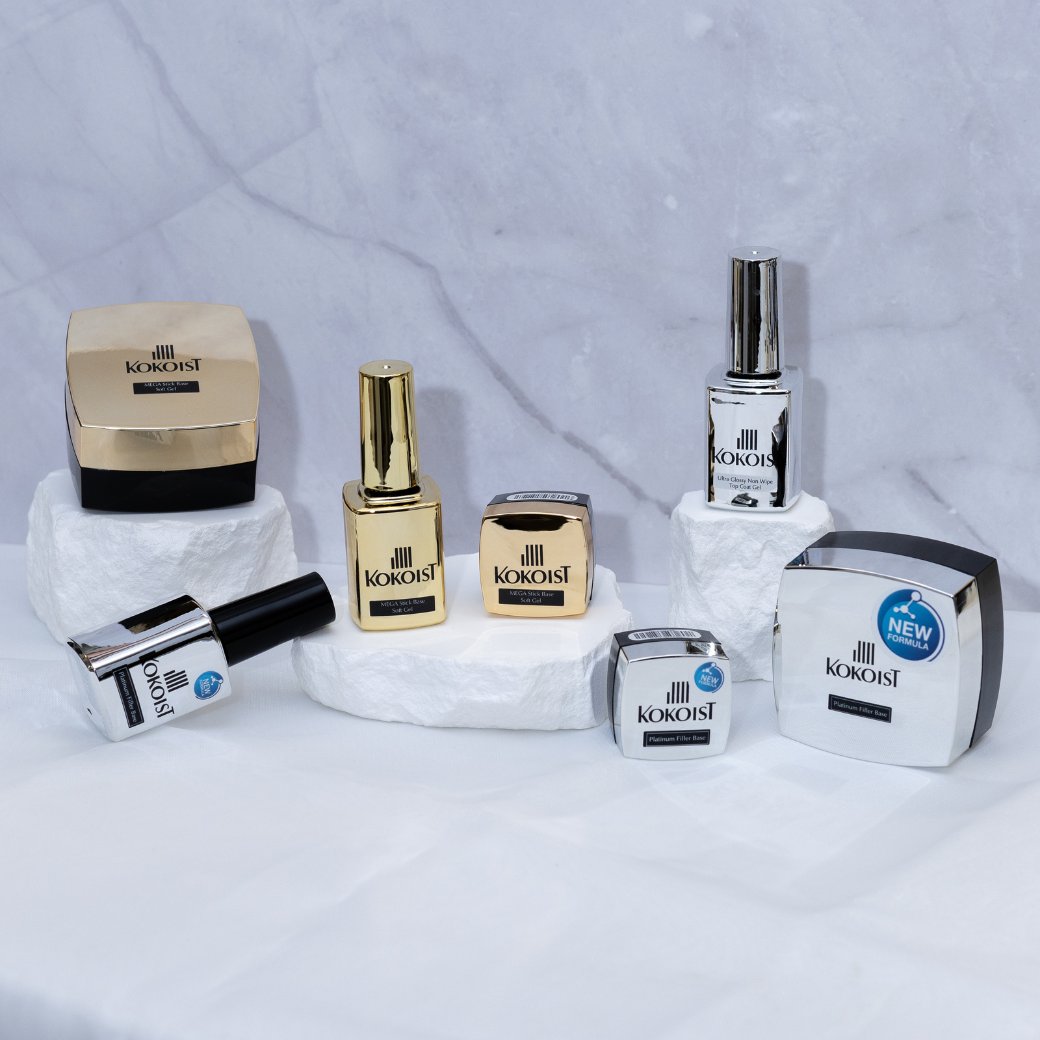
- Ultra Glossy Top Gel
- Gloves
- Alcohol
- Lint-free towelettes
Alright, enough chat! Let’s go ahead and give this 3D Ruffled Nail Art using Kokoist Gel a go:
Step 1: Prep the surface of the gel nail for adhesion
So if you’ve just applied your base gel or color, then you can just go ahead and move on to starting your 3D design. However, if the nail is fully cured with a top coat on, go ahead and matte that surface with a sponge buffer or matte top gel. Even though it takes a little longer and creates clean up, I like to go with buffing to keep my nail as thin as possible.
Step 2: Measure and roll out a piece of Boba Gel
Now that you have decided on approximately how much material you will need. Roll it out into a cylinder on a lint-free surface. The slimmer the cylinder the better, as it will widen as you pat it down. Also, you’ll want to trimm off any excess that comes from off of the nail.
Step 3: Pat & trim out excess
As you pat your cylinder flat on the nail, it will naturally get wider and longer. Trim out any excess with your tools.
Step 4: Ruffle away!
The way to create ruffled nail art on the Boba Gel is rather easy. All you have to do is take your tool, anything with a flat edge, an imprint onto the uncured Boba Gel. As soon as you’re happy with the nail art that you have created, go ahead and cure for at least 60 secs (as you will continue on to clear gel on top).
Step 5: Thinly top coat
Once you have cured your new 3D nail art piece, it is time to thinly top coat it with Ultra Glossy Top Gel. You’ll want to apply thinly to maintain the ripples (ruffles) that you just created as pronounced as possible. If you are not careful and just blob on your top gel, you may lose those details. After you have carefully applied, cure the top gel for ONLY 10 SECS, this will ensure your chrome powder burnishes on properly.
Step 6: Burnish!
This is probably the most satisfying part of the entire nail art piece. I mean rolling the 3D gel was pretty satisfying also, am I right? Grab your chrome pen and pat the excess of in a lint-free surface and start gliding your chrome pigment on the entire nail art piece you just created. Once you’ve covered every bit with gold. Go ahead and brush off the excess with a eyeshadow brush (or your Kokoist Camelia Brush) or you can also use your gloves (which you are hopefully wearing) to glide some of the product off.
Step 7: Double top coat & Cure!
Any time I am working with pigment, I like to double coat to ensure no wear-off of the pigment. Use 2 coats of top gel to seal in your design. I like to cure the first layer for 10-20 secs to ensure it adheres to the next.
And that is it! All you would do now is admire your pre new 3D Gel Nail Art, the Ruffles Accent Nail art piece you just created!
Thank you so much for learning with me today, all about creating a ruffled accent nail art piece with Kokoist’s Boba Gel!
___

Paola Ponce is an independent nail educator helping the Japanese gel nail niche and its nail stylists grow! You can follow more of her work at www.paolaponcenails.com and @paolaponcenails on Instagram. Save 10% on your Kokoist Products & support Paola’s work with affiliate code PPN10.
___
These blogs are copyrighted material and any use of this blog is not permitted without written concern first. Some of these blogs contain affiliate links that generate a small commission when qualifying purchases are made. Thank you for your support that helps us to continue creating valuable resources and content like this.


Leave a comment