


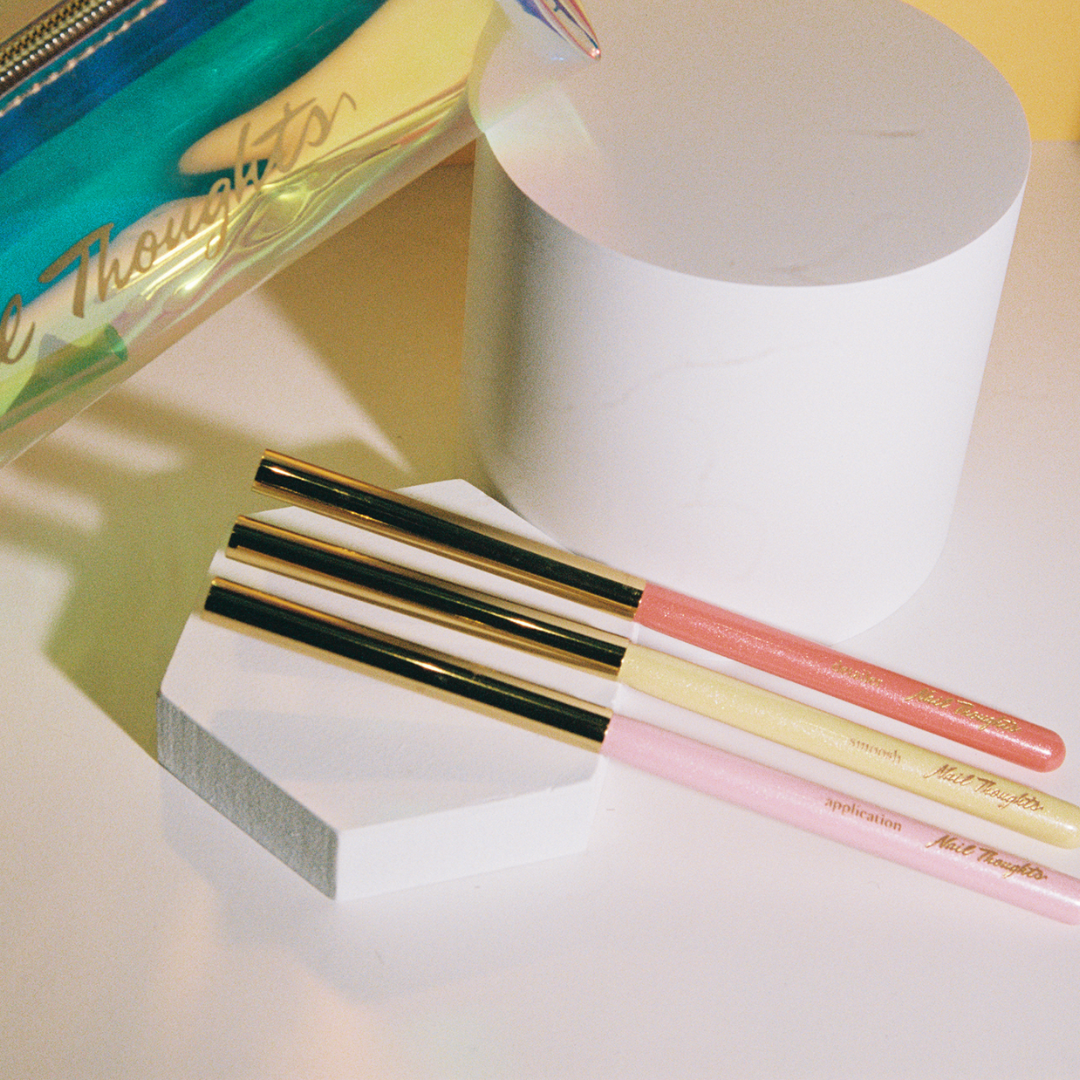
Bleeding Ink Application Tips
3 Tips for Creating Designs with Bleeding Inks
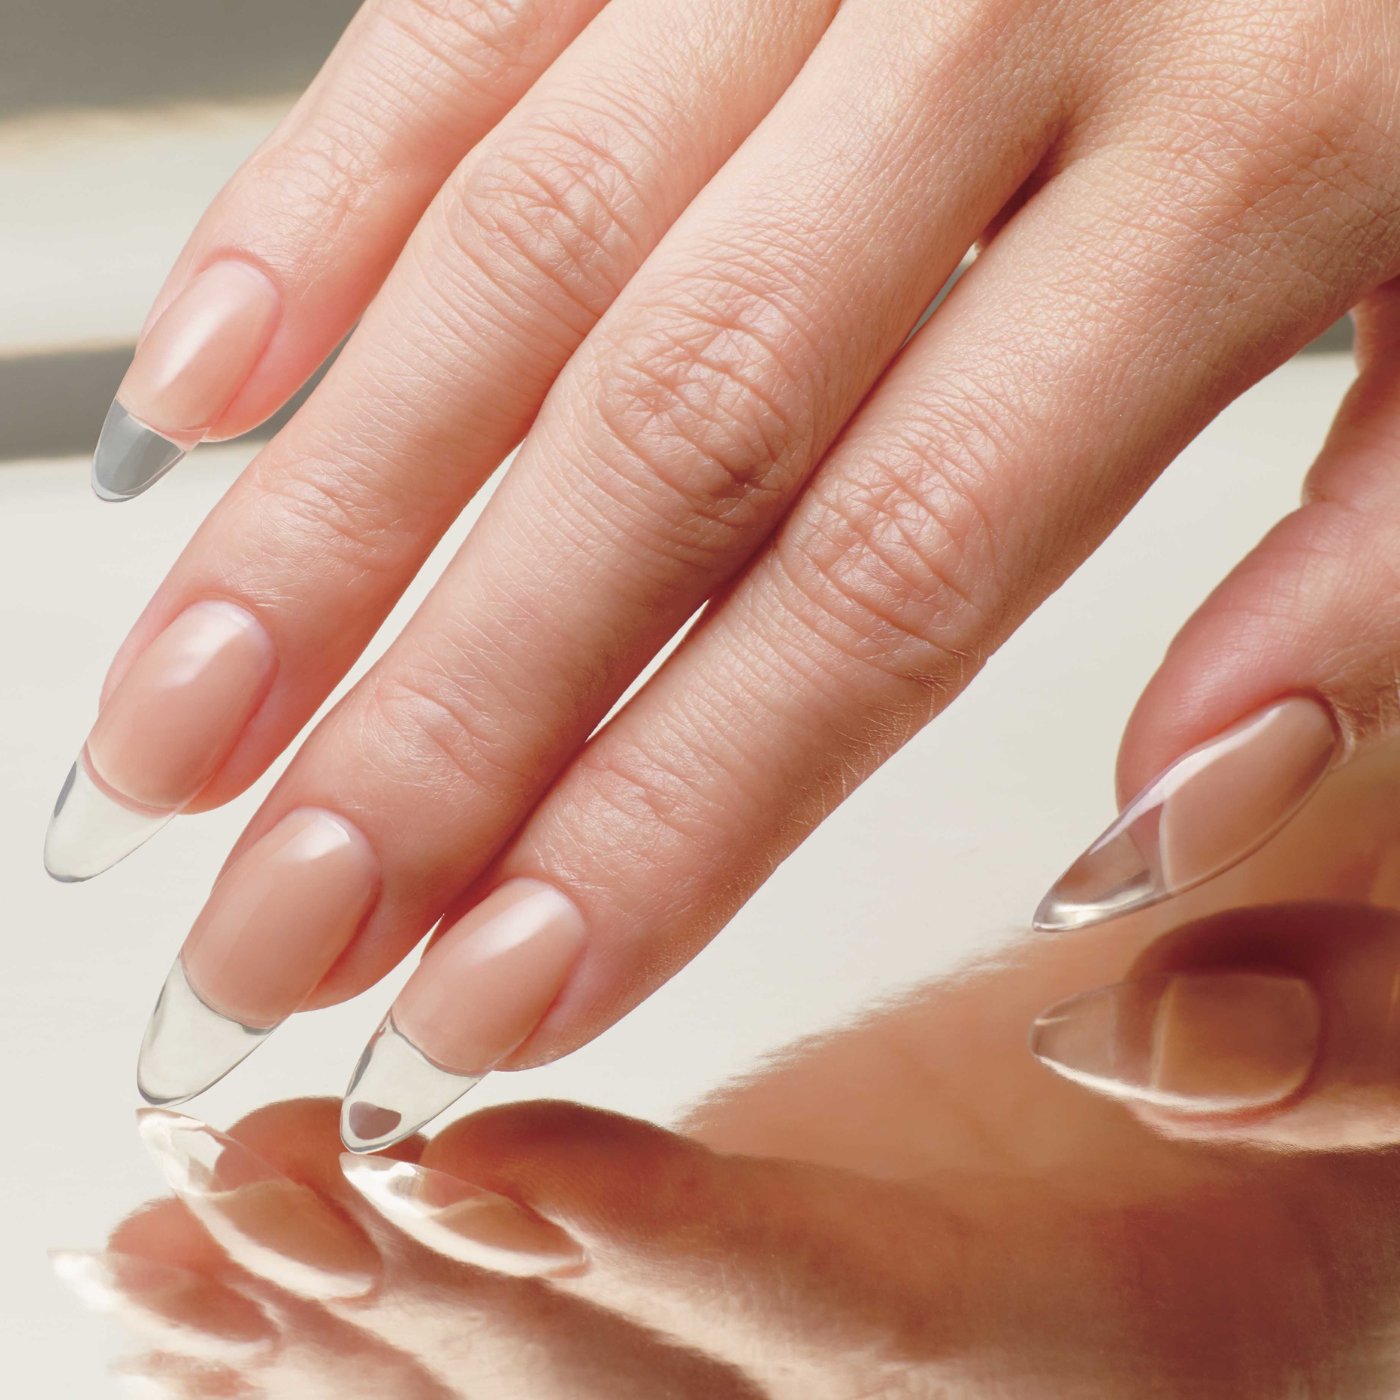
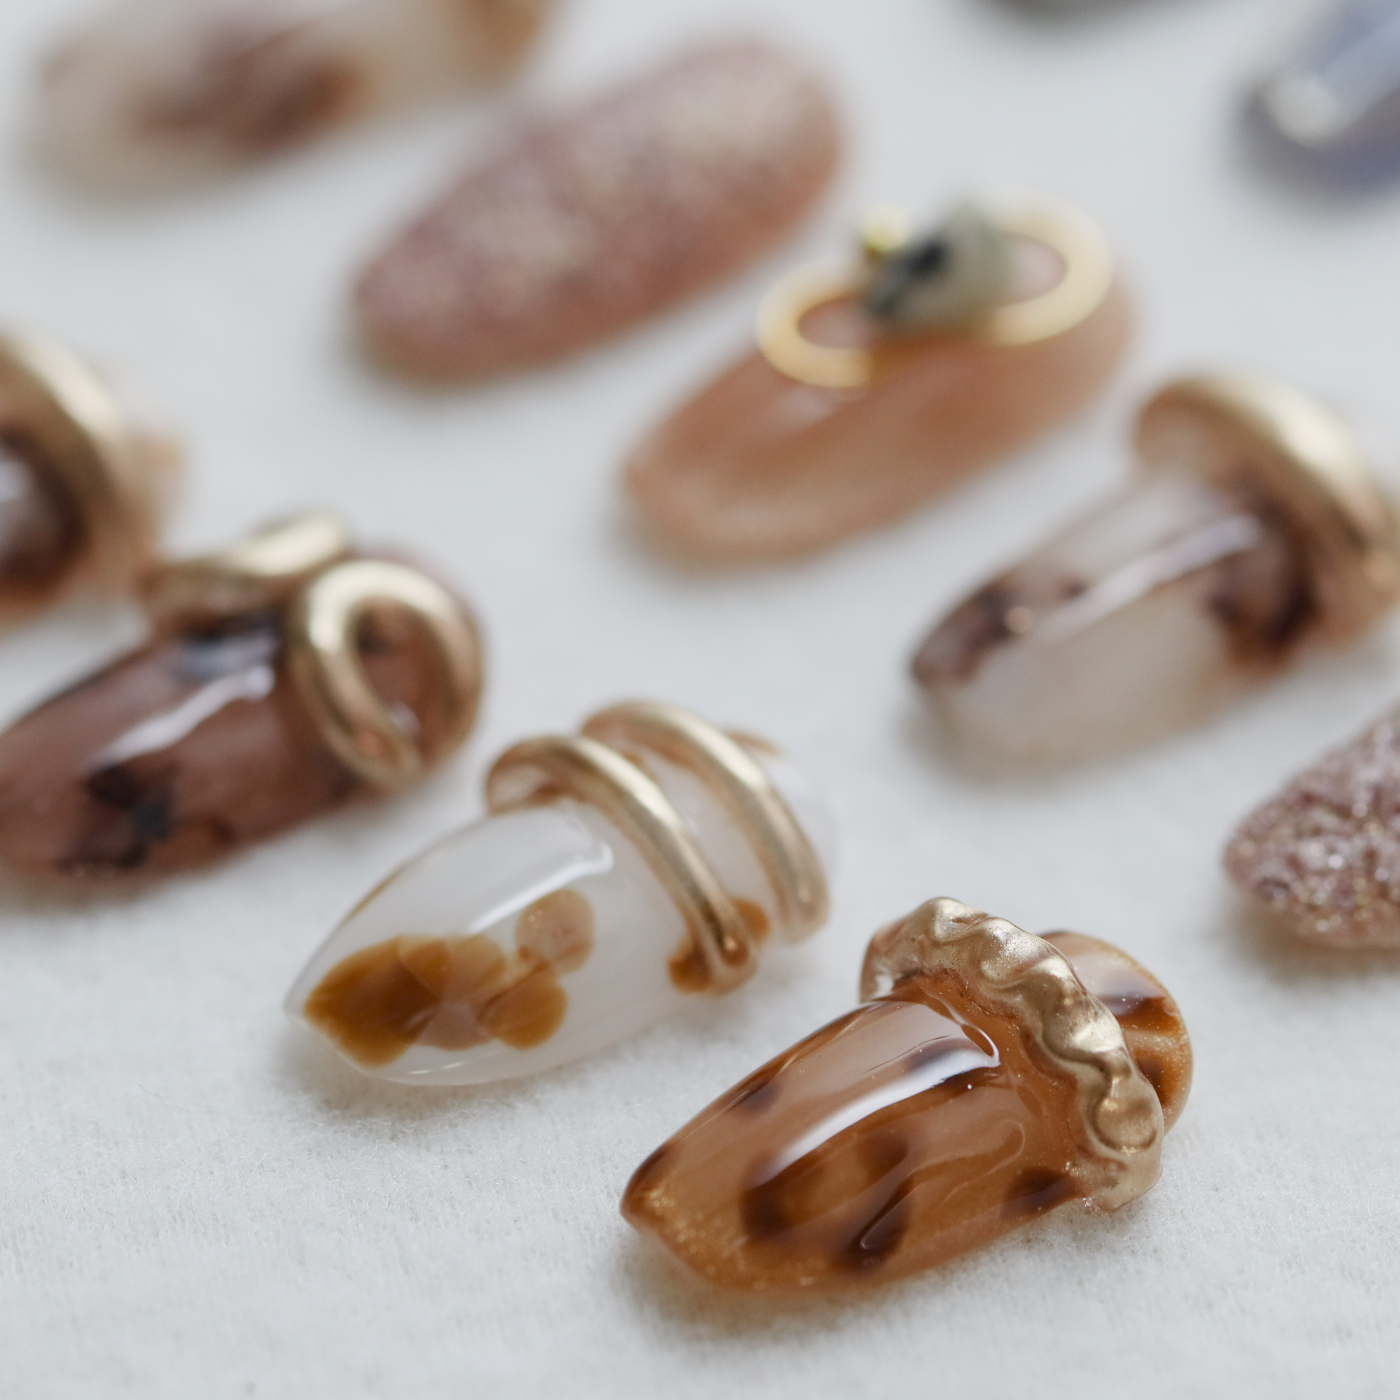
Bleeding Inks are great nail art inks that add nuanced effects that can transform ordinary nail designs into unique, dynamic designs. The perfect tool to create marble and abstract watercolor designs in seconds! Great for floral and layered nail looks. This quick-dry formula means no curing needed—just apply and let your creativity flow.
Check out the full video with the Nail Whisperer
1. Apply directly over Inhibition Layer
Enables the ink to 'slip' and flow across the nail. This technique produces a more blended wash of color when alchohol is added.
This technique will be ideal if the intended design is to create a soft, watercolor-like wash of color.
2. Wipe the Inhibition Layer
Wiping away the inhibition layer helps the ink to 'grip' the nail and gets slightly more pigment pay off. This technique helps control the flow of the ink.
This technique is allows for more control on the final placement of the ink.
3. Apply a layer of Matte Top Coat
Applying a matte top coat before using a bleeding ink maximizes your working time. The color will not spread as rapidly and ensures the highest color payoff.
This is the most beginner friendly technique when beginning your bleeding ink journey. The porous finish of matte top coats gives you the most working time.
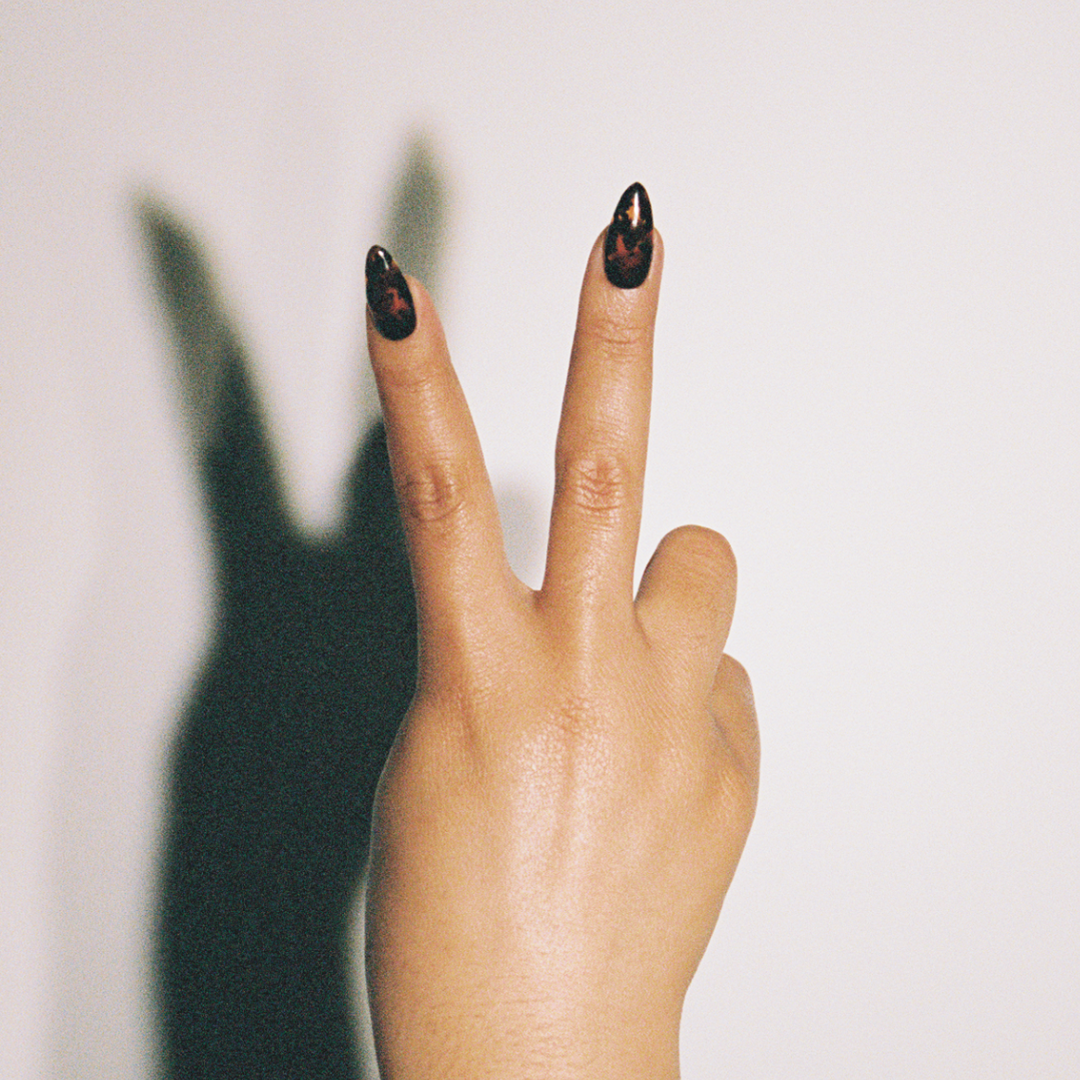
Final Thoughts
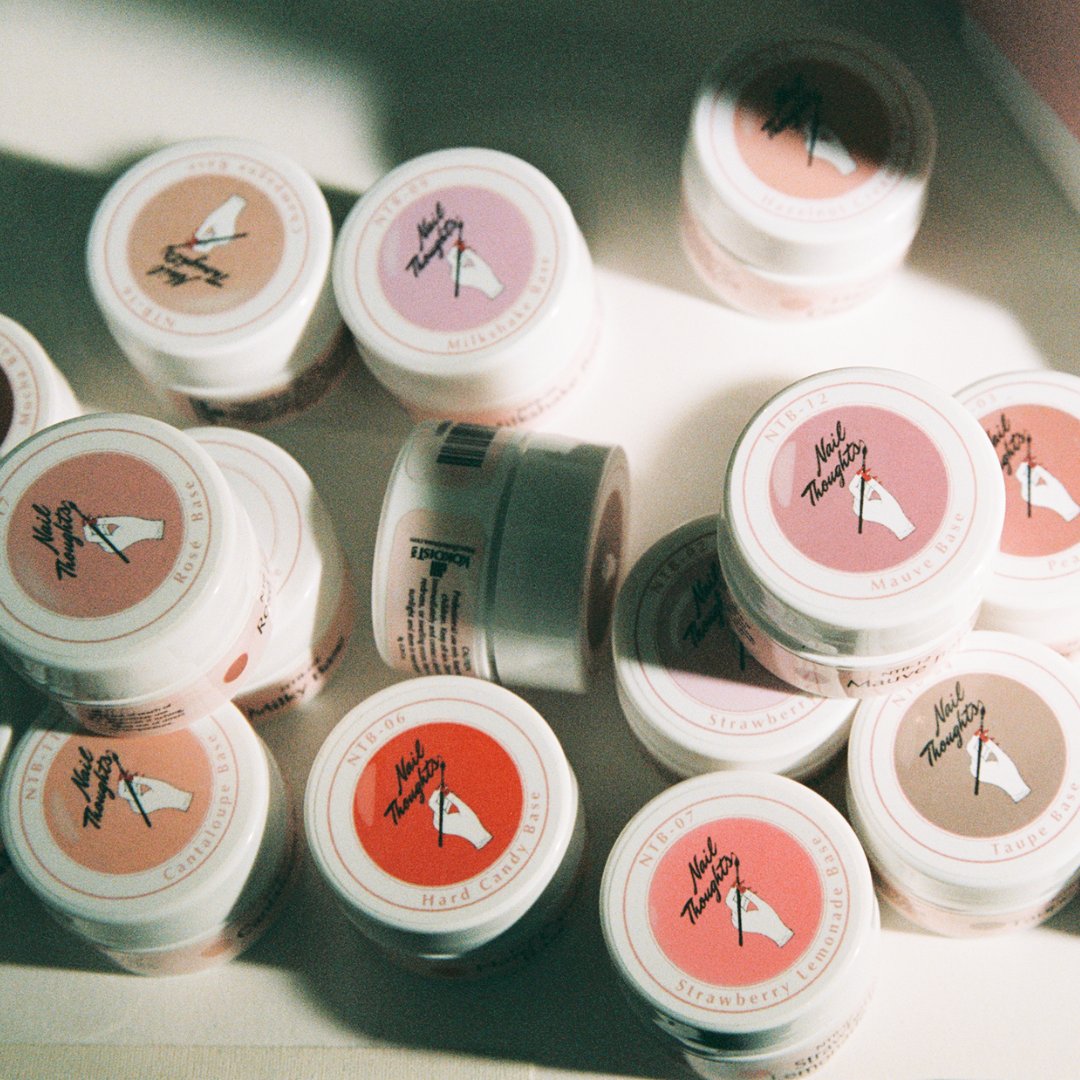
Whichever application tip you try, Bleeding Inks create uniquely nuanced nail art designs. If you’re using Bleeding Inks for the first time, keep in mind that separation is completely normal. Simply shake well before use to redistribute the pigments. After each use, make sure to close the container tightly to maintain product quality.


Leave a comment